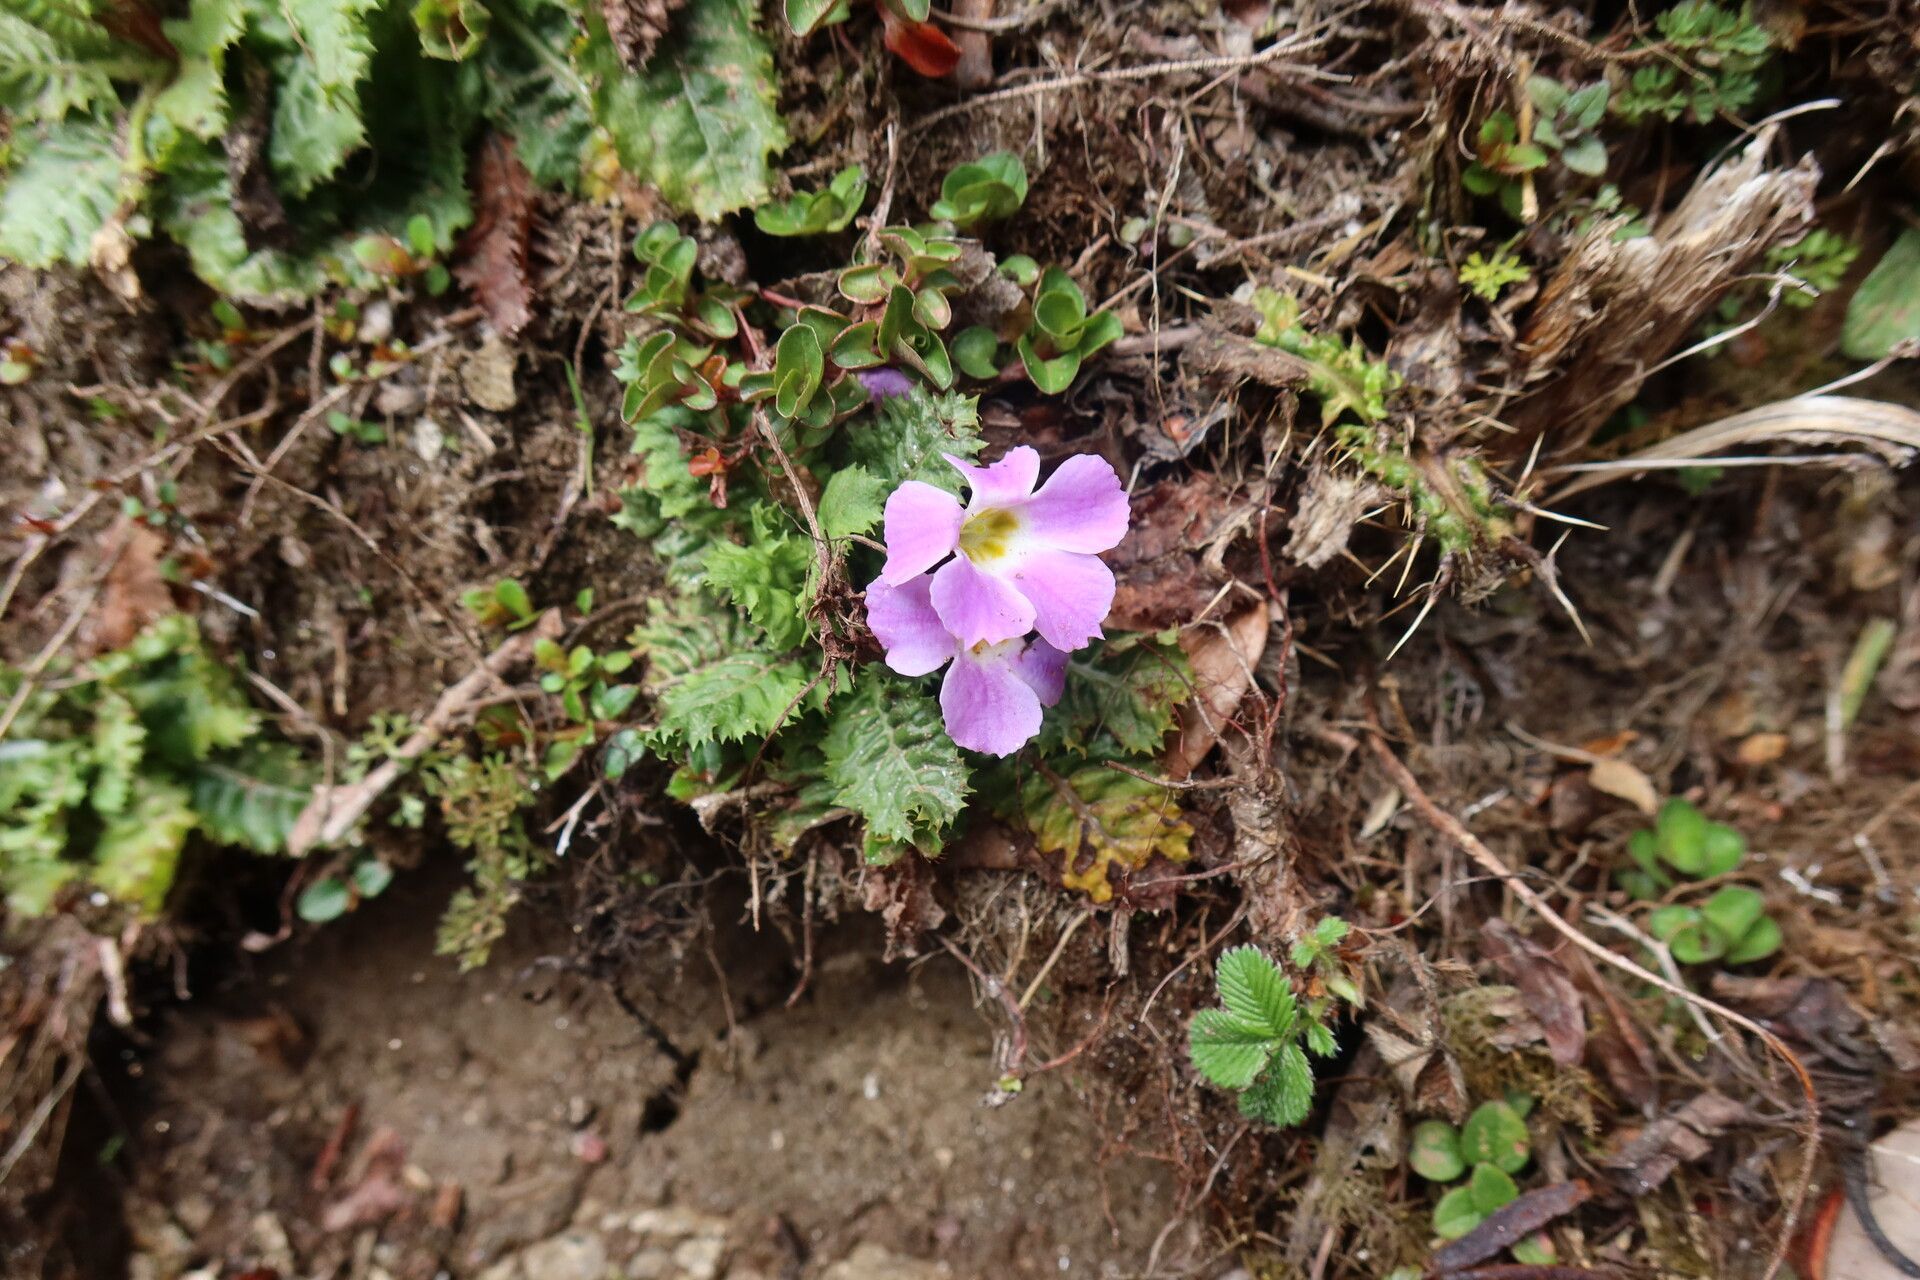
Hey there, fellow plant lovers! If you’re anything like me, you’ve probably fallen head over heels for the delicate charm of Primula gracilipes. Those lovely clusters of blooms, often in vibrant hues, really bring a smile to your face, especially in the cooler months. Propagating them is such a rewarding journey; it feels like you’re unlocking a little bit of gardening magic. And the good news? While it has its quirks, I find Primula gracilipes to be a pretty good sport for those of you looking to expand your collection just a bit.
The Best Time to Start
My experience tells me the absolute sweet spot for propagating Primula gracilipes is late spring to early summer. This is when the plant has finished its main blooming period and is actively growing. You’ll see plenty of new shoots developing, which makes them perfect candidates for taking cuttings or for dividing. Trying to propagate when the plant is stressed or in full bloom just won’t give you the best results.
Supplies You’ll Need
Before we dive in, let’s get our toolkit ready! Here’s what you’ll want to have on hand:
- Sharp pruning shears or a clean knife: For making those precise cuts. Sterilize them with rubbing alcohol first!
- A porous potting mix: I love a blend of equal parts peat moss or coco coir and perlite. This ensures excellent drainage, which is absolutely crucial.
- Small pots or trays: Clean, with drainage holes, of course.
- Rooting hormone (optional but helpful): A powder or gel can give your cuttings a nice boost.
- A fine mist spray bottle: For keeping things humid without waterlogging.
- Small labels and a pen: To keep track of your new little wonders.
Propagation Methods
The most reliable way I’ve found to multiply Primula gracilipes is through division. It’s straightforward and yields results pretty quickly.
Division: Your Go-To Method
- Gently excavate: When your primula has finished flowering and is actively growing, carefully dig up the entire plant with root ball intact. It’s best to do this when the soil is slightly moist, not bone dry or soaking wet.
- Inspect and separate: Gently tease apart the root ball with your fingers. You’re looking for distinct offsets or smaller plants that have their own set of roots and at least one or two shoots.
- Make the cuts: If the offsets are really packed together, you might need your clean knife or shears to carefully separate them. Ensure each piece you pull away has roots attached. It’s better to have slightly smaller pieces with good roots than large pieces with barely any.
- Pot them up: Plant each divided section into its own small pot filled with your well-draining potting mix. Make sure the crowns (where the leaves emerge) are just at the soil surface, not buried too deep.
- Water and situate: Water them gently to settle the soil. Then, place the pots in a shady spot, protected from harsh sun and strong winds.
The “Secret Sauce” (Pro Tips)
Here are a few little tricks that have helped me over the years:
- Don’t drown them: When you water divisions, aim for consistent moisture but never boggy. Overwatering is the quickest way to invite rot. Let the top layer of soil dry out slightly between waterings.
- The magic of warmth: If you’re struggling with rooting, especially if you’re trying cuttings (though division is easier for this primula), placing the pots on a heat mat can significantly speed things up. It mimics the gentle warmth of spring soil.
- Patience is a virtue: Don’t be tempted to yank on your new divisions to check for roots. Trust the process. Visible new leaf growth is your best indicator that they’ve settled in and taken hold.
Aftercare & Troubleshooting
Once your primulas are potted up, keep them in that cool, shady location. Water them when the top inch of soil feels dry. As they get established, you’ll start to see new leaves emerge, which is wonderfully satisfying!
The most common issue you might encounter is rot, almost always due to too much moisture. If you see stems turning mushy or the leaves looking limp and discolored, it’s a sign to back off the water and ensure good airflow. Damping off is also a risk in young seedlings or very young divisions, so be mindful of that.
A Little Encouragement
Propagating plants is less about perfection and more about observation and a bit of love. Be patient with your new Primula gracilipes friends. Some might take a little longer to get going than others, and that’s perfectly normal. Just enjoy the process of nurturing something new, and soon you’ll have even more bursts of color to brighten your garden. Happy growing!
Resource:
https://identify.plantnet.org/k-world-flora/species/Primula%20gracilipes%20Craib/data