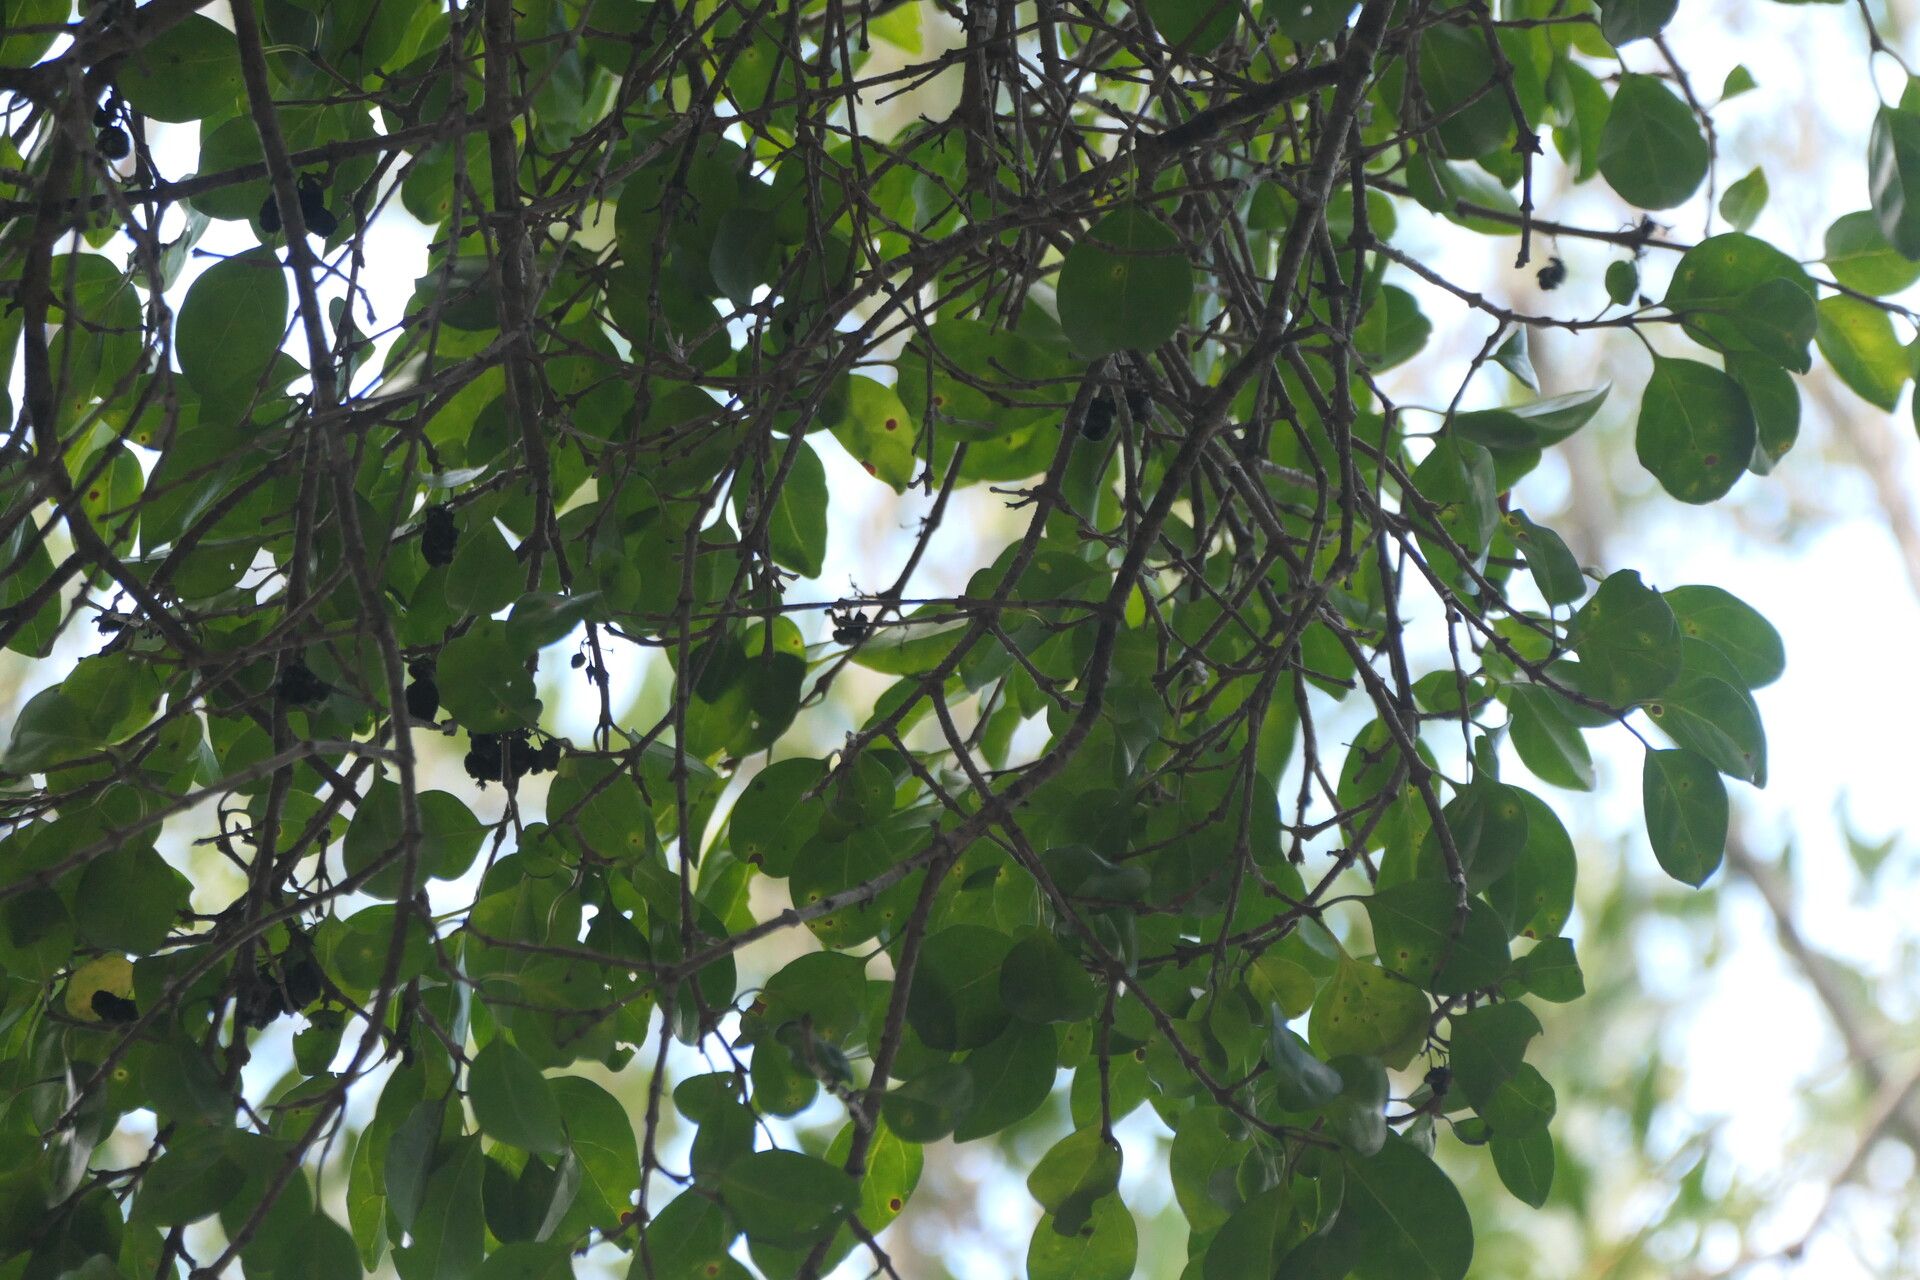
Ah, Canthium inerme! This tough and lovely plant, often called the August bush or Bastard-box, is a real gem for any South African garden. With its glossy leaves and delicate, fragrant white flowers that appear in late summer, it’s incredibly rewarding to grow. And the best part? It’s surprisingly generous when it comes to sharing its offspring! For beginners, I’d say propagating Canthium inerme is a satisfyingly achievable project, especially if you get a few basics right.
The Best Time to Start
When I’m aiming for the highest success rate with my Canthium, I always lean towards late spring or early summer. This is when the plant is actively growing and full of vigor, meaning it has more energy to dedicate to rooting new cuttings. You’re looking for semi-hardwood cuttings, which are stems that have started to firm up but aren’t yet mature and woody. You can usually tell by bending a young stem; if it snaps cleanly, it’s likely too soft. If it bends without breaking, it’s probably in that sweet spot.
Supplies You’ll Need
Here’s what I always have on hand when I’m propagating:
- Sharp pruning shears or a clean knife: Essential for making clean cuts.
- Rooting hormone: Not strictly essential, but it gives your cuttings a lovely boost. I like to use a powder form.
- A well-draining potting mix: A good starting point is a 50/50 mix of coir or peat moss and perlite or coarse sand. This ensures excellent aeration and prevents waterlogging.
- Small pots or seedling trays: Clean containers are a must to avoid disease.
- A plastic bag or propagation dome: To create a humid environment for your cuttings.
- Water: For misting and watering.
- Labels and a pen: To keep track of what you’ve planted!
Propagation Methods: Stem Cuttings
This is my go-to method for Canthium inerme and usually where you’ll have the most success.
- Take Your Cuttings: Select healthy, disease-free stems from your mature plant. Aim for cuttings that are about 10-15 cm long. Make your cut just below a leaf node – that’s where the magic happens, as that’s where roots tend to emerge.
- Prepare the Cuttings: Gently remove the lower leaves, leaving just a few at the top. This prevents them from rotting once planted. If the leaves at the top are very large, you can even cut them in half horizontally to reduce water loss through transpiration.
- Apply Rooting Hormone (Optional but recommended): Dip the cut end of each stem into your rooting hormone, tapping off any excess.
- Plant Your Cuttings: Make a small hole in your potting mix with a pencil or a dowel. Gently insert the cutting into the hole, ensuring the leaf nodes are buried. Firm the soil around the base.
- Create a Humid Environment: Water the soil gently until it’s moist but not soggy. Then, cover the pots with a clear plastic bag or place them under a propagation dome. You want to create a mini-greenhouse effect.
- Placement: Position the pots in a bright spot, but out of direct, harsh sunlight.
The “Secret Sauce” (Pro Tips)
Now, here are a few little nudges that have consistently helped me when propagating Canthium.
- Don’t let those lower leaves touch the soil! I cannot stress this enough. Any foliage submerged in the soil is an invitation for rot. Keep them trimmed neatly away.
- Bottom heat can make a world of difference. If you have an old seedling mat, placing your pots on it will keep the soil at a consistent, encouraging temperature, which really speeds up root development. You don’t need it blazing hot, just a gentle warmth.
- Mist regularly, but don’t drown them. I like to give my covered cuttings a light misting with water once a day, especially if the weather is warm. This keeps the humidity up without making the soil too wet.
Aftercare & Troubleshooting
Once you start seeing signs of life – little new leaves emerging or a gentle tug on the cutting that meets resistance – you know roots are forming!
- Harden Off: This is a crucial step. Gradually expose your rooted cuttings to normal garden conditions over a week or two. Start by opening the plastic bag for a few hours each day, then move them to a shadier spot outdoors.
- Potting Up: Once they’re robust enough, you can pot them up into slightly larger containers with good quality potting soil.
- Troubleshooting: The most common enemy here is rot. If your cuttings go mushy or black, they’ve likely been kept too wet or the conditions were too cold. Don’t be discouraged; just try again with fresh cuttings and adjust your watering. Yellowing leaves can sometimes mean they’re not getting enough light, but usually, it’s a sign of stress.
There you have it – the gentle art of multiplying your Canthium inerme. Remember, gardening is all about patience and observation. Be gentle, keep an eye on your little green charges, and enjoy the thrill of creating something new from something beautiful. Happy propagating!
Resource:
https://identify.plantnet.org/k-world-flora/species/Canthium%20inerme%20(L.f.)%20Kuntze/data