Oh, hello there! I’m so glad you’re curious about Maerua duchesnei. This little gem, with its delicate flowers and attractive foliage, is a joy to have in any garden. And the even better news? Propagating it yourself is incredibly rewarding. It’s not the easiest plant to propagate on your very first try, but with a little patience and these tips, you’ll be well on your way to success. Think of it as a wonderful adventure in plant parenting!
The Best Time to Start
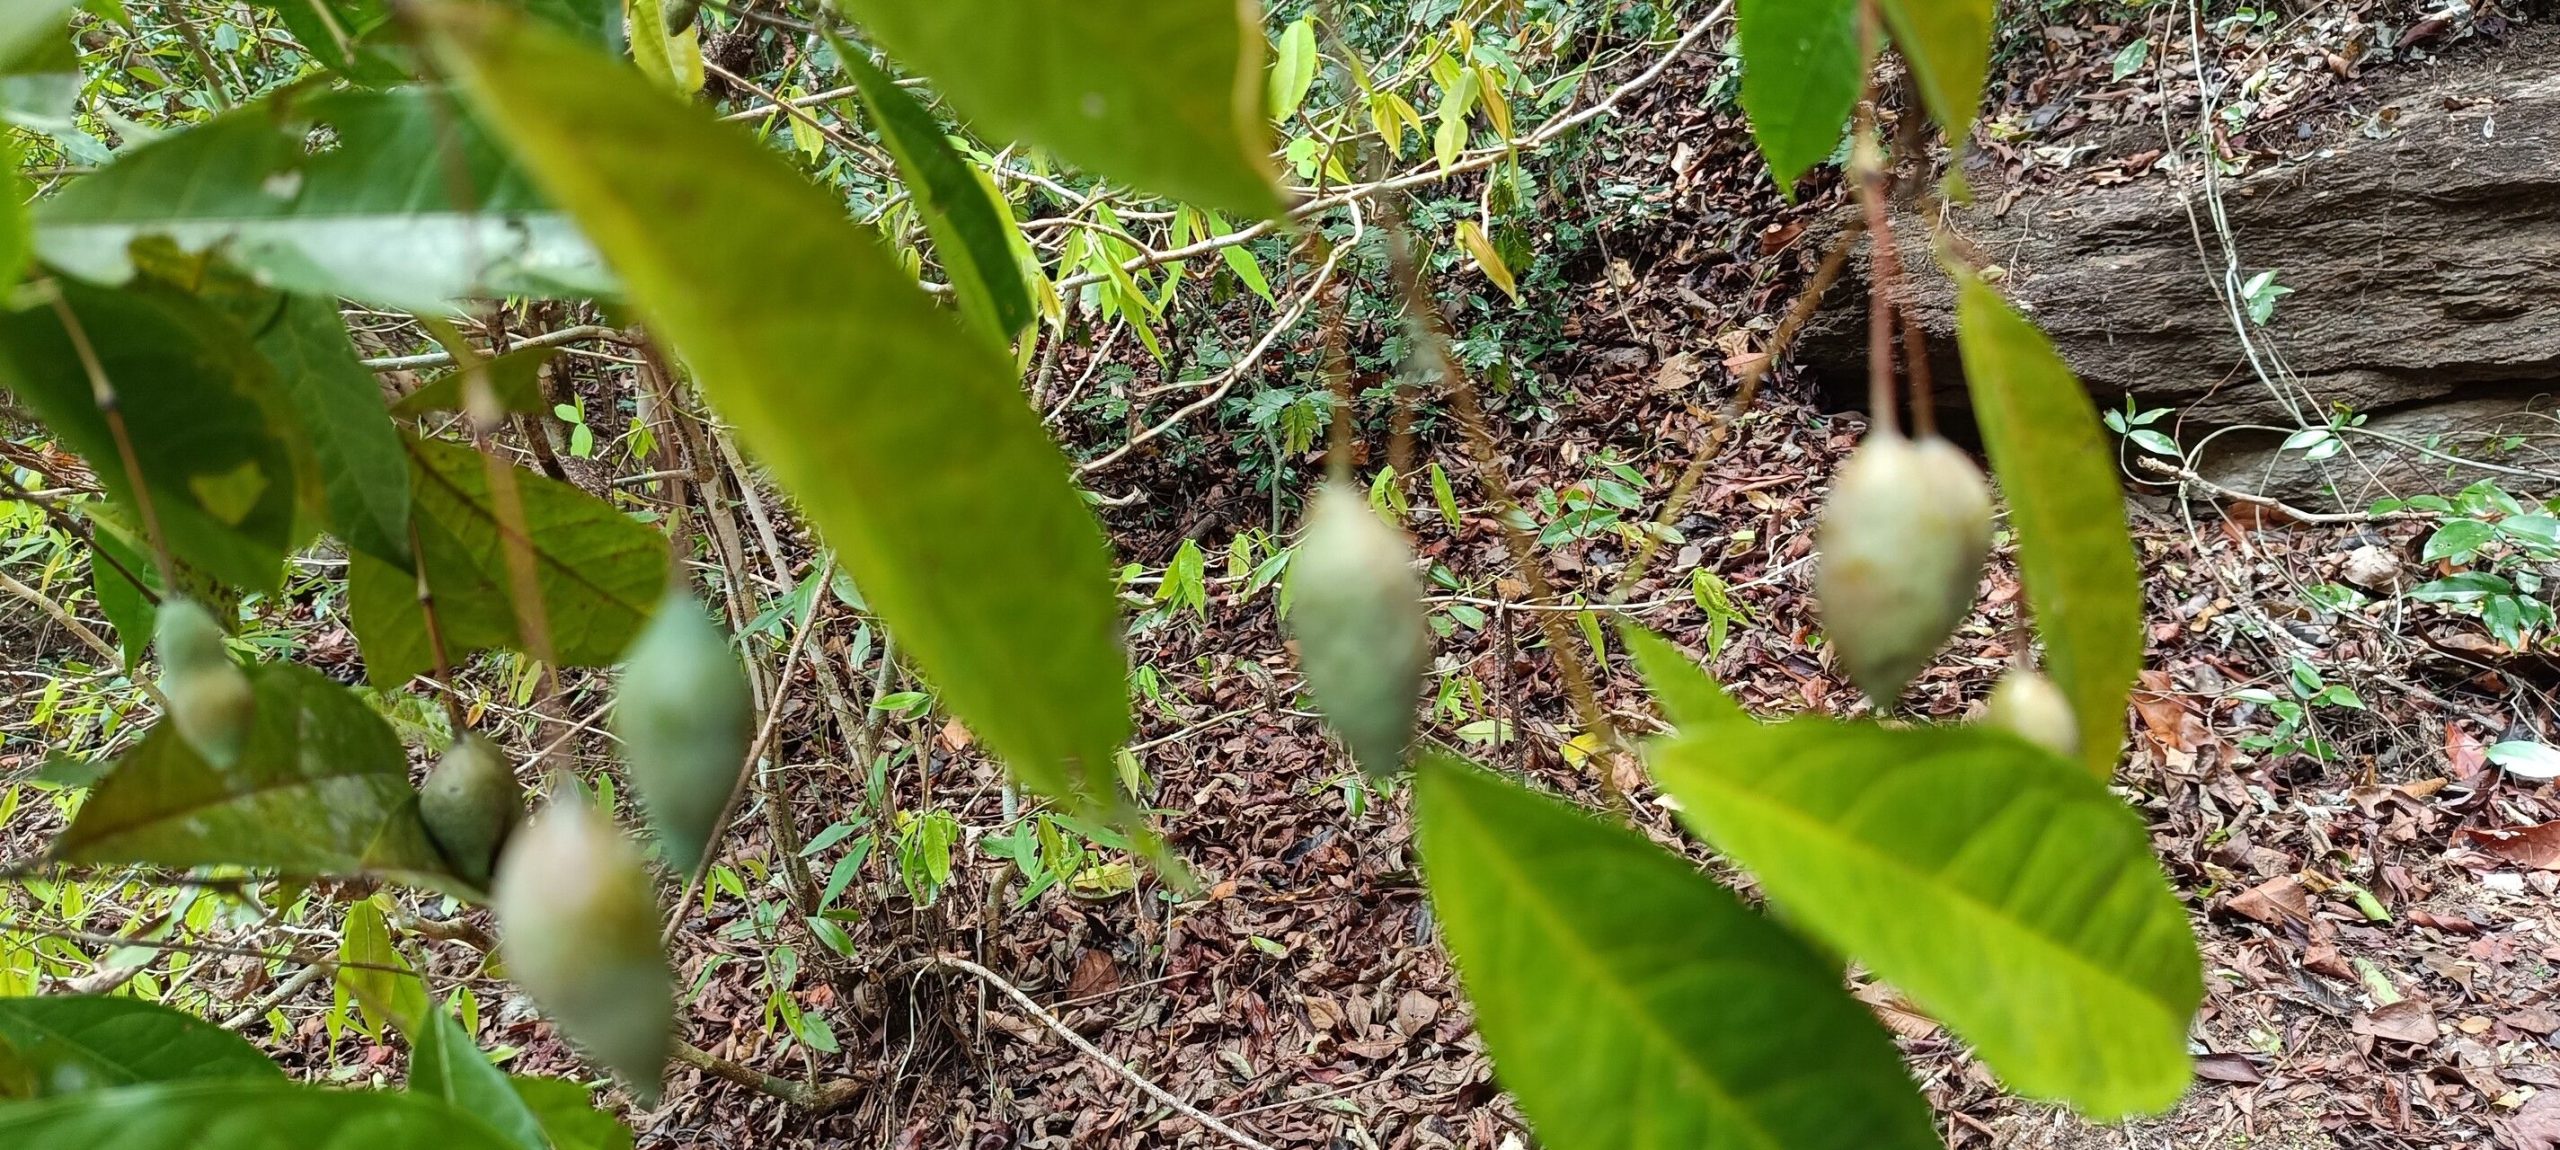
For Maerua duchesnei, the late spring or early summer is your golden window. This is when the plant is actively growing, meaning it has plenty of energy to put into developing roots. Look for stems that are firm but not woody – they should snap cleanly when bent slightly. Soft, new growth can sometimes be too fragile, and fully mature, woody stems might be slower to root.
Supplies You’ll Need
To give your Maerua cuttings the best start, gather these essentials:
- Sharp pruning shears or a clean knife: For making precise cuts.
- A well-draining potting mix: I like to use a blend of equal parts peat moss or coco coir and perlite or coarse sand. This ensures good aeration and prevents waterlogging.
- Rooting hormone (optional but helpful): A powder or gel formulation can significantly boost your success rate.
- Small pots or trays: Clean containers are a must.
- Plastic bags or a propagation dome: To create a humid environment.
- Watering can or spray bottle: For gentle watering.
Propagation Methods
I find that stem cuttings are the most reliable way to multiply Maerua duchesnei. It’s straightforward and gives you a great chance of success.
Stem Cuttings:
- Take Your Cuttings: Using your clean shears or knife, snip off healthy stems that are about 4-6 inches long. Make sure each cutting has at least two sets of leaves. Remove any flowers or flower buds; these will divert the plant’s energy away from root development.
- Prepare the Cuttings: Gently strip off the leaves from the bottom half of the cutting. This exposes the nodes where roots will form. If the remaining leaves are very large, you can cut them in half horizontally to reduce water loss through transpiration.
- Apply Rooting Hormone: Dip the cut end of each stem into your chosen rooting hormone, tapping off any excess. This step is like giving your cutting a little boost of encouragement!
- Plant Your Cuttings: Fill your small pots or trays with your prepared potting mix. Make a small hole in the center with your finger or a pencil. Carefully insert the cut end of the stem about an inch deep into the soil. Gently firm the soil around the cutting.
- Create a Humid Environment: Water the soil gently until it’s evenly moist but not soggy. Then, cover the pots with a plastic bag (making sure the leaves don’t touch the plastic) or place them under a propagation dome. This traps humidity, which is crucial for cuttings to root.
The “Secret Sauce” (Pro Tips)
Here are a couple of things I’ve learned over the years that really make a difference:
- Bottom Heat is Your Friend: If you can, place your pots on a gentle heat mat designed for seedlings. This warm soil encourages root formation much faster than if they are just sitting at room temperature. It’s like giving your cuttings a warm hug from below!
- Don’t Over-Water: This is critical! Cuttings that sit in soggy soil are much more prone to rot. Let the surface of the soil dry out slightly between waterings. It’s better to err on the side of slightly too dry than too wet. You’ll learn to gauge it by the weight of the pot.
Aftercare & Troubleshooting
Once your cuttings are planted, find them a bright spot out of direct sunlight. Keep the humidity high and the soil consistently moist. Be patient! It can take anywhere from 4 to 8 weeks for roots to develop. You’ll know they’re ready when you gently tug on a cutting and feel resistance, or when you see new leaf growth.
The most common issue you might encounter is rot. If you see your cuttings turning black and mushy at the soil line, it’s usually a sign of too much moisture and not enough air circulation. If this happens, remove the affected cutting immediately and check your watering habits. Sometimes, a cutting might just fail to root. Don’t be discouraged! It happens to every gardener, even the experienced ones. Just try again with a new batch.
A Encouraging Closing
Propagating plants is a wonderful way to connect with nature and multiply the beauty in your life. Don’t get discouraged if your first attempts aren’t perfect. Every gardener has their learning curve. Just keep at it, enjoy the process, and celebrate those tiny roots when they finally appear. Happy propagating!
Resource:
https://identify.plantnet.org/k-world-flora/species/Maerua%20duchesnei%20(De%20Wild.)%20F.White/data