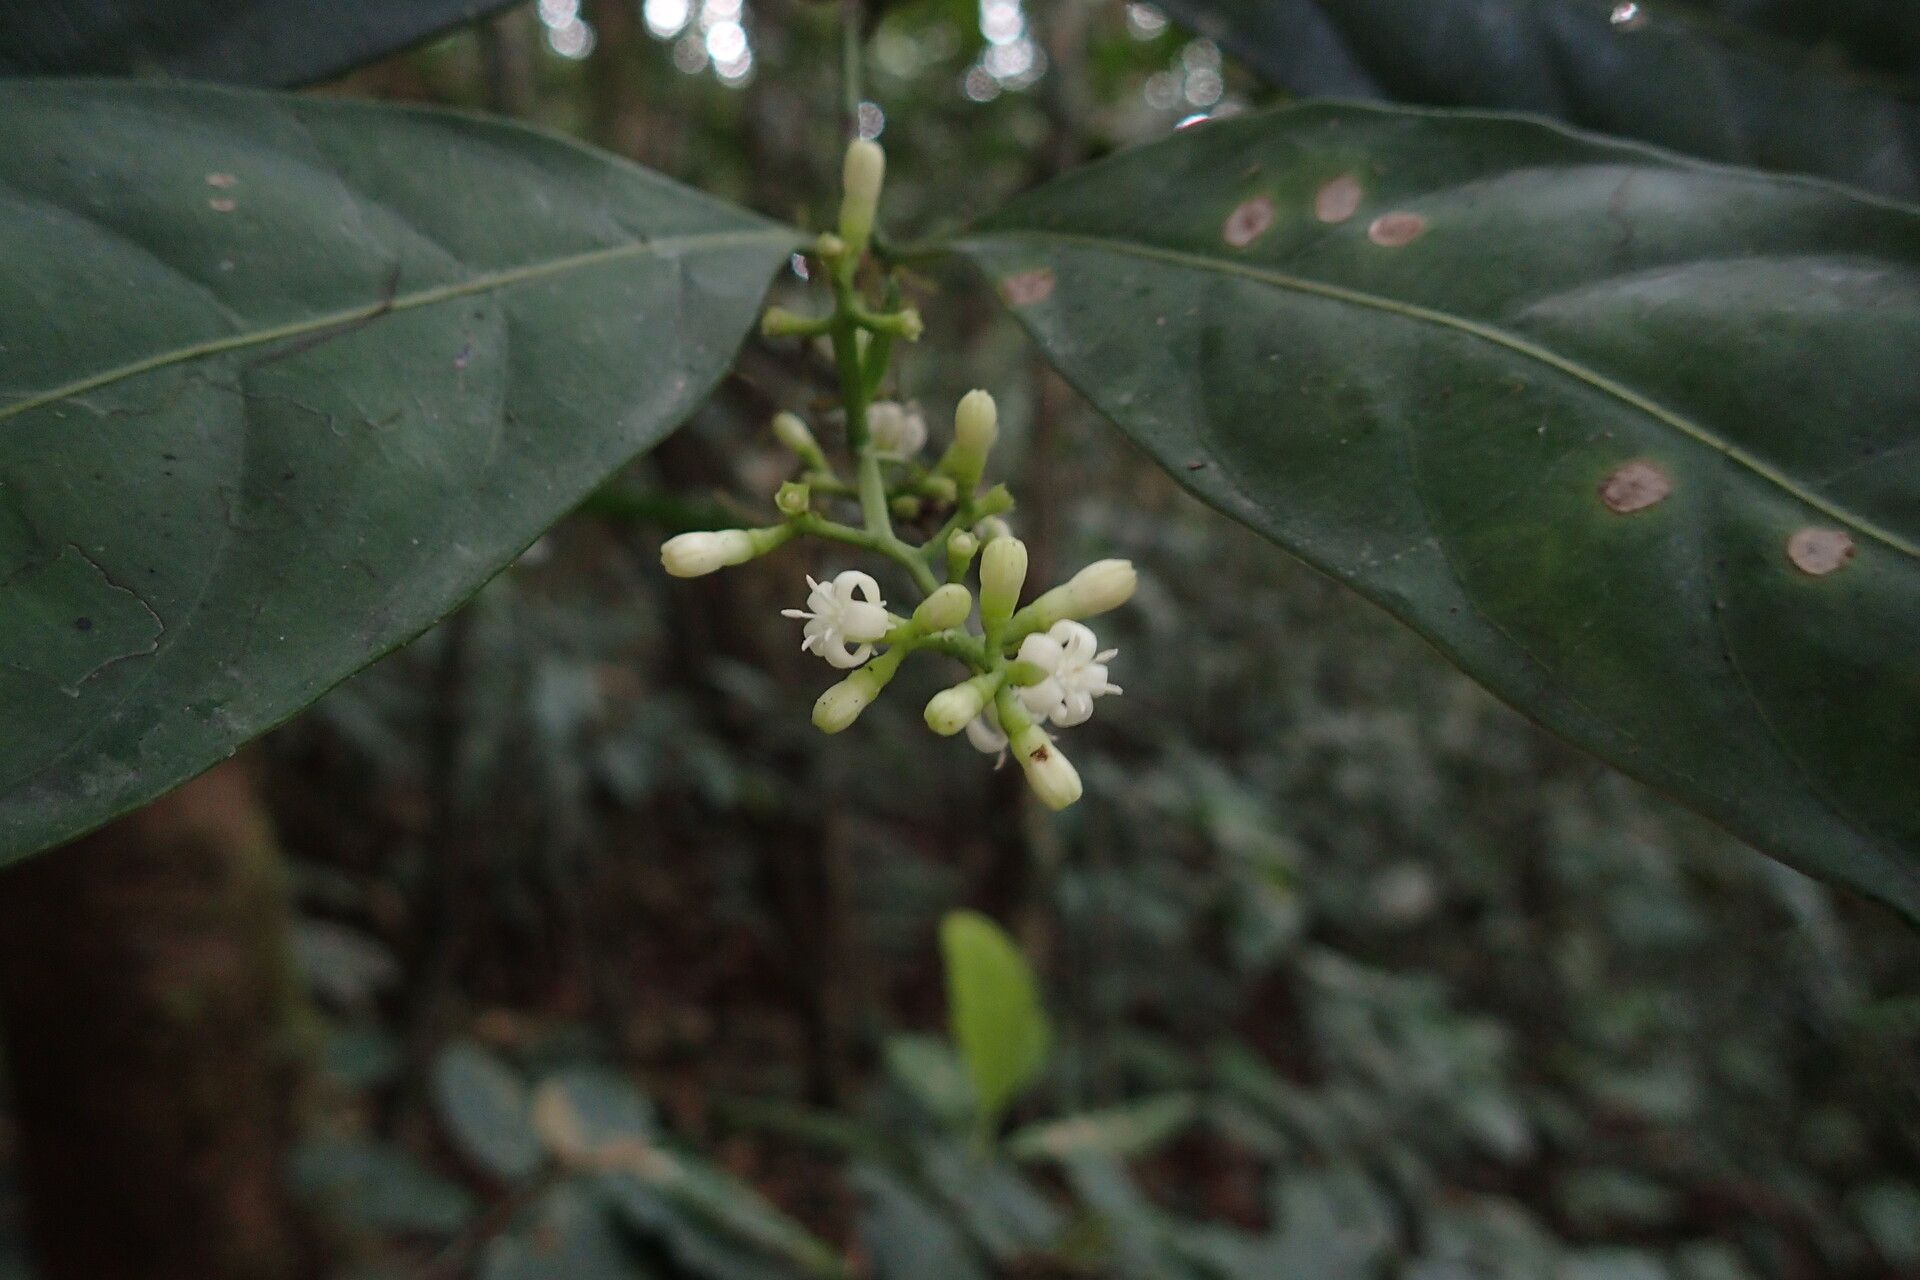
Hello, fellow garden enthusiasts! Today, we’re diving into the wonderful world of Gaertnera trachystyla. If you’ve ever admired its elegant foliage and delicate blooms, you’re in for a treat. Propagating this beauty is a fantastic way to fill your garden with more of its charm, and honestly, it’s a truly rewarding endeavor. While it might seem a little intimidating at first, with a few tips, you’ll be well on your way. I’d say it’s moderately easy, perfect for those of you looking to step up your propagation game.
The Best Time to Start
When it comes to getting the most bang for your buck with Gaertnera trachystyla, spring and early summer are your best friends. This is when the plant is in its most vigorous growth phase. New, healthy shoots are more likely to root successfully. Waiting until after the plant has finished its main blooming cycle and is actively growing again is key. Think of it as catching it at its peak energy!
Supplies You’ll Need
Before we get our hands dirty, let’s gather our tools. Having everything ready makes the process smooth and less stressful.
- Sharp Pruning Shears or a Clean Knife: For making clean cuts.
- Rooting Hormone (Optional but Recommended): Especially helpful for encouraging faster root development. Look for one with a fungicide to prevent rot.
- Well-Draining Potting Mix: A good blend of peat moss, perlite, and a bit of compost works wonders. You can also buy specific succulent or cactus mixes.
- Small Pots or Propagation Trays: Clean pots are crucial to prevent disease.
- Plastic Bags or a Propagation Dome: To create a humid environment.
- Watering Can with a Fine Rose: For gentle watering.
- Labels and a Marker: To keep track of your efforts!
Propagation Methods
We’ll focus on the most reliable methods for Gaertnera trachystyla.
Stem Cuttings: The Classic Approach
This is my go-to for many plants, and it works beautifully here.
- Select Healthy Stems: Look for non-flowering, semi-hardwood stems. These are flexible but not brand new and floppy. Aim for cuttings that are about 4-6 inches long.
- Make the Cut: Using your sharp pruning shears or knife, make a clean cut just below a leaf node. A leaf node is where a leaf attaches to the stem; this is where roots are most likely to emerge.
- Prepare the Cutting: Gently remove the lower leaves from the cutting, leaving only the top 2-3 leaves. If the remaining leaves are very large, you can carefully cut them in half to reduce water loss.
- Apply Rooting Hormone (Optional): Dip the cut end of the stem into your rooting hormone. Tap off any excess.
- Plant the Cuttings: Insert the treated end of the cutting about an inch deep into your prepared potting mix. You can place several cuttings in one pot, giving them a little space.
- Water Gently: Water the soil thoroughly but gently until water drains from the bottom of the pot.
- Create Humidity: Cover the pot with a clear plastic bag or place it inside a propagation dome. This will create a mini-greenhouse effect, keeping the cuttings moist and encouraging root formation. Make sure the leaves aren’t touching the sides of the bag if possible.
Water Propagation: Seeing is Believing
While not always as successful as soil propagation for Gaertnera trachystyla, it’s a fun way to watch the root development.
- Take Your Cuttings: Follow steps 1 and 2 from the stem cutting method.
- Place in Water: Place the cuttings in a clean jar or glass of lukewarm water. Ensure the leaf nodes are submerged, but try to keep the leaves themselves out of the water.
- Location: Place the jar in a bright spot, but out of direct sunlight.
- Change Water Regularly: Change the water every few days to keep it fresh and prevent bacterial growth. You’ll start to see tiny white roots emerging from the nodes within a few weeks.
- Transplant When Ready: Once the roots are about an inch long, you can carefully transplant them into a pot with well-draining soil.
The “Secret Sauce” (Pro Tips)
Here are a few tricks I’ve learned over the years that can really boost your success rate.
- Bottom Heat is Your Friend: If you have a heating mat designed for seedlings, place your pots on top of it. This warmth encourages root activity from below, which is incredibly beneficial, especially in cooler environments. It’s like giving your cuttings a cozy warm bed to grow from!
- Don’t Be Afraid to Mist: Occasional light misting of the leaves inside the humidity dome is also helpful, but do it in the morning so they have time to dry before evening. This mimics the natural dew and keeps the leaves hydrated while the roots are still forming.
- Cleanliness is Paramount: I cannot stress this enough! Sterilize your tools and pots before you begin. Even a tiny bit of leftover bacteria or fungus can completely ruin your efforts, leading to rot. A dilute bleach solution or rubbing alcohol works wonders.
Aftercare & Troubleshooting
Once you see new growth or feel resistance when gently tugging on a cutting, it’s a good sign that roots have formed!
- Acclimatize Gradually: Slowly remove the plastic bag or open the dome over a few days. This allows the new plant to adjust to the drier air outside.
- Watering: Keep the soil consistently moist but not waterlogged. Overwatering is the quickest way to kill a new cutting. Let the top inch of soil dry out slightly between waterings.
- Bright, Indirect Light: Continue to provide bright, indirect light. Direct sun can scorch delicate new growth.
- Common Issues: The most common problem is rot. If your cutting turns black and mushy, it’s likely due to too much moisture and poor air circulation. Yellowing leaves can indicate too much or too little water, or insufficient light. If you see signs of rot, you might need to discard the affected cutting and start fresh, being extra mindful of your watering and sanitation next time.
A Little Patience Goes a Long Way
Propagating plants is a dance with nature, and sometimes it takes a few tries to get it just right. Don’t get discouraged if your first attempts aren’t a roaring success. Each cutting you take is practice, and you’ll learn something new every time. Enjoy the process, watch for those tiny roots, and soon you’ll have a whole new collection of Gaertnera trachystyla to cherish! Happy planting!
Resource: