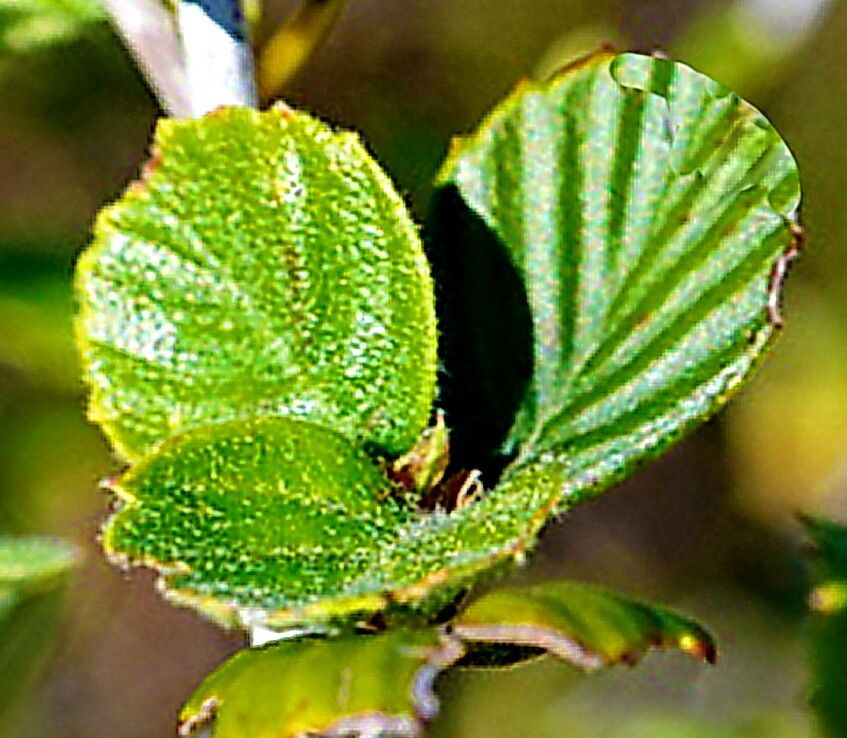
Well hello there, fellow plant lovers! If you’ve ever admired the beauty of Cercocarpus betuloides, also known as birch-leaf mountain mahogany, you’re in for a treat. This sturdy native shrub, with its delightful fuzzy leaves and lovely tan bark, is a real workhorse in many a garden. And the joy of nurturing a whole new plant from a tiny cutting or seed? It’s simply unparalleled. I’ve been coaxing these beauties into existence for two decades, and let me tell you, the rewards are absolutely worth the effort. For those just dipping their toes into propagation, I’d say Cercocarpus betuloides falls into the “moderately rewarding” category – a little patience goes a long way!
The Best Time to Start Things Off
Timing is everything, right? For our Cercocarpus betuloides, the sweet spot for taking cuttings is usually in late spring to early summer. This is when the plant is actively growing, and those semi-hardwood stems have just enough flexibility to root well. Think of it as their prime growth spurt – they’re ready to share their energy!
What You’ll Want to Gather
Before we get our hands dirty, let’s make sure we have our toolkit ready. Here’s what I always have on hand:
- Sharp, clean pruning shears or a sharp knife: A clean cut is a happy cut for your plant.
- Rooting hormone: This is your little helper to encourage those roots to form. I prefer a gel or powder.
- Well-draining potting mix: A blend of perlite, coir, and a bit of compost works wonders. You want good aeration!
- Small pots or propagation trays: Clean ones are a must to prevent disease.
- A clear plastic bag or propagation dome: This creates a humid little greenhouse for your cuttings.
- Labels and a permanent marker: Trust me, you’ll thank yourself later when you forget which cutting is which!
- A watering can with a fine rose: Gentle watering is key.
Nurturing New Life: Propagation Methods
Now for the fun part! We’ll focus on stem cuttings, which are generally the most reliable way to go with Cercocarpus betuloides.
Stem Cuttings: The Classic Approach
- Take Your Cuttings: Using your clean shears, select healthy, non-flowering shoots from a mature plant. You want stems that are about 4 to 6 inches long and are a mix of new growth and slightly older wood – this is that semi-hardwood stage I mentioned. Make your cut just below a leaf node (where a leaf attaches to the stem). Remove any lower leaves, leaving just a few at the top.
- Prepare for Rooting: Dip the cut end of the stem into your rooting hormone, ensuring it’s completely coated. Gently tap off any excess.
- Pot Them Up: Fill your small pots or trays with your well-draining potting mix. Make a small hole in the center with your finger or a pencil.
- Plant Your Cuttings: Insert the prepared cuttings into the holes, deep enough so that at least one leaf node is below the soil surface. Firm the soil gently around them.
- Create a Humid Environment: Water the soil lightly. Then, cover the pots with a clear plastic bag or place them under a propagation dome. If using a bag, you can prop it up with stakes so it doesn’t touch the leaves. This humidity is crucial. Place them in a bright location out of direct sunlight.
The “Secret Sauce”: My Insider Tips
Here are a few tricks I’ve learned over the years that really make a difference:
- Bottom Heat is Your Friend: If you have a seedling heat mat, placing your pots on it can significantly speed up rooting. It gives those developing roots a cozy boost, especially if your ambient temperature isn’t consistently warm.
- The “Water Nibble” Trick: When you first pot your cuttings, a light misting of water is good. But after that, resist the urge to overwater. Let the top inch of soil dry out slightly between waterings. Overly soggy soil is a fast track to rot, especially with these beauties.
- Don’t Be Afraid to Prune: Once your cuttings have started to root and show new growth (you’ll see tiny leaves unfurling!), you can give them a gentle pinch at the tip. This encourages them to branch out, creating a fuller, bushier plant.
Aftercare and When Things Go Wrong
Once you start to see signs of new growth – a sure sign that roots are forming! – it’s time for a little adjustment. Gradually acclimate your new plants to normal room humidity by slowly opening up the plastic bag or dome over a week or two. Continue to water them when the top inch of soil feels dry.
Now, sometimes things don’t go as planned, and that’s okay! The most common culprit is rot. If you see a cutting looking limp, dark, and mushy, or if mold appears on the soil, it’s likely succumbed to rot. This usually means it was too wet or there wasn’t enough airflow. Don’t be discouraged; just discard the affected cutting and try again, perhaps adjusting your watering frequency or ensuring better ventilation. Another sign is a cutting that simply shows no signs of life after several weeks. This could mean the rooting hormone wasn’t effective, the environment wasn’t right, or it just wasn’t a viable cutting.
Keep Growing!
Propagating Cercocarpus betuloides takes patience, yes, but it’s an incredibly rewarding journey. Don’t get discouraged if your first few attempts aren’t perfect. Each time you try, you learn a little more. So grab those shears, get your hands in the soil, and enjoy the process of bringing more of this wonderful plant into your world. Happy gardening!
Resource:
https://identify.plantnet.org/k-world-flora/species/Cercocarpus%20betuloides%20Nutt./data