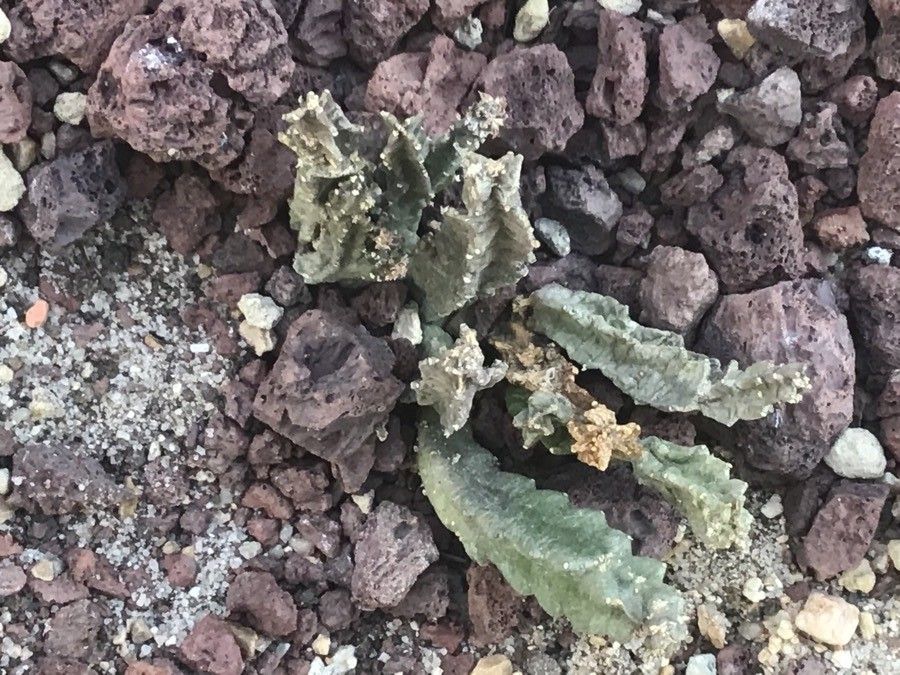
Hey there, fellow plant lovers! I’m so excited to chat with you today about a truly special plant: Apteranthes munbyana. If you haven’t encountered this gem before, imagine a plant with striking, architectural leaves that have a subtle, fuzzy texture. It’s like a little piece of desert art for your home. Propagating it is incredibly rewarding, and honestly, it’s a fantastic project for both seasoned gardeners and those just dipping their toes into the world of plant propagation. Don’t be intimidated; we’ll walk through it together!
The Best Time to Start
For Apteranthes munbyana, the sweet spot for propagation is during its active growing season. This usually means spring and early summer. When the plant is putting on new growth and has plenty of energy, your cuttings or divisions will have the best chance of taking root. Trying to propagate when the plant is dormant in the cooler months can be a bit of a struggle.
Supplies You’ll Need
Here’s a quick run-down of what you’ll want to have on hand:
- Sharp pruning shears or a clean knife: For making clean cuts.
- Potting mix: A well-draining, gritty mix is crucial. I like a blend of cactus/succulent soil with some perlite or pumice added for extra aeration.
- Small pots or seed trays: Clean and with drainage holes, of course.
- Rooting hormone (optional but helpful): Particularly for stem cuttings.
- Spray bottle: For misting.
- Clear plastic bag or propagator: To create a humid environment.
- Patience! The most important tool of all.
Propagation Methods
Apteranthes munbyana is quite forgiving, and I find success with a couple of straightforward methods.
Stem Cuttings
This is my go-to method.
- Take a cutting: Find a healthy, mature stem. Using your clean shears, make a cut just below a leaf node (where a leaf attaches to the stem). You want a piece that’s about 3-4 inches long.
- Remove lower leaves: Gently pull off any leaves from the bottom half of your cutting. This prevents them from rotting when buried.
- Let it callous: This is an important step for succulents! Allow the cut end to dry and form a callus for a day or two in a dry spot. This helps prevent rot.
- Apply rooting hormone (optional): Dip the callused end into rooting hormone if you’re using it.
- Plant the cutting: Fill your small pot with your gritty potting mix. Gently insert the callused end of the cutting into the soil.
- Water lightly: Give it a very light watering. You don’t want it soggy.
- Create humidity: Cover the pot with a clear plastic bag or place it in a propagator. This keeps the humidity high, which encourages root development.
Division
If your plant has grown bushy and has multiple stems emerging from the base, division is a wonderful way to get more plants.
- Gently remove the plant: Carefully take the entire plant out of its pot.
- Identify natural divisions: Look for where the roots naturally separate, or where multiple healthy shoots are emerging.
- Separate with care: You can often gently pull the root ball apart with your hands. If it’s a bit stubborn, a clean knife can help, but be as gentle as possible to avoid damaging the roots.
- Pot up the divisions: Pot each division into its own container with fresh, gritty potting mix.
- Water lightly: Similar to cuttings, water sparingly at first.
The “Secret Sauce” (Pro Tips)
Here are a couple of things I’ve learned over the years that make a big difference:
- Don’t let the leaves touch the soil (for cuttings): Make sure those lower leaves you removed are completely gone, and that any remaining leaves on your cutting are well above the soil line. This dramatically reduces the chance of rot.
- Use bottom heat: If you can, placing your pots on a gentle heating mat designed for plants can significantly speed up root formation. It mimics the warmth of spring and encourages those roots to get going.
Aftercare & Troubleshooting
Once your cuttings are planted or your divisions are potted, keep them in a bright, indirect light spot. Avoid direct sun, which can scorch young plants. Mist the soil occasionally to keep it lightly moist, but never waterlogged. A good rule of thumb is to water only when the top inch of soil feels dry.
You’ll know your cutting has rooted when you feel a little resistance when you gently tug on it, or if you see new growth appearing! For divisions, they should just start looking perky and established.
The most common issue you might encounter is rot. If you see mushy, brown stems or leaves, it’s likely due to overwatering. Don’t be discouraged if a cutting doesn’t make it; it happens! Just pull it out, assess what might have gone wrong, and try again. Sometimes, a perfectly healthy-looking cutting can just decide not to root.
A Encouraging Closing
Growing new plants is such a joy. It’s a process that requires a little patience and observation, but seeing those first tiny roots emerge or that new shoot unfurl is pure magic. So, give it a go with your Apteranthes munbyana. Enjoy the journey, learn from each step, and before you know it, you’ll have a whole collection of these beauties! Happy propagating!
Resource: