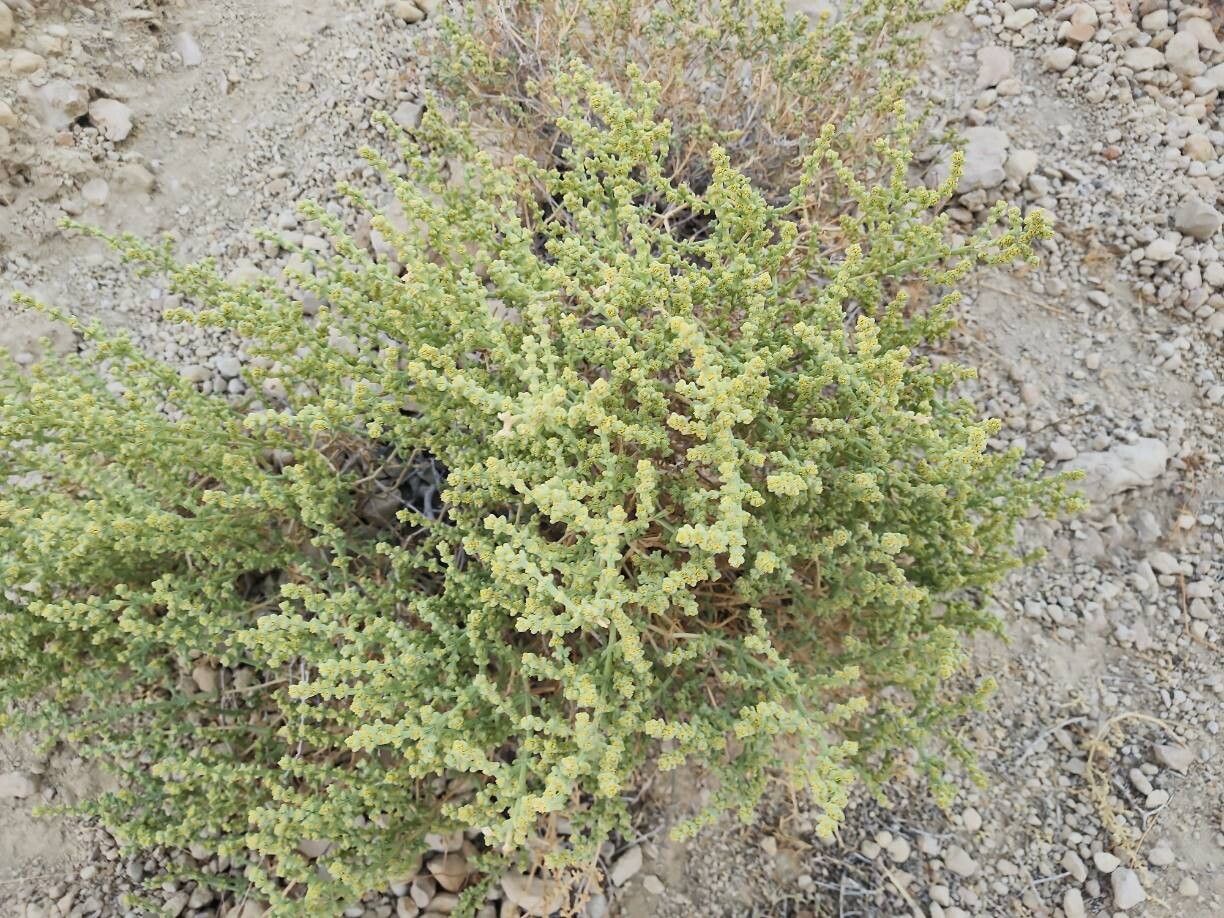
Hello fellow plant lovers! Today, we’re diving into the wonderful world of Anabasis setifera. This hardy little desert dweller, with its softly fuzzy stems and intriguing architectural look, really adds something special to a garden. Its resilience is just a joy to witness, and the act of coaxing new life from an existing plant is, for me, one of the most rewarding parts of gardening. If you’re new to propagation, you might find Anabasis setifera a friendly and forgiving subject, which is always a bonus!
The Best Time to Start
For the best chance of success with Anabasis setifera, I always recommend starting your propagation efforts during the warmer months. Think late spring through to mid-summer. This is when the plant is actively growing and has plenty of energy to put into developing new roots. Trying to propagate when the plant is stressed or dormant is just making things harder for yourself.
Supplies You’ll Need
Here’s what you’ll want to have on hand before you get started:
- Sterile pruning shears or a sharp knife: Clean tools are crucial for preventing disease.
- Rooting hormone (optional but recommended): This can give your cuttings a helpful boost.
- Well-draining potting mix: A cactus or succulent mix is ideal. You can also make your own by combining equal parts potting soil, perlite, and coarse sand.
- Small pots or trays: Ensure they have drainage holes.
- Watering can with a fine rose or spray bottle: For gentle watering.
- Labels and a marker: To keep track of your new plants!
Propagation Methods
Anabasis setifera is quite versatile, but I find the easiest and most successful method is by stem cuttings.
- Take Your Cuttings: Select healthy, vigorous stems from your mature plant. Using your sterilized pruning shears or knife, take cuttings that are about 4-6 inches long. Look for stems that are developing new growth but haven’t gotten too woody.
- Prepare the Cuttings: Gently remove the lower leaves from the bottom half of each cutting. This prevents them from rotting once planted. If you’re using rooting hormone, lightly dip the cut end into it, tapping off any excess.
- Let Them Callus (Optional but Recommended): This is a small but important step for succulents. Allow the cut ends to dry and callus over for a day or two in a shady spot. This helps prevent rotting when they go into the soil.
- Plant Your Cuttings: Fill your small pots or trays with your well-draining potting mix. Make a small hole in the center with your finger or a pencil.
- Insert Cuttings: Gently insert the callused end of each cutting into the hole, making sure the leaves aren’t touching the soil. Firm the soil gently around the base of the cutting.
- Initial Watering: Water lightly after planting. You want the soil to be moist but not waterlogged. A spray bottle is great for this initial stage.
- Placement: Place your pots in a bright location that receives indirect sunlight. Avoid direct, harsh sun, which can scorch the cuttings.
The “Secret Sauce” (Pro Tips)
Here are a couple of little tricks I’ve picked up over the years that really make a difference:
- Bottom Heat is Your Friend: If you have the means, placing your pots on a gentle heat mat can significantly speed up root development. These little guys love a bit of warmth to encourage them to get going.
- Don’t Overwater – Seriously: This is the golden rule for almost all succulents, and Anabasis setifera is no exception. It’s much easier to revive a slightly dry cutting than to save one that’s rotted from too much moisture. Let the soil dry out slightly between waterings.
Aftercare & Troubleshooting
Once you start to see new growth emerging from the base of your cuttings, or if you gently tug on a cutting and feel a bit of resistance, it’s a sign that roots have formed! At this point, you can water a little more regularly, but still always ensuring the soil dries out between waterings. Gradually introduce them to more light.
The most common issue you’ll encounter is rot. If your cutting turns mushy, black, or just falls apart, it’s usually a sign of overwatering or, less commonly, a sterile issue. Unfortunately, rotten cuttings cannot typically be saved. Remove them immediately to prevent the rot from spreading.
A Little Encouragement
Remember, gardening is a journey, and propagation is about patience and observation. Don’t get discouraged if not every cutting takes. Each attempt is a learning opportunity! Enjoy the process of watching your little Anabasis setifera babies develop. Happy propagating!
Resource:
https://identify.plantnet.org/k-world-flora/species/Anabasis%20setifera%20Moq./data