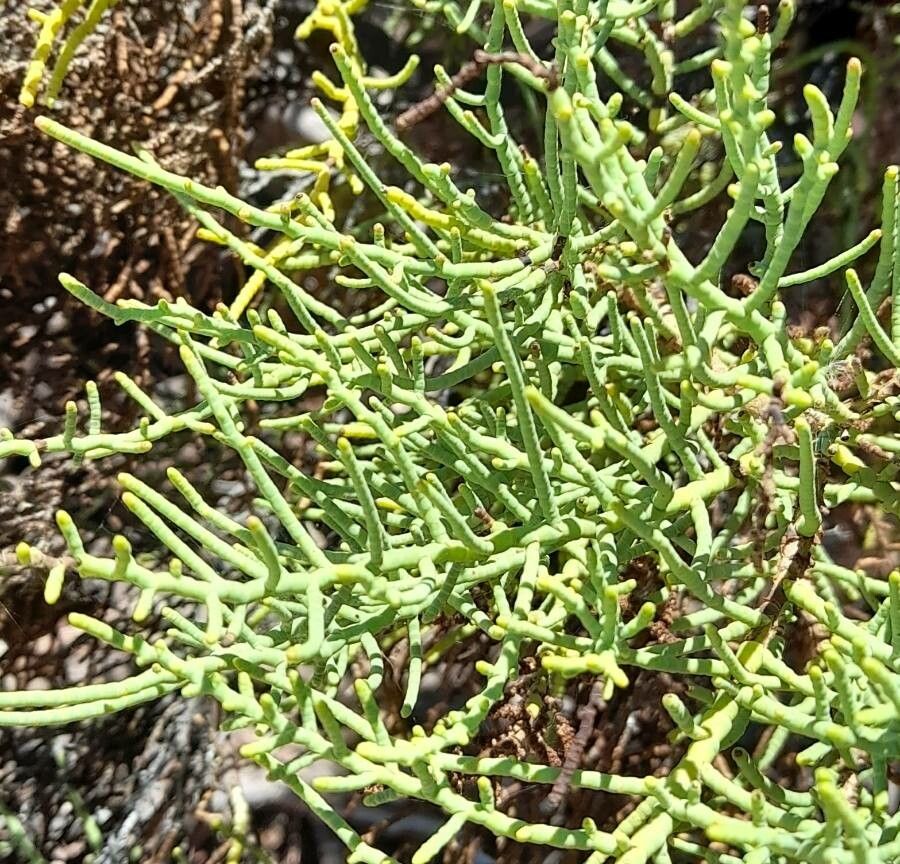
Oh, hello there! I’m so glad you’ve stopped by. Today, we’re diving into the wonderful world of Allenrolfea vaginata, also known as the Saltbrush. If you’re captivated by its architectural form and unique silvery-blue foliage, you’re in for a treat. Propagating this beauty isn’t just about making more plants; it’s about getting to know its rhythms, and frankly, it’s a deeply satisfying process. While it might seem a little tricky at first glance, I’ve found that with a few key insights, even beginner gardeners can find success.
The Best Time to Start
When it comes to Allenrolfea vaginata, spring and early summer are your golden windows. This is when the plant is actively growing and has the most energy reserves to put into developing new roots. Waiting until the plant shows signs of vigorous new growth is your cue. Think of it as waiting for your favorite teenager to be in a good mood – that’s when they’re most receptive!
Supplies You’ll Need
You won’t need much to get started, just a few essentials:
- Sharp, clean pruning shears or a sharp knife: For making those crucial cuts.
- Well-draining potting mix: I like a blend of cactus/succulent mix with some perlite or pumice for extra aeration.
- Small pots or propagation trays: Clean ones are a must!
- Rooting hormone (optional but helpful): A powder or liquid that encourages root development.
- Spray bottle: For gentle misting.
- Clear plastic bag or cloche: To create a humid environment.
- Small trowel or dibber: For making planting holes.
Propagation Methods
For Allenrolfea vaginata, stem cuttings are your go-to method. It’s straightforward and yields the best results.
- Take your cuttings: In spring or early summer, select healthy, non-flowering stems. Using your sharp shears or knife, make a clean cut just below a leaf node. Aim for cuttings that are about 3-6 inches long. Remove any lower leaves, leaving about 2-3 sets of leaves at the top.
- Let them callous: This is an important step! Place the cuttings in a dry, shaded spot for a day or two. This allows the cut end to dry and form a protective callous, which helps prevent rot.
- Apply rooting hormone (if using): Dip the calloused end of each cutting into your rooting hormone. Tap off any excess.
- Plant your cuttings: Fill your clean pots or trays with your well-draining potting mix. Use a small trowel or dibber to make a hole in the soil. Gently insert the calloused end of the cutting into the hole, ensuring the leaf nodes are below the soil surface. Firm the soil gently around the cutting.
- Create humidity: Water the soil lightly until it’s moist but not soggy. Cover the pots or trays with a clear plastic bag or cloche to maintain high humidity. You can prop it up with a few stakes to keep it from touching the leaves.
The “Secret Sauce” (Pro Tips)
Now, for a couple of things I’ve learned over the years that make a real difference:
- Avoid waterlogged soil like the plague. Seriously. Allenrolfea is naturally adapted to arid conditions where water doesn’t linger. If the soil stays too wet, rot is almost guaranteed. I always err on the side of slightly too dry rather than too wet.
- Bottom heat can be your best friend. If you have a seedling heating mat, placing your propagation tray on it can significantly speed up root development. It mimics the warmth of the soil in its natural environment during the growing season. Just make sure the mat isn’t scorching hot, a gentle warmth is all you need.
Aftercare & Troubleshooting
Once your cuttings are planted, place them in a bright location but out of direct, harsh sunlight. Indirect light is perfect. Keep the humidity high by misting occasionally, but only when the soil surface starts to feel dry.
You’ll know your cuttings have rooted when you gently tug on a stem and feel resistance. This can take anywhere from 4-8 weeks, sometimes longer. Once roots have formed, you can gradually remove the plastic cover over a few days to acclimate the new plant to normal humidity. Continue to water sparingly, allowing the soil to dry out between waterings.
The most common issue you’ll encounter is rot. If you see a cutting turning mushy or black at the base, it’s likely too much moisture. Unfortunately, once rot sets in, it’s hard to save. This is why those well-draining soil and careful watering are so vital.
So there you have it! Propagating Allenrolfea vaginata is a journey worth taking. Don’t be discouraged if your first few attempts aren’t perfect. Gardening is all about observation and learning. Be patient, trust the process, and enjoy the magic of bringing these beautiful plants to life. Happy gardening!
Resource:
https://identify.plantnet.org/k-world-flora/species/Allenrolfea%20vaginata%20(Griseb.)%20Kuntze/data