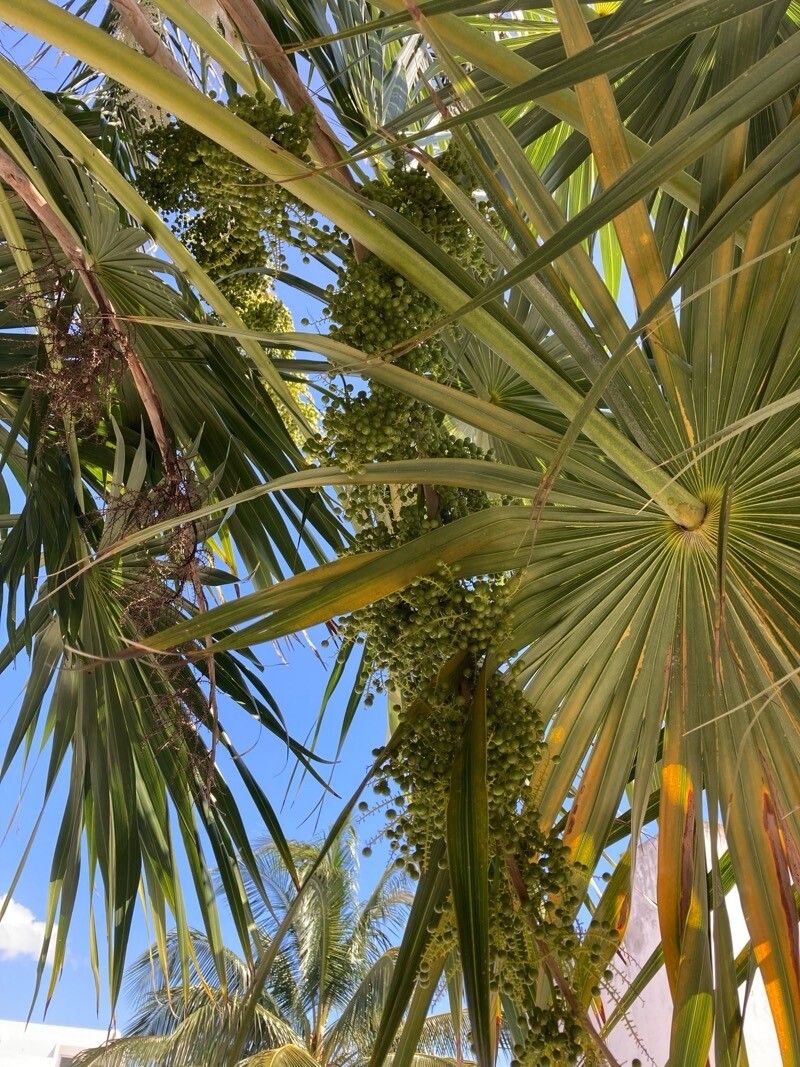
Oh, the lovely Thrinax radiata! Honestly, if you’re looking for a tropical stunner that whispers “hello, paradise,” this is it. With those elegant, fan-shaped leaves that shimmer in the sun, it brings a touch of the tropics right into your garden or even your sunniest indoor space. And the best part? Learning to propagate them is surprisingly rewarding, though I’ll be honest, it’s not always the easiest for absolute beginners. But don’t let that stop you! With a little patience and some know-how, you’ll be well on your way to a whole grove of these beauties.
The Best Time to Start
For Thrinax radiata, spring and early summer are your golden windows. This is when the plant is actively growing, flushed with new energy. Cuttings taken during this vigorous phase have the best chance of rooting. You’re essentially catching them at their peak performance!
Supplies You’ll Need
Here’s what you’ll want to have on hand:
- Sharp, sterile pruning shears or a sharp knife: Crucial for clean cuts that minimize disease.
- Well-draining potting mix: I like a blend of perlite, coco coir, and a bit of compost. The goal is airy and quick to dry.
- Rooting hormone (optional but recommended): Especially for those trickier cuttings, this can give them a helping hand.
- Small pots or propagation trays: For your new little sprouts. Make sure they have drainage holes!
- Clear plastic bags or a misting bottle: To maintain humidity around your cuttings.
- A sunny spot with indirect light: Direct sun can scorch tender new growth.
Propagation Methods
Thrinax radiata is primarily propagated by division. While stem cuttings are sometimes attempted, it can be quite challenging to get them to root successfully. Let’s focus on the method that typically gives the best results for this palm.
Division: Your Best Bet
This method is all about splitting up existing clumps.
- Assess your mature Thrinax radiata. Look for a plant that has started to form multiple stems or pups at its base. These are your candidates for division.
- Gently remove the plant from its pot. If it’s in the ground, carefully dig around it, trying to disturb the root ball as little as possible.
- Inspect the root ball. You’re looking for natural separation points where a pup or a new stem has its own set of roots.
- Use your clean pruning shears or knife to carefully separate a pup or stem that has a good amount of its own root system attached. Don’t force it if it feels like you’re tearing too many roots. A clean cut is better than a tear.
- Immediately pot your divisions into their own pots filled with your well-draining mix.
- Water them thoroughly to settle the soil.
- Place them in a warm location with bright, indirect light.
The “Secret Sauce” (Pro Tips)
Here are a couple of things I’ve learned over the years that really make a difference:
- The “Taproot” Whisper: When you’re dividing, if you encounter a particularly robust taproot on a pup, resist the urge to cut it back too much. This primary root is a lifeline for establishing the new plant. Just ensure it can fit comfortably in the new pot.
- Humidity is King: After division, your new plants are a bit fragile. I like to place a loosely secured plastic bag over the pot, creating a mini-greenhouse. This traps humidity, which is essential for those roots while they get established. Just make sure the leaves aren’t constantly touching the plastic, as that can encourage rot.
Aftercare & Troubleshooting
Once your divisions are potted, give them consistent moisture – not soggy, but never bone dry. Keep them out of direct, harsh sunlight. You’ll know they’re taking off when you start to see new leaf growth. This can take several weeks, so be patient!
The biggest issue you’ll likely face is root rot. If you see yellowing leaves that progress quickly, or a mushy, foul-smelling base, rot is probably the culprit. This is usually caused by overwatering or a mix that’s too heavy. If you suspect rot, gently unpot the plant, trim away any affected roots, and repot in fresh, dry, well-draining soil. Sometimes, a bit of fungicide can help, but prevention (good drainage and watering habits) is always best.
A Little Patience Goes a Long Way
Propagating Thrinax radiata might take a bit of practice, but the joy of watching those new plants thrive is absolutely worth it. Don’t get discouraged if your first attempt isn’t perfect. Every gardener has had their share of triumphs and little setbacks. Enjoy the process, connect with your plants, and soon you’ll be surrounded by your own beautiful palm collection. Happy gardening!
Resource: