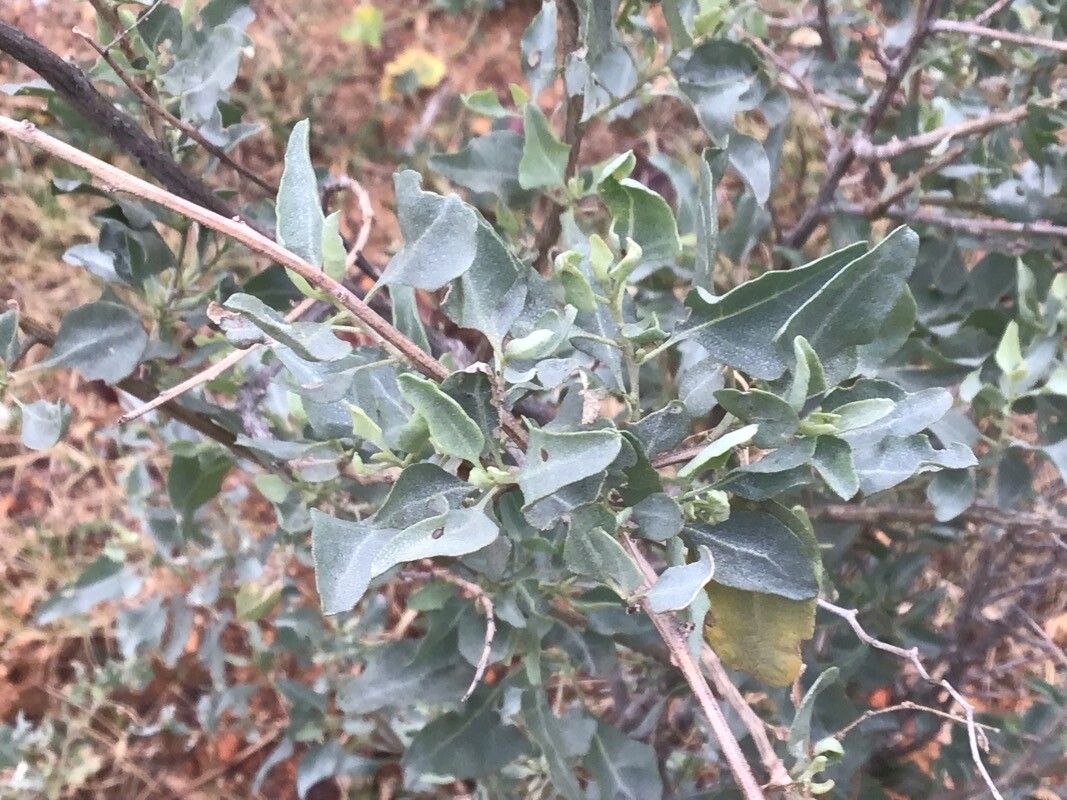
Hello there, fellow plant enthusiasts! I’m so thrilled you’re interested in propagating Atriplex lentiformis, also known as Saltbush. This is a truly remarkable plant, especially if you live in drier climates or have salty soil. Its silvery-gray foliage is just stunning, and it provides fantastic habitat for wildlife. Plus, it’s surprisingly tough and adaptable!
For those of you just starting out with propagation, I think you’ll find Atriplex lentiformis to be a wonderfully rewarding plant to work with. It’s quite forgiving, which is always a plus when you’re learning something new.
The Best Time to Start
When it comes to getting the most bang for your buck with propagation, spring and early summer are your golden ticket. This is when the plant is actively growing and has plenty of energy to put into rooting. You’ll want to take cuttings from stems that are semi-hardwood, meaning they’re not brand new and floppy, but not old and woody either. They should snap cleanly when bent, rather than just bending over.
Supplies You’ll Need
Gathering your supplies beforehand makes the whole process smoother. Here’s what I usually have on hand:
- Sharp pruning shears or a clean knife: For making clean cuts.
- Rooting hormone (optional but recommended): A powder or gel to encourage root development.
- Well-draining potting mix: A blend of perlite, sand, and a good quality potting soil works wonders. You can also look for a cactus or succulent mix.
- Small pots or propagation trays: Clean pots are essential to prevent disease.
- Plastic bags or a propagation dome: To create a humid environment.
- Watering can with a fine rose: For gentle watering.
Propagation Methods: Take Cuttings!
For Atriplex lentiformis, stem cuttings are by far the most reliable and easiest method.
- Take Your Cuttings: Head out in spring or early summer. Look for healthy, upright stems from your mature plant. Using your sharp pruning shears or knife, take cuttings about 4-6 inches long. Make your cut just below a leaf node (where a leaf emerges from the stem). Remove the lower leaves, leaving just a couple at the top.
- Prepare the Cuttings: If you’re using rooting hormone, dip the cut end of each stem into the powder or gel. Gently tap off any excess.
- Planting Your Cuttings: Fill your small pots or trays with your well-draining potting mix. Make a small hole in the center of the soil with your finger or a pencil. Insert the cut end of the Atriplex cutting into the hole, ensuring at least one leaf node is buried in the soil. Gently firm the soil around the cutting.
- Give Them a Drink: Water your newly planted cuttings gently but thoroughly. You want the soil to be moist but not waterlogged.
- Create Humidity: This is crucial! Cover your pots with a clear plastic bag or place them under a propagation dome. This will trap moisture and keep the humidity high, which helps the cuttings prevent drying out before they can form roots. Make sure the plastic bag doesn’t touch the leaves if possible – this can lead to rot. Poke a few small holes in the bag for a bit of air circulation.
The “Secret Sauce” (Pro Tips)
Here are a couple of little tricks I’ve learned over the years that can really boost your success:
- Think About Heat: Want to speed things up? Bottom heat is your friend! If you have a seedling heat mat, place your pots on it. This gentle warmth encourages root development from below. You’ll be amazed at how much faster they root.
- Location, Location, Location: Don’t give them direct scorching sun right away. Find a spot that gets bright, indirect light. A bright windowsill or a spot under some shade cloth is perfect. Too much sun, and your cuttings will dry out and roast before they can even think about rooting.
Aftercare & Troubleshooting
Once you start to see new growth appearing on your cuttings, that’s a great sign! It means roots are forming.
- Gradual Acclimation: Slowly start to remove the plastic bag or ventilation holes over a few days to gradually acclimate your new little plants to normal humidity levels.
- Watering: Continue to keep the soil consistently moist but not soggy. Overwatering is the quickest way to invite problems.
- Signs of Rot: If your cuttings start to turn black and mushy, that’s usually a sign of rot, often caused by too much moisture and not enough air circulation. Unfortunately, once rot sets in, it’s hard to save them. This is why a well-draining mix and that bit of airflow are so important. If a cutting looks sad and limp, check the soil moisture and ensure good light.
Don’t be discouraged if a few don’t make it. Propagation is an art, and sometimes, you just have to try again. The satisfaction of watching a tiny cutting grow into a thriving plant is truly one of the greatest joys of gardening. Be patient, enjoy the process, and happy propagating!
Resource:
https://identify.plantnet.org/k-world-flora/species/Atriplex%20lentiformis%20(Torr.)%20S.Watson/data