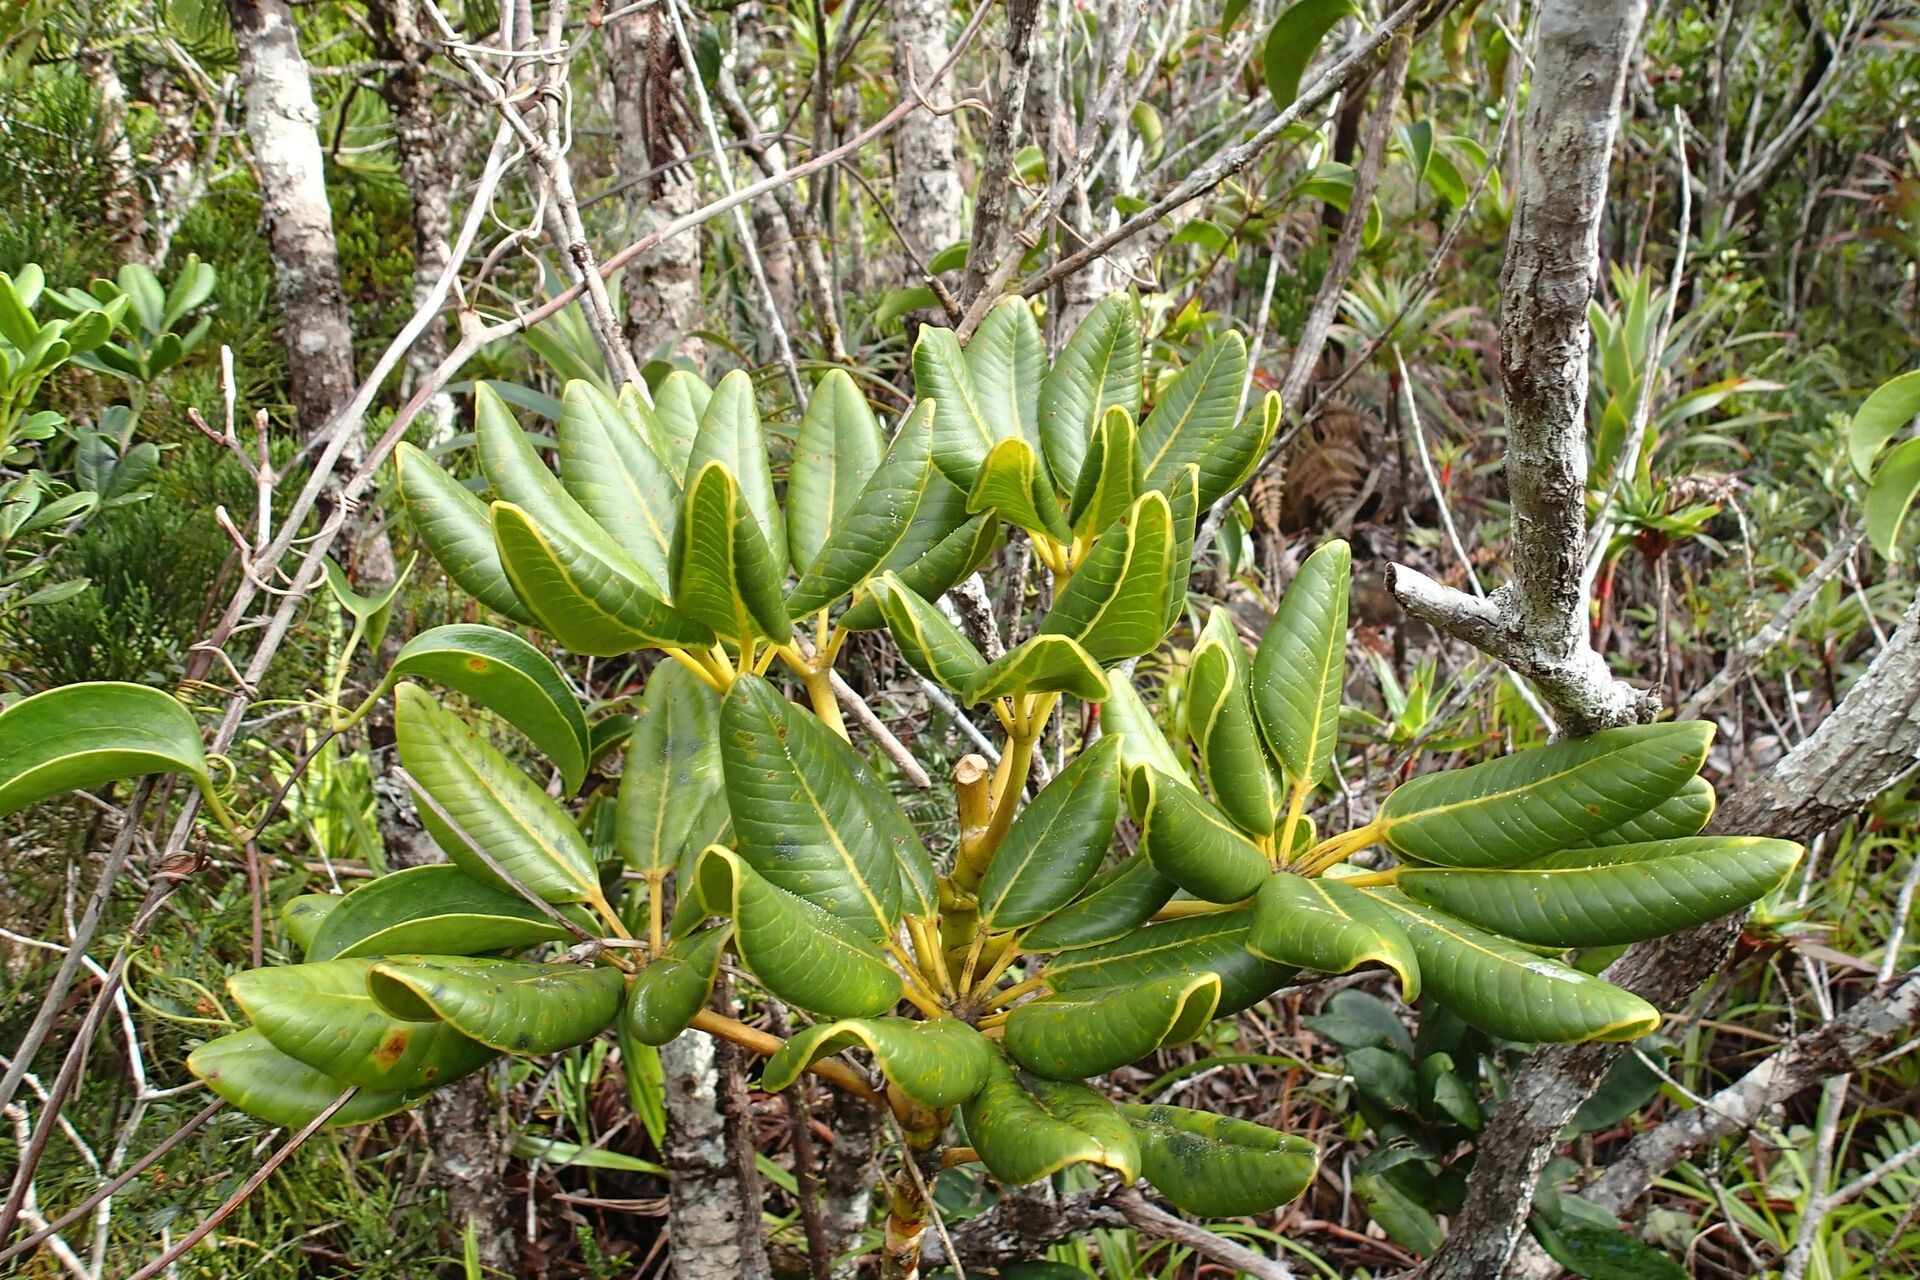
Ah, the Plerandra emiliana! It’s one of those beauties that just makes you smile, isn’t it? With its vibrant foliage and architectural presence, it brings a touch of the tropics right into our homes. And the thought of creating more of these living jewels from just a cutting or a division? Pure gardening joy! Let me tell you, propagating Plerandra emiliana is a really satisfying endeavor. While it’s not always a walk in the park for absolute beginners, with a little care and attention, it’s definitely achievable. You’ll find yourself hooked on coaxing new life from your favorite plants in no time.
The Best Time to Start
For the very best chance of success with your Plerandra emiliana cuttings, spring and early summer are your golden ticket. This is when the plant is actively growing, meaning it has more energy to put into developing roots. Look for healthy, new growth – not too woody, but not so soft and new that it’s falling over. You want stems that are firm and have a bit of give.
Supplies You’ll Need
Gathering your supplies beforehand makes the whole process much smoother. Here’s what I’ve found indispensable:
- Sharp Pruning Shears or a Clean Knife: For making clean cuts. Dull tools can crush the stems, making it harder for them to root.
- Rooting Hormone (Optional but Recommended): A powdered or liquid rooting hormone can significantly boost your success rate by encouraging faster and stronger root development.
- Well-Draining Potting Mix: A good starting point is a mix of perlite, peat moss, and a bit of standard potting soil. You want something that won’t hold too much moisture.
- Small Pots or Seedling Trays: Clean pots are crucial to prevent disease.
- Clear Plastic Bags or a Propagator Lid: These create a humid environment for your cuttings.
- Watering Can with a Fine Rose: For gentle watering.
- Labels and a Marker: To keep track of what you’ve propagated and when.
Propagation Methods
There are a couple of ways to get more Plerandra emiliana plants, but stem cuttings are usually my go-to.
1. Stem Cuttings: This is my favorite because it’s efficient and I can get several new plants from one mother plant.
*   **Taking the Cutting:** Select a healthy stem that’s about 4-6 inches long. **Make a clean cut just below a leaf node**. A leaf node is where a leaf attaches to the stem – this is where roots are most likely to form. Remove the lower leaves, leaving just two or three at the very top. This prevents them from rotting in the soil and reduces water loss.
*   **Applying Rooting Hormone:** If you’re using rooting hormone, **dip the cut end of the stem into the hormone powder or liquid**, tapping off any excess.
*   **Planting the Cutting:** Fill your small pots with your well-draining potting mix. Make a small hole with your finger or a pencil, and **gently insert the bottom part of the cutting into the hole**. Firm the soil around the stem to ensure good contact.
*   **Watering and Creating Humidity:** **Water the pot gently** until you see water drain from the bottom. Then, place the pot inside a clear plastic bag or cover it with a propagator lid to **create a mini-greenhouse effect**. This keeps the humidity high, which is vital for cuttings.
2. Water Propagation: This is a bit more visual and can be rewarding to watch the roots grow.
*   **Prepare Your Cutting:** Follow the same steps as for stem cuttings: select a healthy stem, make a clean cut below a leaf node, and remove lower leaves.
*   **Place in Water:** Fill a clean jar or glass with **room-temperature water**. Submerge the cut end of the stem, ensuring that **no leaves are touching the water**. Leaves submerged will rot and can introduce disease.
*   **Location:** Place the jar in a bright spot with **indirect light**.
*   **Water Changes:** **Change the water every few days** to keep it fresh and prevent bacterial growth.
The “Secret Sauce” (Pro Tips)
Here are a couple of things I’ve learned over the years that really give you an edge:
- Bottom Heat is Your Friend: If you can provide gentle warmth from below, it can make a huge difference! A heating mat specifically designed for propagators will encourage root development much faster. It mimics the warmth of summer soil.
- Don’t Overwater (Especially in Soil): This is where a lot of new propagators go wrong. The goal is moist, not soggy. Too much water can lead to rot before roots even have a chance to form. Let the surface of the soil dry out slightly between waterings.
- Be Patient with Rooting Hormone: While rooting hormone is great, don’t be tempted to overdo it. For some plants, too much can actually inhibit growth. A light dusting or dip is usually plenty.
Aftercare & Troubleshooting
Once you start seeing tiny white roots emerging from the bottom of the pot or starting to show in the water, you’re on your way!
- Acclimating Cuttings: If your cuttings were in a plastic bag, gradually start to open the bag a little each day for a week or so. This helps them get used to lower humidity before you remove the bag entirely.
- Transplanting (from water): Once those water roots are about an inch long, you can carefully transplant them into your well-draining potting mix. Treat them as you would any new seedling.
- Signs of Trouble: The most common sign of failure is wilting and browning leaves, or the stem turning mushy and black (rot). This usually means the cutting has too much moisture and not enough good airflow. If you see this, unfortunately, it’s best to discard the affected cutting and start again, making sure to adjust your watering and humidity levels. If the leaves turn yellow and drop, it could be a sign of not enough light.
A Encouraging Closing
Propagating plants is a journey of observation and gentle encouragement. It might take a try or two, and that’s perfectly okay. Celebrate the small victories, like seeing those first little white roots. The patience you cultivate with your Plerandra emiliana will be rewarded with vibrant new life, and a deeper connection to your green companions. Happy propagating!
Resource: