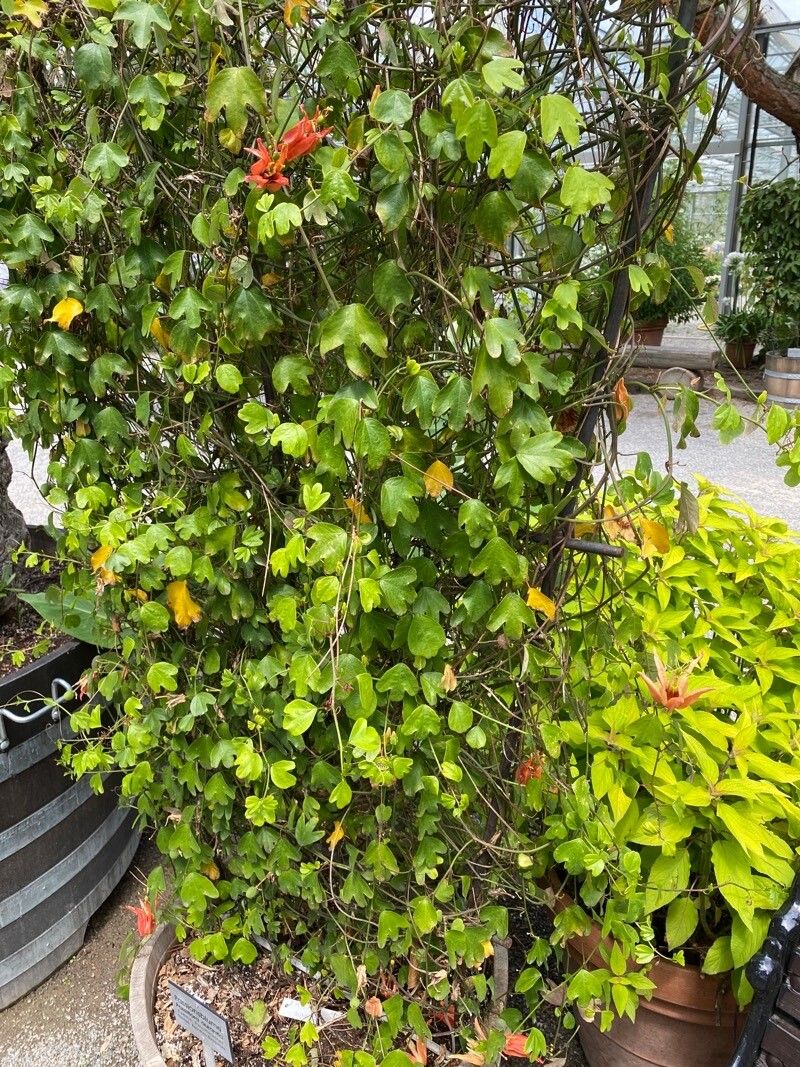
Oh, the Passiflora aurantia! Isn’t she a stunner? That fiery orange glow, the intricate beauty of its blooms… it’s no wonder it has captured so many hearts. If you’ve been dreaming of filling your garden with these beauties, or perhaps sharing a piece of that magic with a friend, I’m here to tell you that propagating your own Passiflora aurantia is absolutely achievable. And trust me, there’s a special kind of joy in watching a tiny cutting unfurl its first new leaf. For beginners, I’d say it’s moderately easy – a little patience and following a few key steps, and you’ll be well on your way.
The Best Time to Start
My preferred time for propagating Passiflora aurantia is in late spring to early summer. This is when the plant is actively growing, producing plenty of healthy, vigorous stems. Starting when the weather is warm and consistent also gives those new cuttings a good head start. Avoid trying to propagate during the plant’s dormant period in winter; you’ll have much better luck when it’s bursting with life.
Supplies You’ll Need
Here’s what you should gather before you dive in:
- Sharp Pruning Shears or a Clean Knife: For making clean cuts.
- Rooting Hormone (Optional but Recommended): A powder or gel to encourage root development.
- Small Pots or Trays: With drainage holes, of course!
- Well-Draining Potting Mix: A good blend would be equal parts perlite, coco coir, and a little bit of compost. You can also buy specific seed-starting or propagation mixes.
- Small Plastic Bags or Clear Domes: To create a humid environment.
- Watering Can with a Fine Rose: For gentle watering.
- Labels: To keep track of your cuttings!
Propagation Methods
For Passiflora aurantia, stem cuttings are my go-to method. It’s very effective and gives you a good chance of success.
Taking the Cuttings:
- Choose your stems: Look for healthy, non-flowering, semi-hardwood stems on your established plant. You want stems that are firm but still have a bit of flexibility – not too woody, and not too soft and green.
- Make the cut: Using your clean shears or knife, take cuttings that are about 4-6 inches long. Make the cut just below a leaf node. A leaf node is where a leaf joins the stem; this is where roots are most likely to form.
- Prepare the cuttings: Gently remove the lower leaves, leaving just one or two at the very top of the cutting. This prevents the leaves from rotting in the soil and reduces water loss.
Planting the Cuttings:
- Dip in rooting hormone (if using): Moisten the cut end of the stem slightly with water, then dip it into the rooting hormone powder or gel. Tap off any excess.
- Make holes: In your prepared pots filled with your propagation mix, use a pencil or your finger to make a hole for each cutting. This prevents the rooting hormone from being scraped off.
- Insert the cuttings: Gently push each cutting into a hole, ensuring that at least one or two leaf nodes are buried below the surface of the soil. Firm the soil gently around the stem.
- Water gently: Water thoroughly with your fine rose watering can until the soil is moist but not soggy.
Creating a Humid Environment:
- Cover up: Place a clear plastic bag over the pot, securing it loosely with a rubber band around the rim, or use a clear plastic dome. This traps humidity, which is crucial for cuttings to root before they can take up water through new roots.
The “Secret Sauce” (Pro Tips)
- Bottom Heat is Your Friend: If you have it, placing your pots on a gentle heating mat can dramatically speed up root formation. The warmth from below encourages the plant to put its energy into developing roots.
- Don’t Let Leaves Touch Water: If you opt for water propagation (which I find a bit trickier with Passiflora but can work for some), ensure no leaves are submerged. They’ll rot quickly and can infect the stem.
- Take More Than You Think You Need: Not every cutting will take, and that’s perfectly normal. I always take at least twice as many cuttings as I hope to succeed with. It’s better to have a few extras than to be disappointed.
Aftercare & Troubleshooting
Once your cuttings are planted, find a bright location with indirect light. Mist the inside of the plastic bag or dome occasionally if you see condensation drying up, but generally, you want to maintain that humid microclimate.
You’ll know your cuttings have rooted when you see new leaf growth! This can take anywhere from 4 weeks to a couple of months. You can also give a very gentle tug on the cutting – if there’s resistance, roots have likely formed.
Signs of Failure:
- Wilting and Yellowing: If a cutting wilts and turns yellow but doesn’t show signs of rot, it might just be struggling for water or light. Ensure it’s in a humid environment and receiving adequate indirect light. Sometimes they just don’t make it.
- Soft and Mushy Stem: This is a sure sign of rot, often caused by too much moisture and poor air circulation. Unfortunately, once rot sets in, it’s very difficult to save the cutting. This is why a well-draining mix and not overwatering are so vital.
A Encouraging Closing
Propagating plants is a journey of its own, and there’s so much to learn and enjoy along the way. Don’t be discouraged if your first few attempts aren’t perfect. Every gardener has had their share of failed cuttings! Be patient, observe your little charges, and celebrate every tiny sign of success. Happy propagating!
Resource:
https://identify.plantnet.org/k-world-flora/species/Passiflora%20aurantia%20G.Forst./data