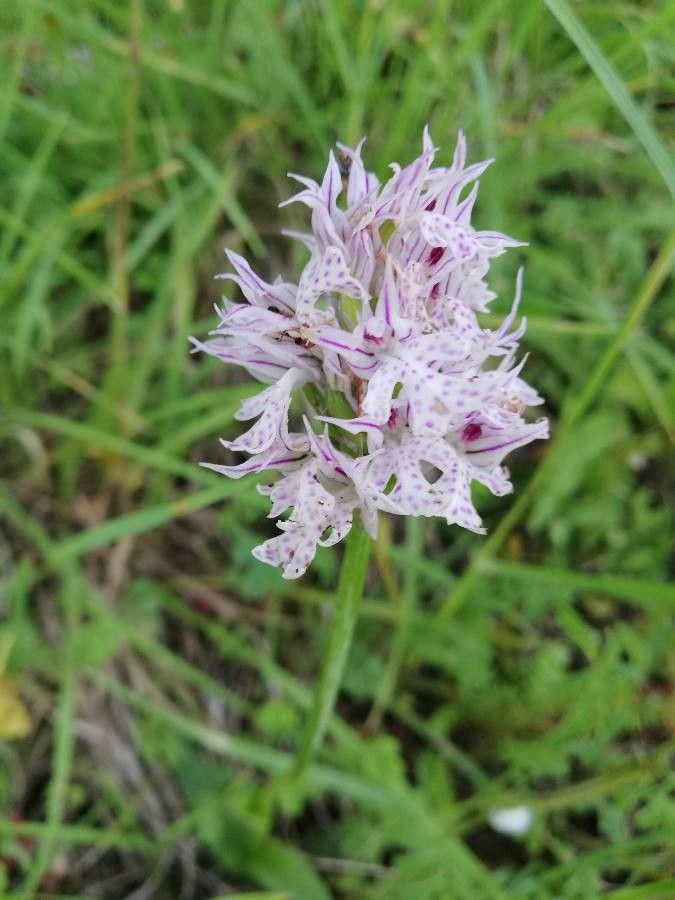
Hey there, fellow plant lovers! I’m so excited to chat with you today about a truly special bloom: Neotinea tridentata. If you’ve ever seen this exquisite orchid, you know why it captures our hearts. Its delicate, often pink to purple petals, sometimes with intricate markings, are a testament to nature’s artistry. Propagating them feels like unlocking a little bit of that magic for yourself. Now, I won’t sugarcoat it – working with orchids can sometimes feel a bit like a puzzle, and Neotinea tridentata is no exception. While not impossible, it’s definitely a rewarding challenge that requires a bit more patience and precision than, say, a simple Pothos. But trust me, the feeling of success is absolutely worth it!
The Best Time to Start
For the highest chance of success with Neotinea tridentata, I always recommend starting in the late spring or early summer. This is when the plant is typically emerging from its resting period and is full of fresh energy. You’ll see new growth, which is exactly what we want to tap into. Avoid propagating when the plant is in its peak flowering stage or during its dormancy.
Supplies You’ll Need
Here’s what I always have on hand when I’m getting ready to propagate:
- Sterilized pruning shears or a sharp knife: A clean cut is crucial to prevent disease.
- Orchid bark mix (fine grade): This provides the excellent drainage Neotinea tridentata craves. You can find this at most garden centers.
- Sphagnum moss (long-fibered): Great for retaining some moisture without getting waterlogged.
- Small pots or seed trays: Ensure they have drainage holes!
- Perlite or horticultural charcoal: To further improve drainage and aeration.
- Rooting hormone (optional but helpful): A good quality one designed for orchids can give cuttings an extra boost.
- Distilled or rainwater: Tap water can sometimes contain minerals that aren’t ideal for orchids.
- Clear plastic bags or a propagator: To create a humid environment.
Propagation Methods
While Neotinea tridentata is often grown from seed (which is a whole other adventure requiring symbiotic fungi!), the most accessible method for home propagation, if you have a mature plant, is division. This is essentially multiplying the plant by carefully separating its existing parts.
Here’s how I do it:
- Gently Remove from Pot: Carefully take your Neotinea tridentata out of its pot. If it’s been in the same pot for a while, you might need to loosen the root ball gently.
- Inspect the Roots: Now, take a good look at the root system. You’re looking for separate pseudobulbs (those swollen stem-like structures) that have their own healthy roots attached. You might also see new shoots emerging from these.
- Divide Carefully: Using your sterilized pruning shears or knife, make a clean cut to separate the pseudobulbs. Ensure that each division has at least one, preferably more, healthy-looking pseudobulb and a good set of roots. Don’t be afraid if you lose a few tiny root hairs; it’s normal.
- Allow to Dry (Optional but Recommended): Once divided, I like to let the cut surfaces of each division air dry for a few hours, or even overnight in a dry spot. This helps to callus over any wounds, reducing the risk of rot.
- Repot: Prepare your new pots with your orchid bark mix. Plant each division so that the top of the pseudobulb is just at or slightly above the surface of the medium. Don’t pack the medium too tightly around the roots.
The “Secret Sauce” (Pro Tips)
Here are a couple of things I’ve learned over the years that make a big difference:
- Don’t Overwater After Division: This is probably the most common mistake. Your newly divided orchids are trying to establish roots, not produce lush foliage. Water sparingly at first. Lightly moisten the bark mix, but let it dry out considerably between waterings. Think “less is more” in these initial stages.
- Humidity is Key, but Airflow is Queen: When you pot up your divisions, placing them in a propagator or covering them loosely with a clear plastic bag can create that humid microclimate they love. However, it’s vital to open the bag or propagator for a few minutes each day to allow for good air circulation. Stagnant, damp air is rot’s best friend.
Aftercare & Troubleshooting
Once your Neotinea tridentata is repotted, place it in a location with bright, indirect light. Avoid direct sun, which can scorch those delicate leaves. Keep the humidity up, but remember that airflow!
Keep an eye out for signs of trouble. The most common issue you’ll face is rot. If you notice soft, mushy, or discolored stems or roots, it’s a clear indication of overwatering. If you spot this, gently remove the affected part with your sterile tool. You might need to repot the entire division into drier mix. You’re looking for signs of new root growth – tiny, often white or green nubs emerging from the base of the pseudobulb. This is your cue that things are going well!
A Warm Embrace
Propagating Neotinea tridentata is a journey, my friends. There might be a few bumps along the way, but each experience teaches you something new. Be patient with your new little plants, give them the care they need, and celebrate every little success. Happy growing!
Resource: