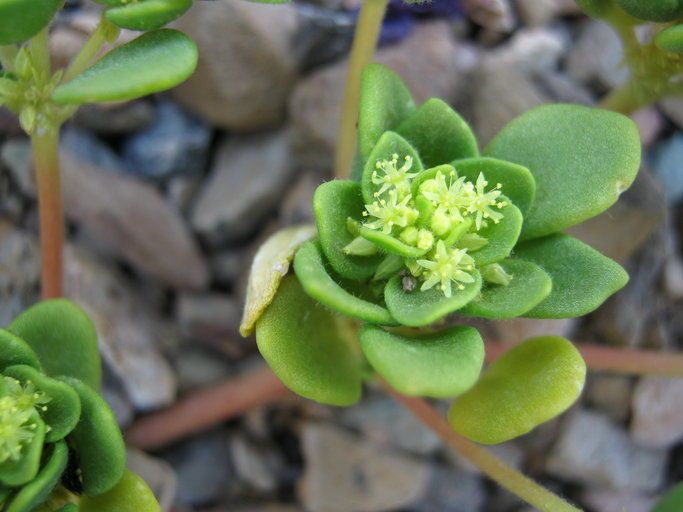
Hello fellow plant lovers! Today, we’re diving into the wonderful world of Gilmania luteola, also known as the Golden Star-Leaf. If you’re looking for a plant that brings a touch of sunshine to your home with its cheerful, star-shaped yellow flowers and unique foliage, you’re in for a treat. Propagating Gilmania luteola is a truly rewarding experience. Watching a tiny cutting transform into a vibrant new plant is pure magic. Now, I’ll be honest, this one isn’t always the absolute easiest plant for a complete beginner, but with a little care and attention, you’ll be enjoying success in no time.
The Best Time to Start
For the highest success rate, spring or early summer is your golden window. This is when the plant is actively growing, full of energy, and more receptive to forming new roots. Look for actively growing stems that aren’t flowering – these have the most vigor!
Supplies You’ll Need
Here’s what you’ll want to gather before you begin:
- Sharp, clean pruning shears or a sharp knife: This is crucial for making clean cuts that heal well and prevent disease.
- Rooting hormone powder or gel: While not absolutely essential for Gilmania luteola, it can give your cuttings a significant boost.
- Well-draining potting mix: I like to use a blend of equal parts peat moss or coco coir, perlite, and vermiculite. This ensures good aeration and prevents soggy roots.
- Small pots or propagation trays: Anything that holds your mix and your cuttings will do. Make sure there are drainage holes!
- Plastic bags or a humidity dome: To create a mini-greenhouse effect for your cuttings.
- Watering can with a fine rose: For gentle watering.
Propagation Methods
Gilmania luteola is most commonly and successfully propagated from stem cuttings. Here’s how I do it:
- Take Your Cuttings: In spring or early summer, select a healthy, non-flowering stem. Using your clean, sharp shears, make a cut just below a leaf node (where a leaf emerges from the stem). You’re looking for cuttings that are about 4-6 inches long.
- Prepare the Cuttings: Gently remove the lower leaves from the cutting, leaving just a couple of leaves at the very top. Pinch off any flower buds you see. If you’re using rooting hormone, dip the cut end into the powder or gel, tapping off any excess.
- Plant Your Cuttings: Fill your small pots or trays with your well-draining potting mix. Make a small hole in the center of the soil with your finger or a pencil. Insert the cut end of your Gilmania luteola cutting into the hole, ensuring at least one leaf node is buried under the soil. Gently firm the soil around the base of the cutting.
- Water and Cover: Water the soil thoroughly but gently. Then, cover the pots with a plastic bag or place them under a humidity dome. This is vital for keeping the humidity high, which helps prevent the cuttings from drying out before they can form roots.
The “Secret Sauce” (Pro Tips)
- Don’t let the leaves touch the water: If you opt for water propagation (though I find soil cuttings more reliable for Gilmania), always ensure the leaves are above the waterline. Rot is a real risk if leaves sit in water.
- Bottom heat is your friend: If you have a heat mat designed for seedlings, placing your propagation trays on it can really speed up root development. It mimics the warmth of spring soil and encourages those roots to sprout.
- Patience is a virtue: Don’t be tempted to dig around to see if your cuttings have rooted too soon! Give them at least 4-6 weeks. You’ll often see new leaf growth, which is a good sign that roots are forming.
Aftercare & Troubleshooting
Once you see signs of new growth – tiny leaves unfurling or the cutting feeling firm when gently tugged – your Gilmania luteola has likely rooted!
- Gradually Acclimate: Slowly introduce your new plant to normal room humidity. Poke a few holes in the plastic bag or lift the humidity dome for a few hours each day, gradually increasing the time until you can remove the covering entirely.
- Watering: Continue to water when the top inch of soil feels dry. Be careful not to overwater, as this is the quickest way to rot new roots.
- Light: Place your new plant in bright, indirect light. Avoid direct sun while it’s still establishing.
The most common problem you might encounter is rot. If your cutting turns mushy, black, or just slumps over and refuses to perk up, it’s likely succumbed to rot. This is often due to too much moisture and not enough air circulation. If you see this, discard the cutting and start again, paying extra attention to your watering and your soil mix.
So there you have it! Propagating Gilmania luteola is a beautiful way to share the joy of this plant. Be patient with yourself and the process. You’ll learn with each attempt, and soon you’ll have a windowsill full of cheerful golden stars. Happy gardening!
Resource:
https://identify.plantnet.org/k-world-flora/species/Gilmania%20luteola%20(Coville)%20Coville/data