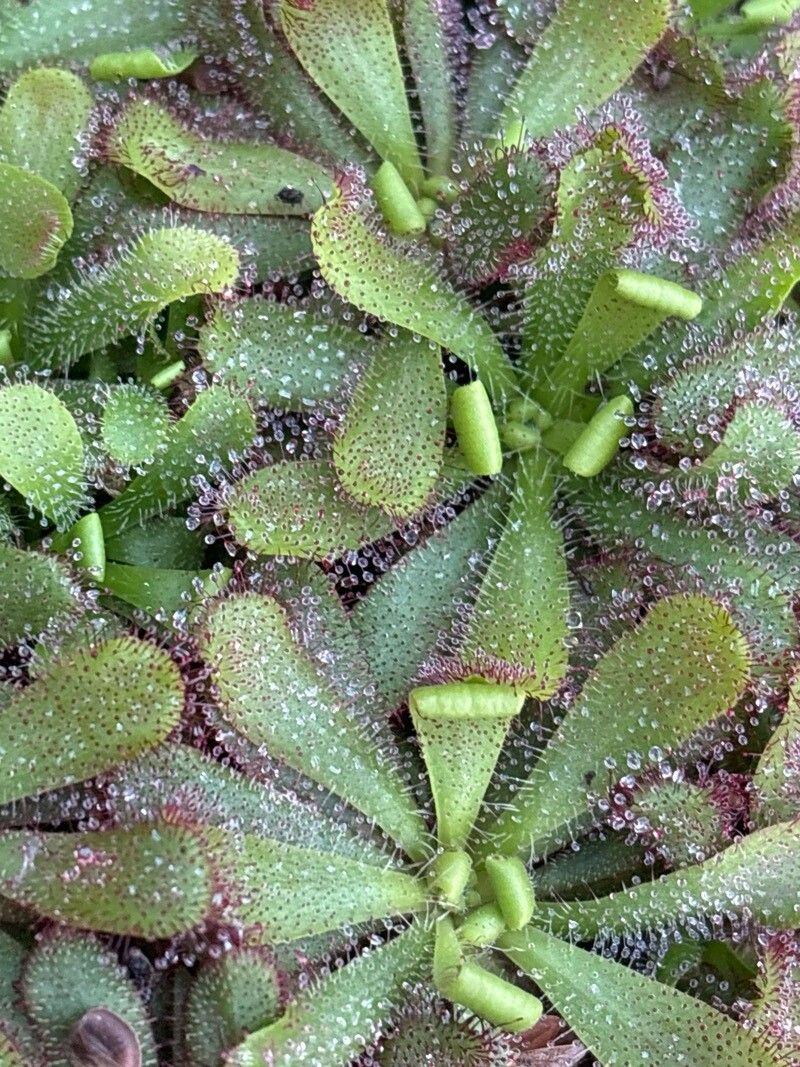
Hello, fellow plant enthusiasts! Today, we’re diving into the wonderfully sticky world of Drosera hamiltonii, often called the ‘Hamilton’s Sundew’. If you’re captivated by its rosette of delicate, dew-covered leaves, you’re not alone. Watching these little insect traps glisten in the sun is truly magical. And the best part? Successfully propagating them is incredibly rewarding, giving you more of these beauties to admire or share. Now, I wouldn’t say hamiltonii is the absolute easiest sundew to start with for a complete beginner, but with a little attention and the right approach, it’s definitely achievable and well worth the effort.
The Best Time to Start
For Drosera hamiltonii, your best bet is to propagate during its active growing season. Think late spring through summer. This is when the plant has plenty of energy reserves and is primed for new growth. Trying to propagate when it’s dormant or stressed will only lead to disappointment. You want healthy, vigorous parent plants to work with.
Supplies You’ll Need
Gathering your tools beforehand makes the whole process smoother. Here’s what I find essential:
- Well-draining potting mix: A blend of peat moss and perlite (about 50/50) or long-fibered sphagnum moss is perfect. Avoid anything with added fertilizers.
- Sharp, clean pruning shears or scissors: For taking cuttings. Sterilize them with rubbing alcohol between cuts.
- A clean container or tray: For holding your cuttings.
- Distilled or rainwater: Tap water can harm carnivorous plants due to mineral content.
- A seedling heat mat (optional but recommended): This provides gentle warmth for faster root development.
- A clear plastic bag or dome: To maintain humidity around your cuttings.
- A spray bottle: For misting and keeping things humid.
Propagation Methods
Drosera hamiltonii is a wonderfully adaptable sundew, and I’ve had success with a couple of common propagation techniques.
Stem Cuttings
This is often my go-to method for hamiltonii.
- Select a healthy stem: Look for a robust stem on your parent plant that has several leaves.
- Make the cut: Using your sterilized shears, carefully cut the stem about two to three inches back from the tip. You want a decent length with a few sets of leaves.
- Prepare the cutting: Gently remove the lower leaves from the cutting, leaving just the top few. This prevents them from rotting in the medium.
- Prepare your pot: Fill a small pot or tray with your chosen potting mix. Moisten it thoroughly with distilled or rainwater.
- Insert the cutting: Make a small hole in the medium and gently insert the cut end of the stem. Press the medium gently around the base of the cutting to ensure good contact.
- Create a humid environment: Place the pot into a clear plastic bag or cover it with a dome. This will trap moisture and create a mini-greenhouse.
- Placement: Position the pot in a bright spot, but avoid direct, intense sunlight which can overheat the bag and scorch your new plant.
Division
If your Drosera hamiltonii has grown into a nice clump, division is a straightforward way to get more plants.
- Gently remove the plant: Carefully ease the entire plant out of its pot.
- Separate the crowns: Observe the base of the plant where new growth arises. You should see distinct crowns or offsets. Gently pull these apart with your fingers. If they are stubborn, use a clean knife to help separate them.
- Pot up the divisions: Pot each division into its own small pot filled with your standard sundew mix.
- Water and cover: Water them well and then place them in a humid environment, just as you would with cuttings.
The “Secret Sauce”
Here are a few tricks I’ve learned over the years that can really boost your success rate with Drosera hamiltonii:
- Bottom heat is your friend: Especially for stem cuttings, a seedling heat mat underneath the tray can significantly speed up root formation. Aim for a consistent temperature around 70-75°F (21-24°C).
- Don’t let leaves touch the water: If you’re using the tray method for cuttings (where the pot sits in a shallow tray of water), make sure the leaves themselves aren’t submerged. This is a common culprit for rot. Only the roots should be in contact with the water.
- Patience with dew: Don’t panic if your newly propagated cuttings don’t produce dew immediately. It can take a little while for the plant to establish and start secreting those sticky droplets. Focus on root development first.
Aftercare & Troubleshooting
Once you start seeing roots form (you might see them peeking out of the pot or feel some resistance when gently tugging), it’s time to ease them out of their humid confinement. Gradually reduce the humidity over a week or so. Continue to keep the soil consistently moist with distilled or rainwater. Place them in bright, indirect light.
The most common issue you’ll face is rot. If a cutting or division turns black and mushy, it’s usually a sign of too much moisture staying stagnant, poor air circulation, or insufficient light. It might also be a sign that the parent plant wasn’t healthy to begin with. Don’t be discouraged if a few don’t make it; it’s part of the learning process. Just remove the rotten parts and try again.
A Tiny Seedling’s Journey
Propagating Drosera hamiltonii is such a satisfying process. It might take a little patience, and there might be a few bumps along the way, but there’s nothing quite like watching a new, dewy little sundew unfurl its leaves. So go ahead, grab your tools, and enjoy the journey. Happy growing!
Resource:
https://identify.plantnet.org/k-world-flora/species/Drosera%20hamiltonii%20C.R.P.Andrews/data