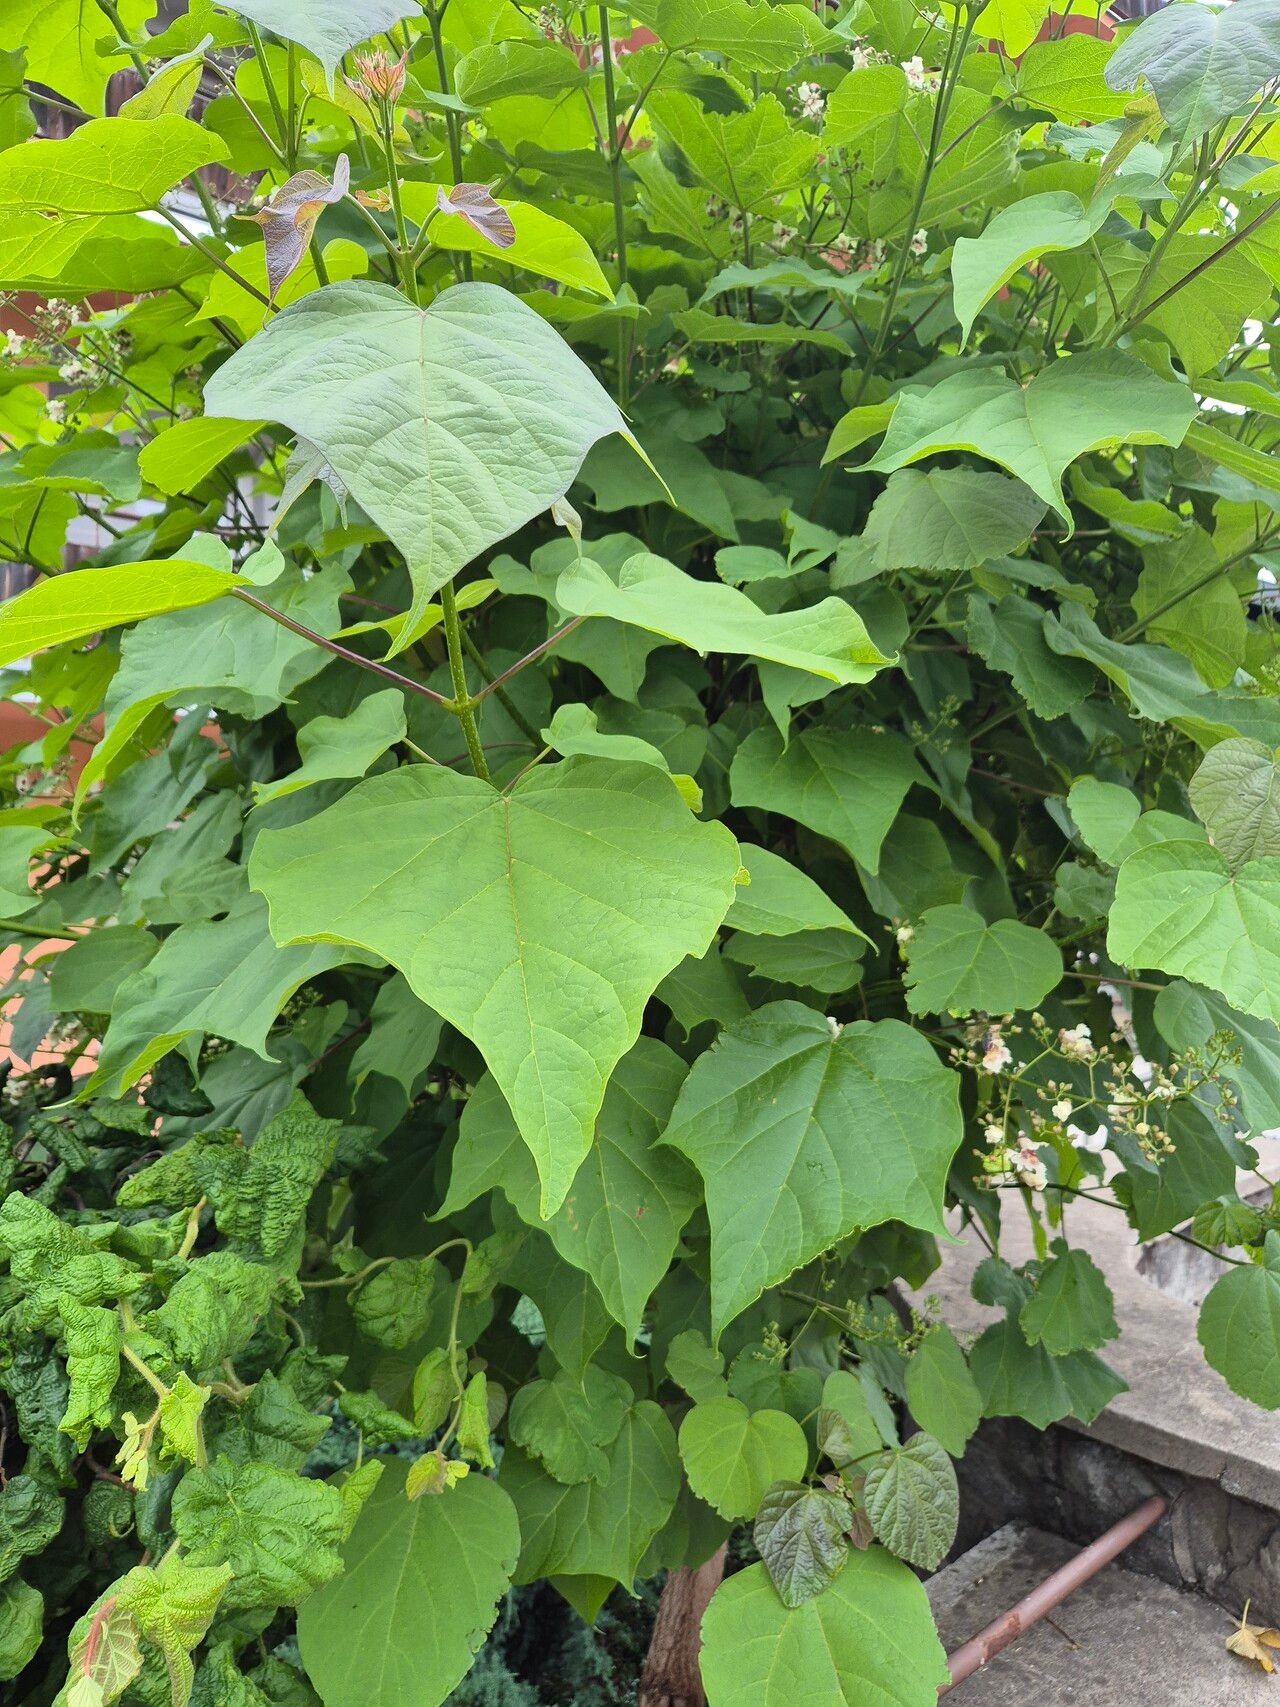
Oh, hello there! Come on in and pull up a chair. I’m so glad you’re interested in growing more of those beautiful hardy Catalpa ovata, or Chinese Catalpas, as some folks call them. Their big, heart-shaped leaves and lovely, albeit subtle, white flowers with little purple speckles are just so charming, aren’t they? And the best part? They’re surprisingly forgiving, even for those of us who are still building our green thumbs.
Propagating them is a wonderful way to fill your garden or share these lovely trees with friends. It’s a deeply satisfying feeling to watch a tiny cutting transform into a promising new plant. Don’t worry, we’ll get through this together.
The Best Time to Start
For Catalpa ovata, spring is truly your best bet. Think late spring, just as the plant is pushing out active, new growth. You want to take cuttings when the stems are still somewhat flexible and green, not woody and mature. This is when they have the most energy and are most receptive to rooting.
Supplies You’ll Need
Gathering your supplies beforehand makes the whole process so much smoother. Here’s what I usually have on hand:
- Sharp, clean pruning shears or a sharp knife: For making clean cuts.
- Rooting hormone (optional, but recommended): Helps cuttings develop roots faster.
- A well-draining potting mix: I often use a blend of equal parts peat moss or coco coir and perlite. Some gardeners swear by a mix with sand.
- Small pots or trays: Clean ones are essential to prevent disease.
- Plastic bags or a propagator: To create a humid environment.
- Water: For watering your cuttings.
- Labels: So you don’t forget what you planted where!
Propagation Methods
Catalpa ovata is quite cooperative, and you can have good success with stem cuttings. This is my go-to method for this tree.
-
Take Your Cuttings: In late spring, find a healthy branch that has new, but not completely soft, growth. Using your clean shears, take a cutting that’s about 6-8 inches long. Make the cut just below a leaf node (that little bump where the leaf attaches to the stem). Remove the lower leaves, leaving just a couple of pairs at the top.
-
Prepare for Rooting: If you’re using rooting hormone, dip the cut end of the stem into it, tapping off any excess.
-
Plant Your Cuttings: Fill your small pots with your prepared potting mix. Make a hole in the center with your finger or a pencil, and gently insert the cut end of the stem. Firm the soil gently around the cutting to ensure good contact.
-
Water Gently: Water thoroughly but carefully, so you don’t dislodge the cutting.
-
Create Humidity: You can place a plastic bag loosely over the pot, making sure the leaves don’t touch the plastic. This creates a mini-greenhouse. If you have a heated propagator, that works wonders too.
The “Secret Sauce” (Pro Tips)
Now, for a couple of little tricks I’ve picked up over the years that can really boost your success:
- Take more cuttings than you think you need! Not every cutting will root, and that’s perfectly normal. I usually aim for at least twice as many as I hope to end up with. It’s better to have a few extra healthy new plants than to be disappointed.
- Bottom heat is your friend. Placing your pots on a seedling heat mat can significantly speed up root development. It mimics the warmth of spring soil, which cuttings absolutely adore. You don’t need it blazing hot, just a gentle warmth.
Aftercare & Troubleshooting
Once your cuttings have been planted, keep them in a bright spot, but out of direct, harsh sunlight. The soil should be kept consistently moist, but not waterlogged. This is crucial.
You’ll know your cuttings are rooting when you see fresh new leaf growth and, if you gently tug on the cutting, you feel some resistance. This can take anywhere from a few weeks to a couple of months.
The main thing to watch out for is rot. If you see your cuttings turning black and mushy, it’s usually a sign of too much moisture or a lack of airflow. If you catch it early, you might be able to salvage it by removing the affected parts and repotting in fresh, slightly drier mix, ensuring good drainage.
Once your cuttings have a good root system – you’ll be able to see roots peeking out of the drainage holes, or they’ll feel quite sturdy when you gently tug – you can transplant them into slightly larger pots or their final growing spot. Continue to water them regularly, especially during dry spells.
A Encouraging Closing
So there you have it! Propagating Catalpa ovata is a journey, not a race. Be patient with your little cuttings. Watch them closely, offer them a good environment, and celebrate every tiny new leaf. The joy of growing your own trees from scratch is absolutely worth the effort. Happy gardening!
Resource:
https://identify.plantnet.org/k-world-flora/species/Catalpa%20ovata%20G.Don/data