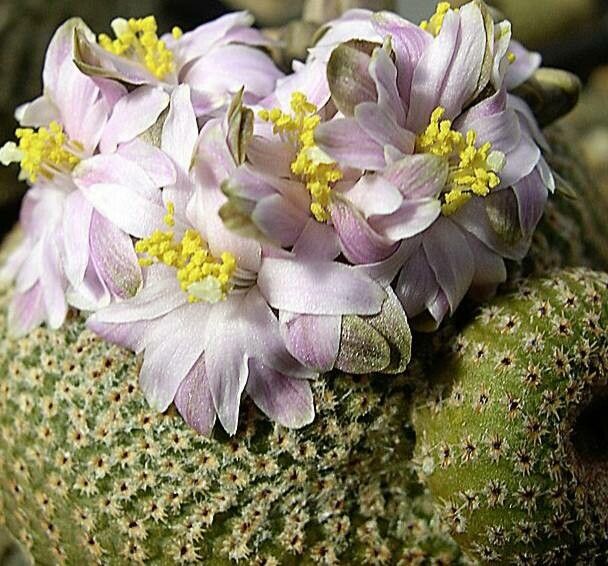
Oh, hello there! It’s so lovely to have you join me for a chat about one of my absolute favorite succulents: Yavia cryptocarpa. If you’ve ever admired those charming, almost shy, little plants tucked away in their pots, you’re in for a treat. Propagating them is a wonderful way to fill your home with more of their understated beauty, and trust me, it’s a journey that’s incredibly rewarding.
For those wondering if Yavia cryptocarpa is a good starting point for new propagators, I’d say it leans towards moderately challenging. They’re not as quick to root as some of the more common succulents, but with a little patience and understanding, you’ll absolutely succeed. It’s a plant that teaches you to slow down and truly observe, which is a lovely lesson in itself.
The Best Time to Start
When it comes to giving your Yavia cryptocarpa cuttings the best chance, spring and early summer are generally your golden windows. This is when the plant is actively growing, bursting with energy, and therefore more likely to put out healthy roots. You’re looking for actively growing stems; avoid any that seem withered or are in a resting phase.
Supplies You’ll Need
Gathering your supplies beforehand makes the whole process so much smoother. Here’s what I always have on hand:
- Sharp, clean pruning shears or a craft knife: Cleanliness is crucial to prevent disease.
- Well-draining potting mix: I often use a cactus and succulent mix with added perlite or pumice for extra aeration. You want that soil to dry out quickly!
- Small pots or trays: Clean and with drainage holes, of course.
- Rooting hormone (optional but helpful): This can give your cuttings a little boost.
- Spritzer bottle: For light misting.
- A sunny spot: Bright, indirect light is ideal.
Propagation Methods
For Yavia cryptocarpa, stem cuttings are my go-to method. It’s reliable and produces healthy new plants.
- Take Your Cuttings: With your clean shears or knife, select a healthy stem. Make a clean cut, aiming for a section that’s at least 2-3 inches long and has a few leaves. Try to get a piece that includes some of the main stem.
- Callus Over: This is a critical step! Your cuttings need to dry out and form a callus at the cut end. Place them on a dry paper towel in a well-ventilated spot, out of direct sunlight, for 2-7 days. You’ll see the wound turn dry and a bit leathery. This prevents rot when you plant them.
- Plant Your Cuttings: Gently dip the callused end into rooting hormone if you’re using it. Then, insert the cut end about an inch deep into your prepared, slightly damp potting mix. You can plant several cuttings in one pot, leaving a little space between them.
- Provide Initial Care: Don’t water immediately. Wait a day or two after planting, then give them a very light watering or misting. The goal is to keep the soil barely moist, not soggy. Place the pot in a spot with bright, indirect light.
The “Secret Sauce” (Pro Tips)
Here are a few little tricks that have made all the difference for me over the years:
- Bottom Heat Works Wonders: If you happen to have a seedling heat mat, placing your pots on it can significantly speed up root formation. It mimics the warmth of summer soil and gives those roots a gentle nudge.
- Air Circulation is Key: Never put a lid on your propagation tray. While humidity can be helpful, stagnant air is an invitation for fungal issues. Good airflow around your cuttings is just as important as the right moisture level.
- Patience, Patience, Patience: Yavia cryptocarpa are not fast growers. Don’t be discouraged if you don’t see new growth or feel roots for several weeks, or even a couple of months. Resist the urge to constantly dig them up to check! Trust the process.
Aftercare & Troubleshooting
Once you start to see signs of rooting – maybe a little resistance when you gently tug, or even better, new little leaves starting to form – you can begin to gradually introduce them to slightly more direct light and water a bit more regularly, but always allow the soil to dry out between waterings. Treat them much like a mature Yavia cryptocarpa at this stage.
The most common sign of failure is rot. If a cutting turns mushy and dark, or has an unpleasant smell, it’s likely rotted. This is usually due to overwatering or not allowing the cutting to callus properly. If you see rot, remove the affected cutting immediately to prevent it from spreading. Sometimes, a stem might just shrivel and dry out if it didn’t root; this is less common with proper callusing, but it can happen.
A Encouraging Closing
Propagating plants, especially those with a bit of personality like Yavia cryptocarpa, is a beautiful dance with nature. It asks for your attention, your patience, and a bit of faith. Don’t be afraid to experiment, and remember that every cutting is a learning opportunity. Enjoy the process, celebrate each tiny success, and soon you’ll have a whole collection of these delightful little succulents to share! Happy propagating!
Resource: