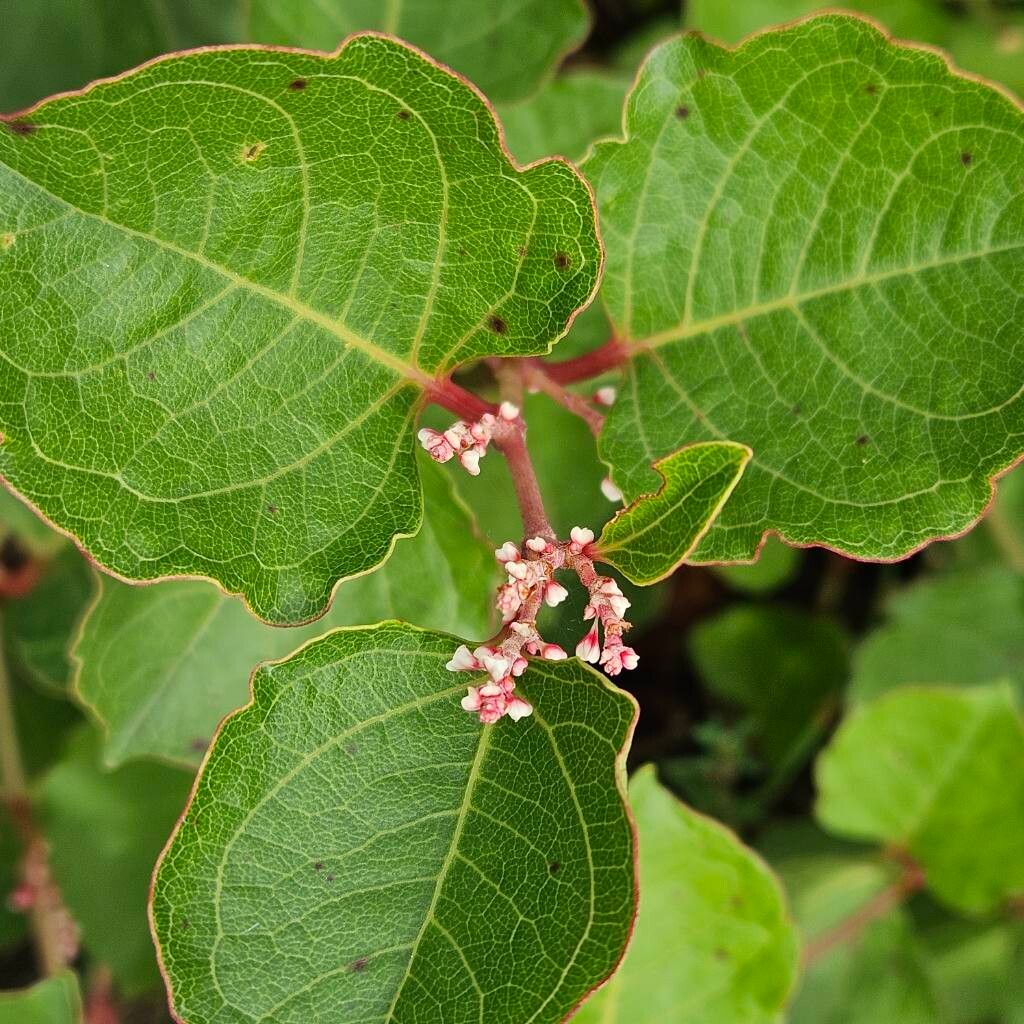
Hello there, fellow plant enthusiasts! It’s so wonderful to connect with you today. We’re going to dive into the delightful world of propagating Reynoutria compacta, a plant that brings such vibrant beauty and reliable charm to any garden. If you’ve ever admired its architectural form and lush foliage, you’ll be thrilled to know that making more of these beauties is not only possible but surprisingly rewarding. Don’t be intimidated by propagating; Reynoutria compacta is actually quite forgiving, making it a fantastic choice for beginners looking to expand their green family.
The Best Time to Start
For the highest success rates, late spring to early summer is your golden ticket. This is when the plant is in its most vigorous growth phase, and new stems are strong and developing nicely. You can also have good luck taking cuttings in early autumn, just before the plant starts to wind down for winter, as long as you give them enough time to establish before the coldest months.
Supplies You’ll Need
Before we get our hands dirty, let’s gather our trusty companions:
- Sharp Pruning Shears or a Knife: A clean cut is crucial for healthy healing and rooting.
- Rooting Hormone (Optional but Recommended): This little powder or gel can give your cuttings a significant boost.
- Well-Draining Potting Mix: A blend of peat moss, perlite, and a bit of compost works beautifully. You can also find specialized cutting mixes.
- Small Pots or Trays: Clean containers to give your new babies a start.
- Plastic Bags or a Propagator Lid: To create a humid environment, which cuttings adore.
- Watering Can or Spray Bottle: For gentle watering.
- Labels or Markers: To keep track of what you’ve planted!
Propagation Methods
There are a few wonderfully effective ways to multiply your Reynoutria compacta.
Stem Cuttings: My Go-To Method
This is the most common and typically successful method.
- Select Healthy Stems: Look for current season’s growth that is firm but not woody. You want stems that have at least two nodes (the little bumps where leaves emerge).
- Make the Cut: Using your clean shears, cut just below a node. This is where roots are most likely to form. Aim for cuttings that are about 4-6 inches long.
- Prepare the Cutting: Remove the lower leaves, leaving just one or two at the very top. If the leaves are large, you can even cut them in half horizontally to reduce water loss through transpiration.
- Apply Rooting Hormone (Optional): Dip the cut end of the stem into your rooting hormone, tapping off any excess.
- Plant the Cutting: Make a small hole in your prepared potting mix with a pencil or your finger. Gently insert the cutting into the hole, ensuring the bottom node is buried in the soil. Firm the soil gently around it.
- Water Gently: Water thoroughly but carefully, so as not to disturb the cutting.
Division: For the Established Clumps
If you have a mature Reynoutria compacta, this is a straightforward way to get new plants.
- Dig Up the Clump: In early spring (before new growth really takes off) or early autumn (after flowering), carefully dig up the entire plant.
- Examine the Roots: Gently shake off excess soil to expose the root ball.
- Divide: Using a sharp spade, knife, or even your hands, carefully pull or cut apart the clump into smaller sections. Each division should have a good amount of healthy roots and at least one or two healthy shoots.
- Replant Immediately: Plant your divisions in their new homes, watering them in well.
The “Secret Sauce” (Pro Tips)
Here are a few little tricks I’ve picked up over the years that make a big difference:
- Humidity is Key: Cuttings need a moist environment to encourage rooting. After planting your stem cuttings, lightly mist the leaves, then cover the pot with a clear plastic bag or place it in a propagator. Make sure the leaves aren’t touching the plastic, though – that can lead to rot. Open it up for a few minutes every couple of days to allow for air circulation.
- Bottom Heat Helps: If you have the means, placing your pots on a gentle heat mat can significantly speed up the rooting process. It mimics the warmth of the soil in nature and encourages those root cells to get going.
- Don’t Be Impatient with Division: When dividing, I always try to preserve as much of the root system as possible. Even a seemingly small division with a good chunk of roots can surprise you with its vigor.
Aftercare & Troubleshooting
Once your cuttings have been planted, patience is your best friend. Keep the soil consistently moist but not waterlogged. You should start to see signs of new growth—new leaves emerging from the tip or at the nodes—within a few weeks. This is your cue that roots are forming!
If you notice leaves turning yellow and falling off, it might be a sign of overwatering or insufficient light. On the flip side, if the cuttings look limp and dry, they probably need more humidity or a bit more water. Rot is the biggest enemy. If you see a slimy, black stem base, that cutting is likely lost. Discard it to prevent it from affecting other cuttings.
A Closing Encouragement
Propagating plants is such a wonderful journey of learning and connection with nature. It can take a little time, and not every attempt will be a runaway success, but the satisfaction of nurturing a new plant from a tiny cutting is truly something special. So, go ahead, give it a try! Be patient with your new green charges, enjoy the process, and celebrate every little sign of life. Happy propagating!
Resource:
https://identify.plantnet.org/k-world-flora/species/Reynoutria%20compacta%20(Hook.f.)%20Nakai/data