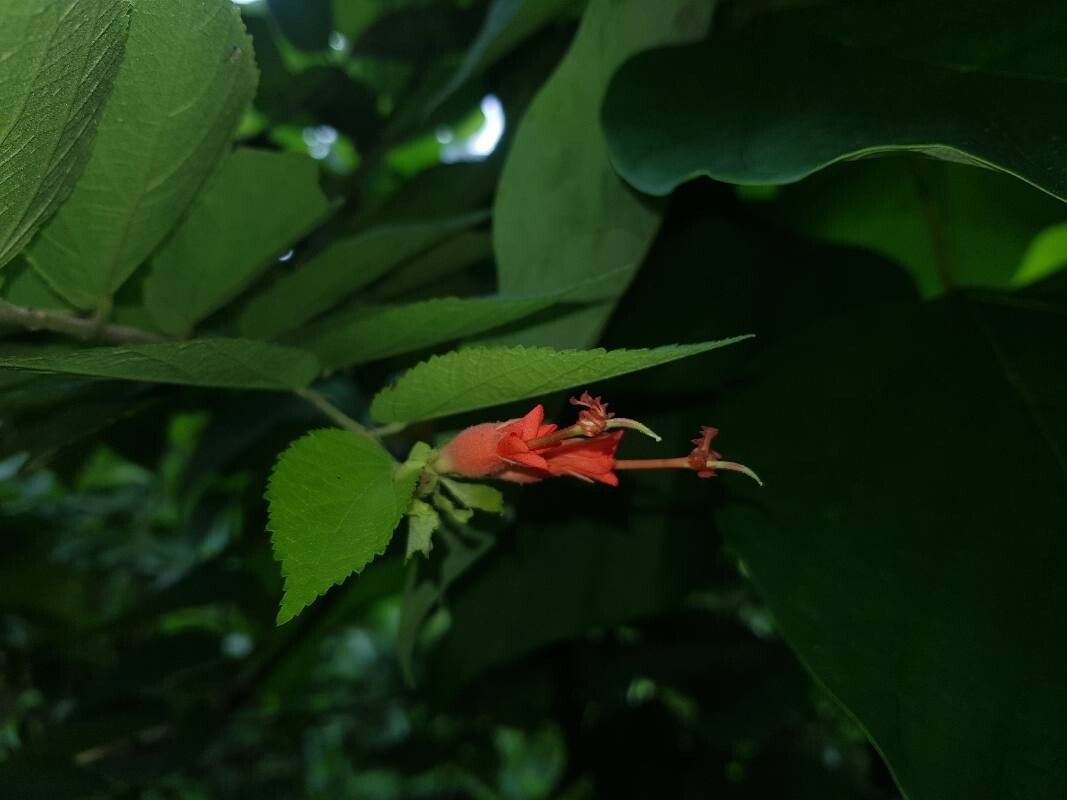
Oh, Helicteres guazumifolia! What a delightful plant to get to know. You know, it’s one of those beauties that brings a touch of the exotic to our gardens, with its wonderfully spiraled seed pods that look like something out of a fairy tale. Plus, watching a new plant spring to life from a tiny cutting or seed? Pure magic, if you ask me. It’s really not a difficult plant to propagate once you get the hang of it, which makes it a great project for both seasoned gardeners and those just dipping their toes into this rewarding hobby.
The Best Time to Start
For Helicteres guazumifolia, spring is your best friend. Think of when your garden is really waking up after winter. That’s when the plant is bursting with fresh, vigorous growth. Taking cuttings in late spring or early summer, when new shoots are pliable and full of life, gives them the best chance to root and establish before the cooler months arrive. Trying to propagate when the plant is stressed or dormant is just setting yourself up for disappointment.
Supplies You’ll Need
Here’s what I always have on hand when I’m starting new Helicteres:
- Sharp pruning shears or a clean knife: For making clean cuts, which are crucial.
- Rooting hormone: A little boost never hurt! I prefer powdered types.
- Well-draining potting mix: A peat-based mix with added perlite or coarse sand is perfect. You want good airflow around the roots. Look for a seedling or propagation mix.
- Small pots or trays: Clean containers are a must to prevent disease.
- Plastic bags or a propagator: To create a humid environment.
- Optional: Bottom heat mat: This can significantly speed up rooting.
Propagation Methods
Let’s get our hands dirty! I find stem cuttings to be the most reliable method for Helicteres guazumifolia.
Stem Cuttings:
- Select your cutting: In spring or early summer, find a healthy, non-flowering stem on your mature plant. You’re looking for a piece that’s about 4-6 inches long and has several sets of leaves.
- Make the cut: Using your sharp shears or knife, make a clean cut just below a leaf node (where a leaf attaches to the stem). This spot is where roots are most likely to form.
- Prepare the cutting: Gently remove the lower leaves, leaving just a few at the top. This reduces moisture loss. If the leaves are quite large, you can even cut them in half horizontally to further minimize transpiration.
- Apply rooting hormone: Dip the cut end of the stem into your rooting hormone, tapping off any excess.
- Plant the cutting: Make a small hole in your moistened potting mix with a pencil or your finger. Insert the cutting, ensuring the leaf nodes are buried. Gently firm the soil around the stem.
- Create humidity: Water the soil lightly. Then, cover the pot with a plastic bag or place it in a propagator. Make sure the leaves don’t touch the plastic if possible! You can use small stakes to prop up the bag.
I’ve also had success with water propagation, though it requires a bit more attention.
Water Propagation:
- Prepare the cutting: Follow steps 1-3 from the stem cutting method above.
- Place in water: Submerge the bottom 1-2 inches of the prepared cutting in clean water. Use a jar or glass where you can easily monitor the water level and root development.
- Change water regularly: This is key! Change the water every few days, or whenever it starts to look cloudy. This prevents bacterial buildup.
- Watch for roots: You should see tiny white roots emerging from the nodes. Once the roots are about an inch long, it’s time to pot them up.
The “Secret Sauce” (Pro Tips)
Here are a few things I’ve learned over the years that make propagating Helicteres even easier:
- Bottom heat is your friend! Placing your pots on a seedling heat mat set to around 70-75°F (21-24°C) can dramatically speed up root formation. It mimics the warmth they’d feel in their natural environment.
- Don’t overwater! This is probably the most common mistake. The soil should be kept consistently moist, not soggy. Too much water leads to rot, and we don’t want that.
- Morning sun is best: Once potted, place your cuttings in a bright spot that receives indirect sunlight. Direct sun, especially harsh midday sun, can scorch tender new growth.
Aftercare & Troubleshooting
Once your cuttings have developed a good root system (you’ll see roots peeking out of the drainage holes, or they’ll resist gently tugging), it’s time to move them into their own small pots. Wean them off the humidity gradually by opening the plastic bag a little more each day over a week. Continue to water when the top inch of soil feels dry.
The biggest issue to watch out for is rot. If your cuttings turn black and mushy at the base, it’s usually a sign of overwatering and/or poor drainage. Unfortunately, there’s not much you can do once rot has set in, so prevention is key. Another sign of trouble might be yellowing leaves, which could indicate insufficient light or occasionally a nutrient deficiency, but rot is the more immediate concern.
A Encouraging Closing
Propagating plants is a wonderful way to connect with nature and your garden. It takes a little patience, a touch of observation, and a whole lot of love. Don’t get discouraged if your first attempt isn’t a showstopper. Every gardener has had failures! Just keep trying, enjoy the process, and celebrate each new sprout that unfurls. Happy propagating!
Resource:
https://identify.plantnet.org/k-world-flora/species/Helicteres%20guazumifolia%20Kunth/data