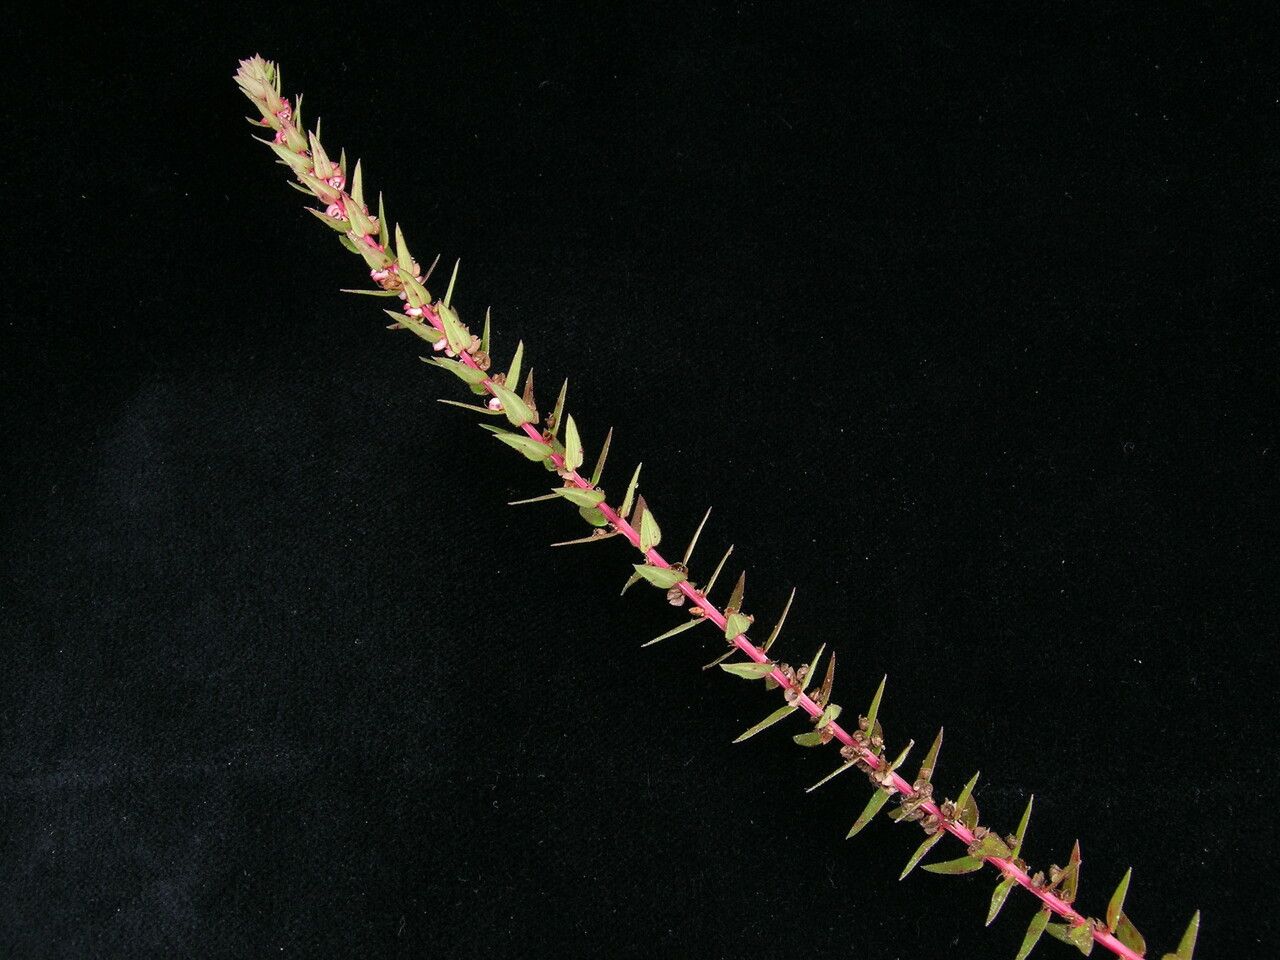
Oh, hello there! Pull up a chair and let’s chat about a truly delightful plant: Gonostegia pentandra. If you’re looking for a splash of unique texture and a whisper of understated elegance in your garden or home, this is your friend. Its delicate foliage and charming blooms are a joy to behold, and honestly, propagating it myself has been one of my most rewarding gardening adventures. Now, is it a walk in the park for absolute beginners? I’d say it’s moderately easy. It requires a touch of observation and a little patience, but the results are so worth it.
The Best Time to Start
For the best chance of success with Gonostegia pentandra, I’ve found that late spring to early summer is absolutely prime time. We’re talking about when the plant is actively growing, full of vigor, and has plenty of energy to put into rooting. Avoid trying to propagate during the plant’s dormant period or when it’s stressed from extreme heat or cold. You want your little cuttings to feel like they’re starting life in the lap of luxury!
Supplies You’ll Need
To get our Gonostegia pentandra babies started, here’s what I always have on hand:
- Sharp, clean pruning shears or a sharp knife: A clean cut is crucial for preventing disease.
- Rooting hormone (optional but recommended): Especially for stem cuttings, this gives them a nice boost. I prefer a powder or gel.
- A well-draining potting mix: I usually mix my own with equal parts perlite and peat moss or coco coir. You can also find good quality seed-starting mixes.
- Small pots or trays: Clean ones are a must! Yogurt cups with drainage holes poked in the bottom work in a pinch.
- Clear plastic bags or a propagation dome: To create a humid environment for your cuttings.
- A watering can with a fine rose: For gentle watering.
- Labels and a permanent marker: Don’t underestimate this! You’ll thank yourself later.
Propagation Methods
Gonostegia pentandra is wonderfully adaptable, and I’ve had great luck with a couple of methods.
1. Stem Cuttings: My Go-To
This is my absolute favorite way to multiply my Gonostegia pentandra. It’s straightforward and yields really satisfying results.
- Select healthy stems: Look for stems that are not flowering and have a good amount of leafy growth. Aim for stems that are slightly firm but still flexible – not old and woody, nor brand new and soft.
- Take the cuttings: Using your clean shears, cut a stem about 4-6 inches long. Make the cut just below a leaf node. A leaf node is where a leaf emerges from the stem, and it’s packed with growth hormones.
- Prepare the cuttings: Gently remove the lower leaves, leaving just a couple of leaves at the very top. This prevents them from rotting in the soil and focuses the plant’s energy on root development.
- Apply rooting hormone (if using): Dip the cut end of the stem into your rooting hormone powder or gel. Tap off any excess.
- Plant the cuttings: Fill your small pots with the well-draining potting mix. Make a small hole in the center of each pot with your finger or a pencil. Gently insert the cut end of the cutting into the hole, making sure at least one leaf node is buried beneath the soil surface.
- Water gently: Water thoroughly but carefully, so you don’t dislodge the cuttings.
- Create humidity: Cover the pot with a clear plastic bag or a propagation dome. You can use a rubber band or string to secure the bag around the pot. Make sure the leaves don’t touch the sides of the plastic bag if possible, as this can encourage rot.
- Place them in bright, indirect light: Find a spot that gets plenty of light but no direct sun. This can scorch those delicate baby leaves.
2. Division: For Established Plants
If you have a mature Gonostegia pentandra that’s looking a bit crowded, or if you just want to give it a refresh, division is a good option.
- Gently remove the plant from its pot: Turn the pot on its side and carefully slide the plant out. If it’s stuck, a gentle tap around the sides usually does the trick.
- Inspect the root ball: Look for natural divisions within the root system. You’re looking for clumps that have their own roots and some top growth.
- Separate the clumps: Using your hands, or a clean trowel or knife if necessary, gently pull or cut the root ball into sections. Aim for sections that have at least a few stems and a good amount of healthy roots.
- Replant immediately: Pot each division into its own pot filled with fresh, well-draining potting mix.
- Water well: Water thoroughly to help settle the soil around the roots.
The “Secret Sauce” (Pro Tips)
Here are a few little tricks I’ve learned over the years that really make a difference:
- Bottom heat is your friend: I often place my pots of cuttings on a heated propagator mat. This gentle warmth from below encourages root development much faster than ambient room temperature alone. It’s like giving them a cozy little foot massage!
- Don’t be afraid of a little air circulation: While humidity is important, stagnant air is a recipe for fungal issues. Every day or two, lift the plastic bag for a few minutes to let some fresh air in. This helps prevent powdery mildew and other problems.
- Watch the leaves: You can often tell if your cuttings are happy by their leaves. If they look plump and green, that’s a good sign. If they start to wilt dramatically, it might mean they’re too dry, or conversely, too wet and starting to rot.
Aftercare & Troubleshooting
Once you start seeing signs of new growth, or if you gently tug on a cutting and feel resistance (indicating roots have formed), it’s time for a little adjustment.
- Gradually acclimate: Slowly begin to reduce the humidity by opening the plastic bag a little more each day over a week. You want them to get used to normal room conditions.
- Bright, indirect light: Continue to provide plenty of bright, indirect light.
- Watering: Water when the top inch of soil feels dry. Avoid letting them sit in soggy soil, as this is the quickest way to invite root rot.
- Transplanting: Once your new Gonostegia pentandra plants are well-rooted and have a decent amount of top growth, you can transplant them into slightly larger pots.
Common signs of failure include:
- Yellowing and dropping leaves: This can be a sign of overwatering, underwatering, or lack of light.
- Soft, mushy stems: This is usually a clear indicator of rot, often caused by too much moisture and poor drainage. If you see this, it’s best to discard the cutting and start again with cleaner tools and a drier mix.
- No growth after a long time: Sometimes, propagation just doesn’t work out. Don’t get discouraged! Environmental factors, the health of the parent plant, or even just a fickle cutting can all play a role.
A Little Patience Goes a Long Way
Growing new life from a cutting or a division is a truly magical process. It takes a little bit of faith, a dash of patience, and the willingness to learn from each attempt. Don’t be disheartened if not every single cutting makes it. Celebrate the successes, learn from any setbacks, and most importantly, enjoy the journey of nurturing these beautiful new Gonostegia pentandra plants into being. Happy gardening!
Resource:
https://identify.plantnet.org/k-world-flora/species/Gonostegia%20pentandra%20(Roxb.)%20Miq./data