Hello, fellow garden enthusiasts! It’s so lovely to have you here. Today, we’re diving into the wonderful world of propagating Daboecia cantabrica, also known as Irish Heath.
Why Grow Irish Heath?
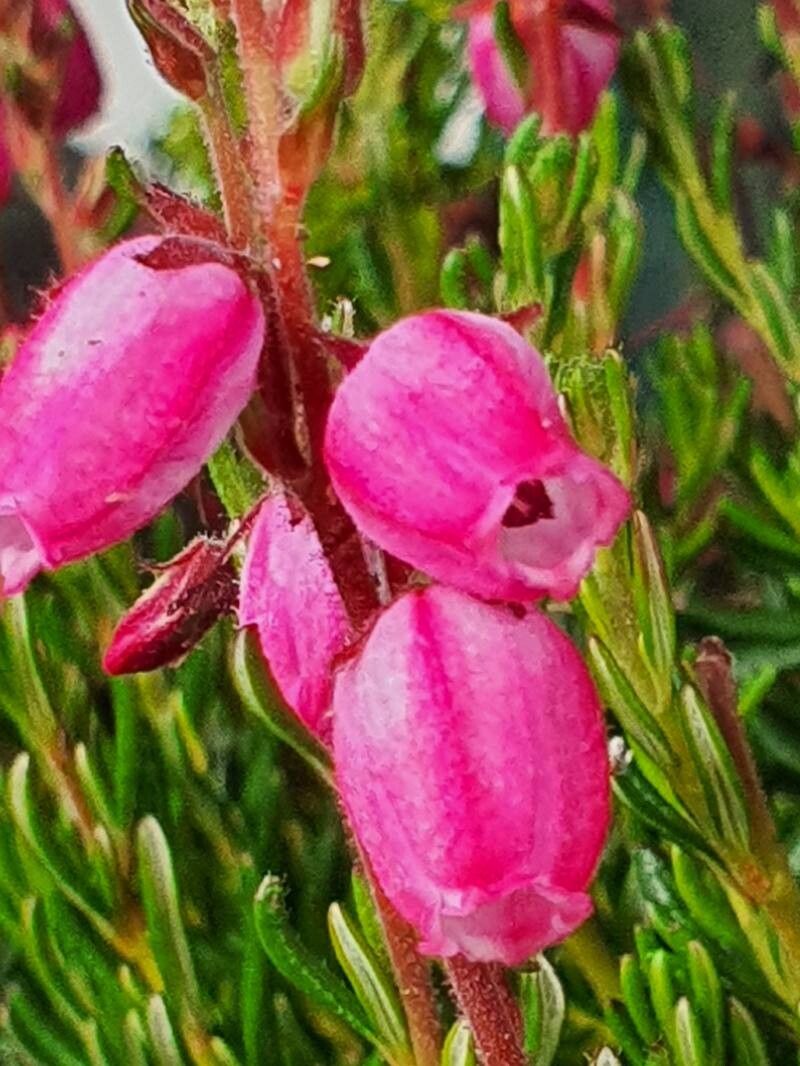
If you’re looking for a splash of color that lasts for months, you absolutely must consider Irish Heath. Its delicate, bell-shaped flowers, often in shades of purple, pink, or white, bring a touch of elegance to any border or container. And the best part? It’s a relatively easy-to-propagate plant, which makes it a fantastic option for beginner propagators wanting to expand their collection or share these beauties with friends. It’s incredibly rewarding to take a small piece of your existing plant and nurture it into a brand new one.
The Best Time to Start
For the highest success rate with Daboecia cantabrica, I always recommend propagating in late spring to early summer, just as the plant is really getting going. You’re looking for new, non-flowering shoot growth. This is when the plant is full of vigor and ready to put its energy into making roots.
Supplies You’ll Need
Here’s what you should have on hand before you get started:
- Sharp, clean pruning shears or a craft knife: Sterilize them with rubbing alcohol to prevent disease.
- Rooting hormone powder or gel: This is especially helpful, though Daboecia can often root without it.
- A well-draining potting mix: I like a mix of peat moss or coir, perlite, and coarse sand in roughly equal parts.
- Small pots or seed trays: Make sure they have drainage holes.
- A watering can with a fine rose: For gentle watering.
- Plastic bags or a propagator lid: To create a humid environment.
- Labels: To jot down the plant name and date.
Propagation Methods: Stem Cuttings
The most reliable way to propagate Irish Heath, in my experience, is through stem cuttings. It’s straightforward and gives you a great chance of success.
-
Take Your Cuttings: Gently select a few healthy, new shoots from your established plant. Look for stems that are about 3-4 inches long and are still flexible, not woody. Using your clean shears, make a clean cut just below a leaf node (where a leaf attaches to the stem).
-
Prepare the Cuttings: Carefully remove the lower leaves from the cutting, leaving just a few at the very top. This prevents them from rotting when buried in the soil. If your cutting has any flower buds, pinch those off as well.
-
Apply Rooting Hormone (Optional but Recommended): Dip the cut end of the stem into your rooting hormone powder or gel. Tap off any excess.
-
Potting Them Up: Fill your small pots or trays with the well-draining potting mix. Make a small hole in the center of the mix with your finger or a pencil.
-
Insert the Cuttings: Gently insert the cut end of each prepared cutting into the hole, ensuring the root hormone is covered. Firm the soil gently around the base of each cutting.
-
Create a Humid Environment: Water the soil gently but thoroughly. Then, cover the pots with clear plastic bags, securing them with a rubber band, or place them in a propagator with a lid. This humidity is crucial!
-
Placement: Place the pots in a bright spot, but out of direct sunlight. A greenhouse shelf or a bright windowsill is perfect.
The “Secret Sauce” (Pro Tips)
Here are a few little tricks that have helped me over the years:
- Don’t Let Foliage Touch the Water: If you opt for water propagation (though cuttings are often more successful), make sure no leaves are submerged. Dipping leaves leads to rot and disappointment. Only the stem should be in the water.
- Consider Bottom Heat: For an extra boost, especially if your propagating area is a bit cool, place your pots on a heated propagator mat. This gentle warmth encourages root development.
- Mist Regularly: Even with the plastic covering, I like to lightly mist the cuttings every few days. It keeps that humidity high and helps prevent them from drying out.
Aftercare & Troubleshooting
Once your Daboecia cantabrica cuttings have been in their warm, humid home for a few weeks, you might start to see tiny leaves emerging at the top – a good sign! The real confirmation is when you feel a slight resistance when you gently tug on the cutting. This means roots have formed.
At this point, you can gradually acclimatize your new plants to normal room conditions by slowly increasing ventilation. This means opening the plastic bag a little more each day for about a week. Once they’re fully acclimatized, you can water them as you would any young plant, ensuring the soil dries out slightly between waterings.
The most common issue you might encounter is rot, which usually happens if the soil is kept too wet or the humidity is too high without enough ventilation. If a cutting looks black and mushy, sadly, it’s time to discard it and try again. Don’t be discouraged!
Keep Growing!
Propagating plants like Daboecia cantabrica is such a rewarding journey. It takes a little patience, a touch of care, and a good dose of optimism. Enjoy the process of nurturing these little ones into strong, beautiful plants. Happy gardening!
Resource:
https://identify.plantnet.org/k-world-flora/species/Daboecia%20cantabrica%20(Huds.)%20K.Koch/data