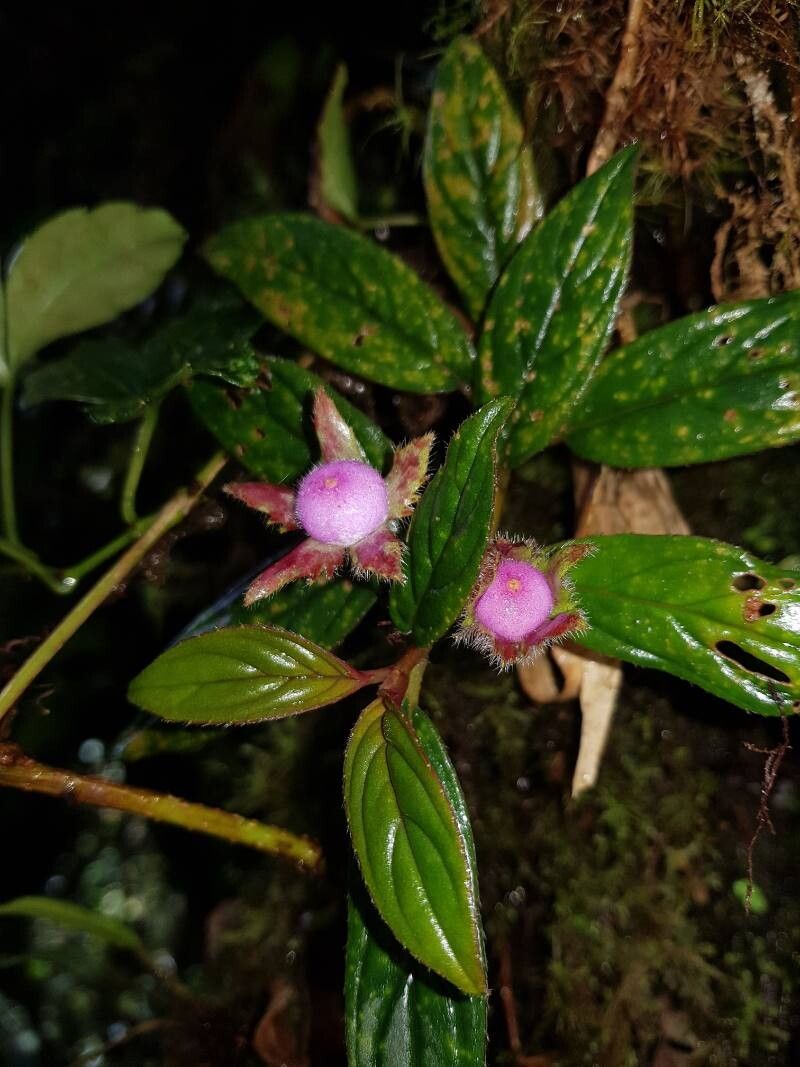
Oh, Columnea magnifica! Isn’t she a stunner? Those vibrant, tubular flowers that cascade down are just pure joy in a hanging basket. If you’ve got one of these beauties gracing your home, you’re in for a treat. And the even better news? You can easily make more of them! Propagating Columnea magnifica is a wonderfully rewarding process, and I’d say it’s quite friendly for beginners, with just a few little tricks up our sleeves.
The Best Time to Start
My favorite time to get new Columnea babies going is in the spring or early summer. This is when the plant is bursting with energy from its growth spurt. You’ll be taking cuttings from stems that have recently finished flowering or are actively growing. They just seem to root faster and stronger when the days are getting longer and warmer.
Supplies You’ll Need
Here’s what you’ll want to have handy before you get started:
- Sharp pruning shears or clean scissors: For making nice, clean cuts.
- Well-draining potting mix: A mix designed for Aroids or African violets works wonderfully. You can also make your own by combining equal parts peat moss, perlite, and orchid bark.
- Small pots or rooting containers: Think 4-inch pots or even seedling trays.
- Rooting hormone (optional but recommended): A powder or gel will give your cuttings a nice boost.
- Clear plastic bag or a plastic dome: To create a mini-greenhouse.
- Watering can with a fine rose: For gentle watering.
- A gentle, warm spot: Out of direct sunlight.
Propagation Methods
I’ve found that stem cuttings are by far the most reliable and straightforward way to propagate Columnea magnifica.
- Select Your Cuttings: Look for healthy, non-flowering stems. You want pieces that are about 4-6 inches long and have at least two to three sets of leaves. Use your sharp shears to make a clean cut just below a leaf node (the little bump where a leaf grows from the stem).
- Prepare the Cuttings: Gently remove the lower leaves from the cutting, leaving about an inch or two of bare stem. If your cutting has any flower buds, pinch them off – we want the plant’s energy to go into root development, not flowering.
- Apply Rooting Hormone (Optional): Dip the cut end of the stem into your rooting hormone. Tap off any excess.
- Plant Your Cuttings: Fill your small pots with your well-draining mix. Make a small hole in the center with your finger or a pencil. Insert the cut end of the stem into the hole, making sure at least one leaf node is buried beneath the soil surface. Gently firm the soil around the stem.
- Water Gently: Lightly water the soil until it’s moist but not soggy.
- Create a Humid Environment: Cover the pot with a clear plastic bag, or place a plastic dome over the cuttings. This traps humidity, which is crucial for rooting. Make sure the leaves don’t touch the plastic if possible.
- Provide Indirect Light and Warmth: Place the potted cuttings in a warm spot that receives bright, indirect light. Avoid direct sun, which can scorch the delicate cuttings.
Water Propagation (An Alternative): You can also try rooting cuttings directly in water, which is quite satisfying to watch.
- Follow steps 1 and 2 above.
- Place the prepared cuttings in a clean jar or glass filled with lukewarm water.
- Crucially, ensure no leaves are submerged in the water. Submerged leaves will rot and can harm the cutting. You might need to prune off the very bottom leaves to achieve this.
- Place the jar in bright, indirect light and change the water every few days.
- You’ll start to see tiny white roots emerging from the nodes. Once these roots are about an inch long, it’s time to transplant them into soil using the steps outlined above for stem cuttings.
The “Secret Sauce” (Pro Tips)
Have you ever wondered what makes some cuttings just zone out while others are practically zooming towards new growth? Here are a couple of my little secrets!
- Bottom Heat is Your Friend: Columneas absolutely love warmth for rooting. If you have a heat mat designed for seedlings, placing your pots on it can dramatically speed up root formation and increase success rates. It mimics that lovely, cozy soil temperature they crave.
- Don’t Overwater (Ever!): This is probably the most common mistake. Damp soil is good; soggy soil is a death sentence for cuttings, leading to rot. Check the soil moisture by gently poking your finger in about an inch deep. If it feels moist, wait. If it feels dry, then water.
- A Pinch of This, a Pinch of That: When making your soil mix, don’t be afraid to add a little extra perlite or orchid bark. This aeration is paramount. It lets oxygen reach the roots and prevents that dreaded sogginess.
Aftercare & Troubleshooting
Once you start seeing new growth emerging from your cuttings – those tiny new leaves are like glitter to me! – it’s a sign that roots have formed.
- Gradual Acclimation: If you used a plastic bag or dome, start to gradually acclimate your new plants to more normal humidity levels by opening the bag for a few hours each day over a week. This prevents shock.
- Regular Watering: Continue to water gently when the top inch of soil feels dry.
- Move to a Slightly Larger Pot: Once the new plant is well-established and seems to be growing happily, you can move it to a slightly larger pot, perhaps a 4-6 inch one. Use the same well-draining potting mix.
What if things go wrong?
- Rotting: If the stem turns mushy, black, or smells bad, it’s likely rot. This is usually due to overwatering and poor drainage. Unfortunately, rotted cuttings rarely recover. Clean your tools and start again with a fresh cutting, paying close attention to watering and soil drainage.
- Wilting: Some initial wilting can happen as the cutting adjusts. If it persists and the stem is still firm, continue to provide humidity and warmth. If the stem softens and wilts, it may not have rooted.
A Encouraging Closing
Propagating plants is a dance with nature, and sometimes it takes a few tries. Don’t get discouraged if your first attempt isn’t a runaway success. Be patient, enjoy the process of nurturing these tiny new lives, and celebrate each little leaf that unfurls. Soon, you’ll have a whole cascade of Columnea magnifica to enjoy! Happy growing!
Resource: