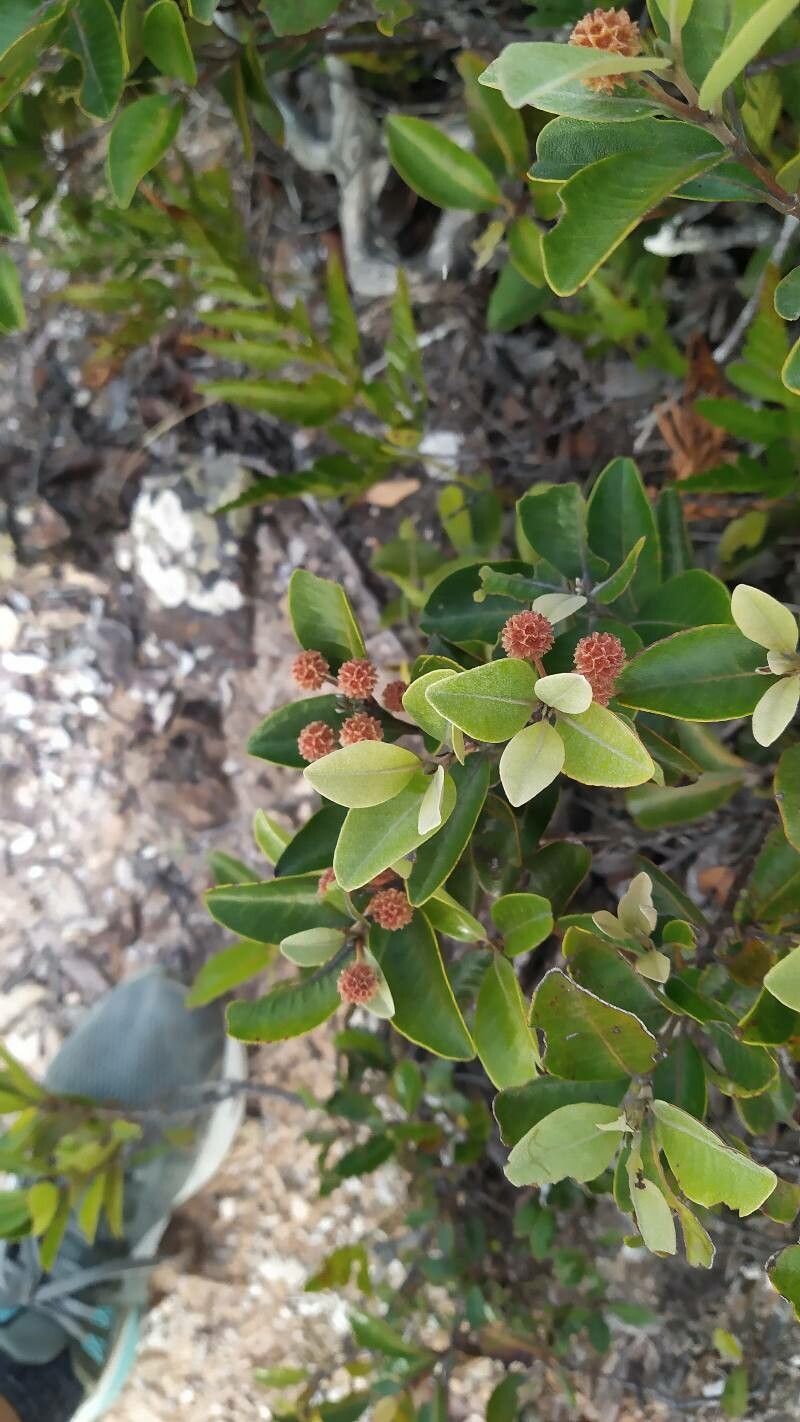
Oh, Codia microphylla! If you’re looking for a little piece of delicate beauty to grace your home or garden, this charmer is it. Its tiny, intricate leaves and charming habit make it a joy to behold. And the best part? Bringing more of these beauties into existence yourself!
Propagating Codia microphylla is a truly rewarding endeavor. You’ll feel that wonderful sense of accomplishment, watching a tiny slip of a plant grow into a new, thriving specimen. For those just dipping their toes into the world of plant propagation, I’d say Codia microphylla falls into the moderately easy category. It requires a bit of attention, but with a few key pointers, you’ll be well on your way to success.
The Best Time to Start
The sweet spot for propagating Codia microphylla is late spring to early summer. This is when the plant is actively growing, meaning it has plenty of energy to dedicate to rooting. You’re looking for stems that are semi-hardwood – not brand new, floppy growth, but not yet woody and stiff either. Gently pinch a stem; if it snaps cleanly, it’s likely just right.
Supplies You’ll Need
Before we get our hands dirty, let’s gather our tools. Having everything ready makes the whole process so much smoother:
- Sharp pruning shears or a clean craft knife: For making clean cuts, which is crucial.
- Well-draining potting mix: I like a blend of peat moss, perlite, and a bit of coarse sand. You can also find pre-made succulent or cactus mixes that work beautifully.
- Small pots or trays: Clean ones are a must to prevent diseases.
- Rooting hormone (optional but recommended): This can give your cuttings a significant boost.
- A spray bottle: For gentle misting.
- Clear plastic bags or a propagator lid: To create a humid environment.
- Labels and a pen: To keep track of what you’ve planted and when.
Propagation Methods
Codia microphylla is quite amenable to a few different methods. I usually have the best luck with stem cuttings.
Stem Cuttings:
- Take your cuttings: Using your sharp shears, make a clean cut just below a leaf node. Aim for cuttings that are about 3-4 inches long. Remove the lower leaves, leaving a few at the top.
- Dip in rooting hormone (optional): If you’re using rooting hormone, dip the cut end into it, tapping off any excess.
- Plant your cuttings: Fill your small pots with your well-draining potting mix. Make a small hole with your finger or a pencil and gently insert the cutting, firming the soil around it.
- Water gently: Water the soil lightly to settle it.
- Create humidity: Cover the pots with a clear plastic bag (supported with sticks so it doesn’t touch the leaves) or place them in a propagator. This high humidity is essential for encouraging roots.
- Place in bright, indirect light: Keep them out of direct sunlight, which can scorch the delicate cuttings. A bright windowsill is usually perfect.
- Be patient! Rooting can take anywhere from 4 to 8 weeks.
Water Propagation (Primarily for observation):
While I prefer soil for long-term success, water propagation can be a good way to see roots develop and is satisfying to watch.
- Take cuttings as described above.
- Place in a clean jar or glass of water. Crucially, don’t let the leaves touch the water. This can lead to rot.
- Change the water every few days.
- Place in bright, indirect light.
- Once you see a decent root system developing, you’ll want to transfer them to soil to continue their growth.
The “Secret Sauce” (Pro Tips)
Here are a few little tricks that have saved many a cutting in my care:
- Bottom Heat is Your Friend: If you have a heat mat, placing your pots on it can significantly speed up root formation. It mimics the warmth of spring soil and really encourages those roots to get going.
- Don’t Overwater the Cuttings: This is probably the biggest mistake beginners make. The cuttings don’t have roots yet, so they can’t absorb much water, and excess moisture in the soil is a recipe for root rot. Let the top inch of soil dry out slightly between waterings.
- Air Circulation Matters: While you want humidity, occasional ventilation is key. If you’re using a plastic bag, lift it off for an hour or so every day to allow for fresh air exchange and prevent fungal issues.
Aftercare & Troubleshooting
Once you start to see new growth appearing at the top of your cutting, that’s a great sign the roots have taken hold! You can gently tug on the cutting – if there’s resistance, roots are forming.
Continue to keep the soil lightly moist and the humidity high. As the new plant gets stronger, you can gradually begin to acclimate it to lower humidity by opening the plastic bag for longer periods.
The most common problem you’ll encounter is rot. If your cutting turns black and mushy, it’s likely succumbed to rot. This usually happens due to overwatering or poor air circulation. Don’t be discouraged! Just discard the failed cutting and try again with a fresh one. Another sign of distress can be wilting or yellowing leaves, which might indicate insufficient moisture or too much direct sun.
A Encouraging Closing
Starting new plants is an act of faith and patience. There will be times when things don’t work out, and that’s perfectly okay! Every gardener, no matter how experienced, has had their share of propagation failures. Learn from them, celebrate your successes, and most importantly, enjoy the journey of watching life unfold from a tiny cutting. Happy propagating!
Resource: