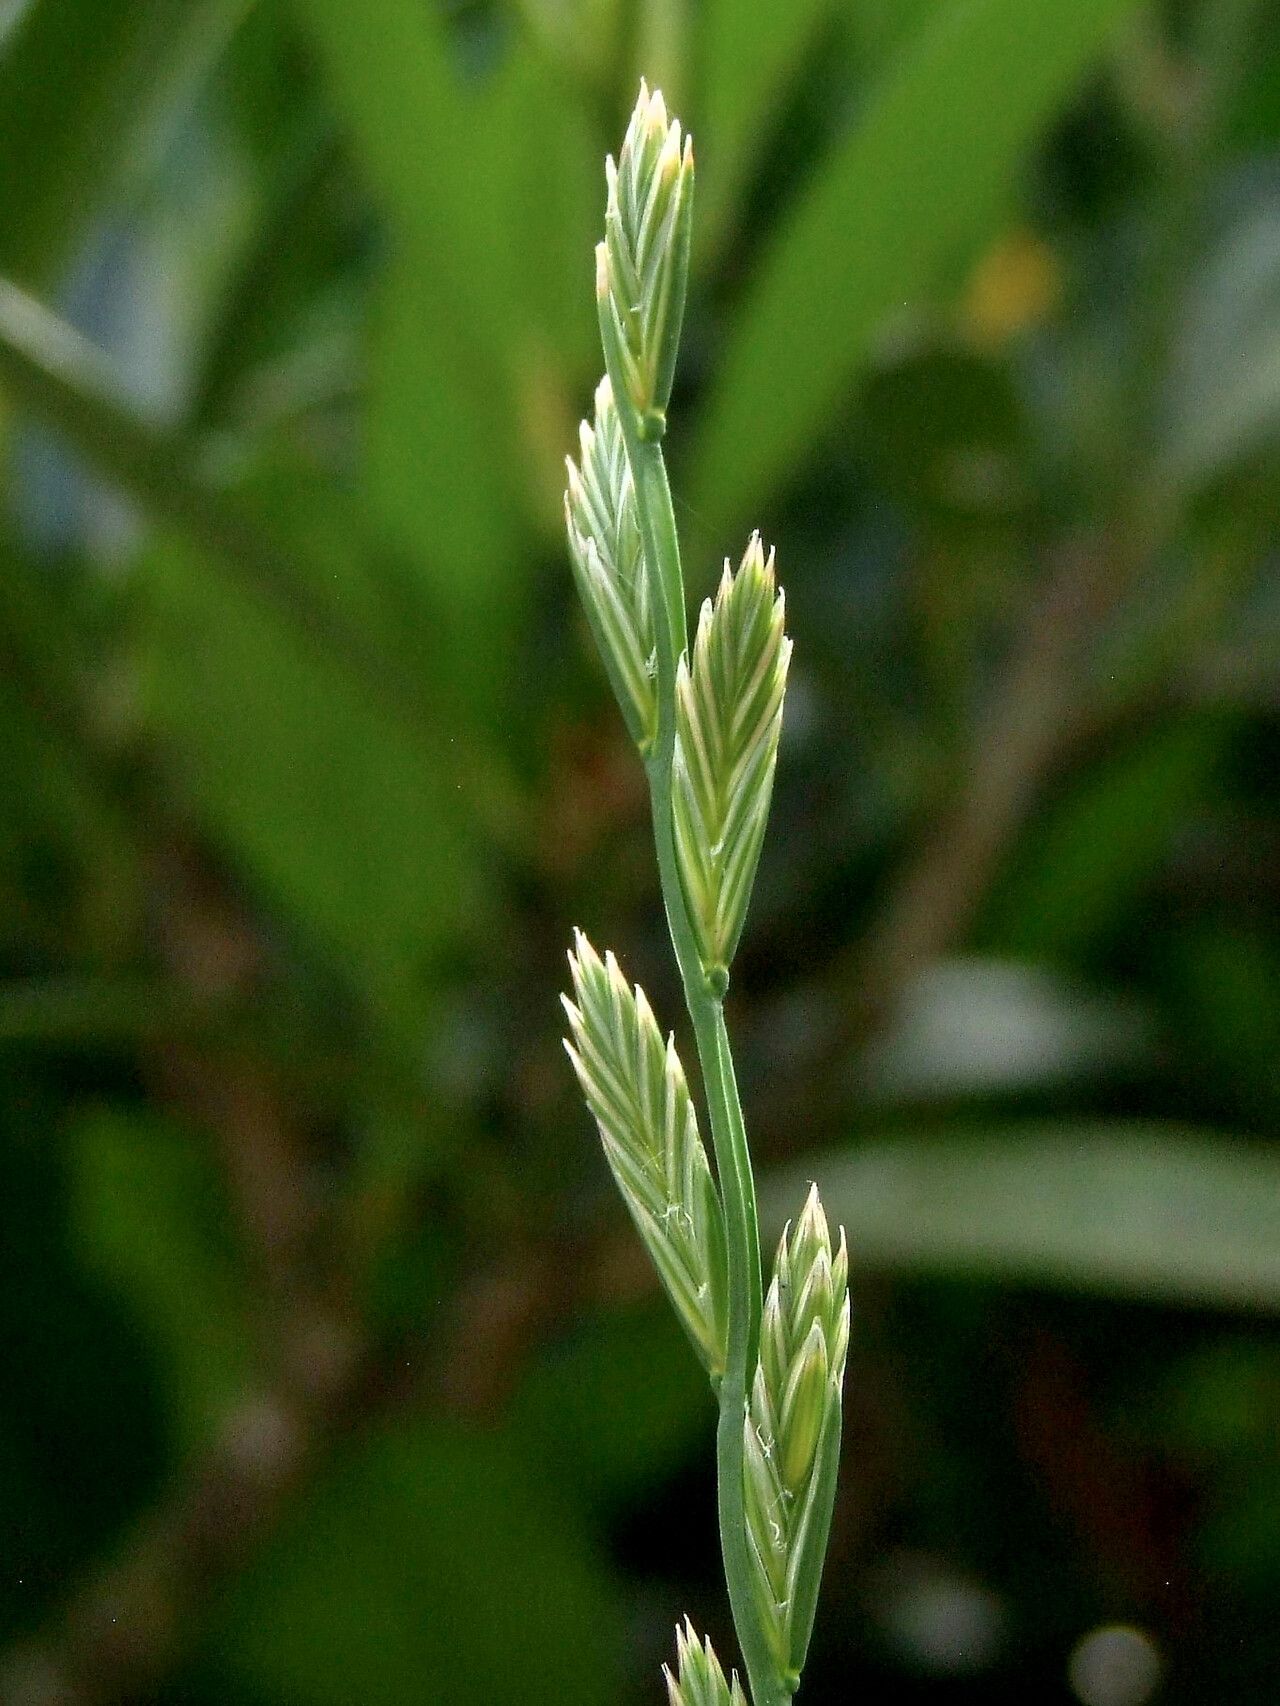
Oh, hello there! Pull up a chair, let’s chat about something truly delightful: Lolium perenne, or as most of us know it, perennial ryegrass. Now, I know what you might be thinking – grass? But hear me out! This isn’t just any lawn fodder. Perennial ryegrass, with its vibrant green blades and rapid establishment, is a real workhorse and a beautiful foundation for so many garden designs. Whether you’re aiming for a lush lawn, a sturdy ground cover, or even a component in a wildflower meadow, propagating your own is incredibly rewarding. And guess what? It’s surprisingly easy, even for folks just starting out on their gardening journey.
The Best Time to Start
For perennial ryegrass, the sweet spot for propagation is generally in late spring or early summer. This is when the plant is in its most vigorous growth phase. The days are longer, the temperatures are warming up consistently, and there’s plenty of sunlight to fuel new root development. You can try it in early autumn, but you might find the new plants aren’t as robust before winter sets in.
Supplies You’ll Need
Here’s what you’ll want to have on hand:
- Healthy parent plant: Pick a vigorous, disease-free specimen.
- Sharp pruning shears or a clean knife: For making clean cuts.
- Well-draining potting mix: A good quality seed starting mix or a blend of potting soil and perlite works wonders.
- Small pots or trays: Clean containers with drainage holes are essential.
- Watering can with a fine rose: To avoid disturbing delicate roots.
- Optional: Rooting hormone: While not strictly necessary for ryegrass, it can give an extra boost.
- Optional: Clear plastic bag or dome: To maintain humidity.
Propagation Methods
Ryegrass is wonderfully adaptable, and the easiest way to propagate it is through division. Think of it like splitting up a happy clump of plants into smaller, equally happy clumps!
Division Method:
- Assess your parent plant: Look for a mature clump of perennial ryegrass that is growing well. You might notice it’s becoming a bit crowded or you simply want more of it.
- Gently excavate: Carefully dig around the base of the plant with your trowel. The goal is to lift the entire clump, roots and all, out of the ground with as little disturbance as possible.
- Clean the roots: Gently shake off excess soil from the root ball. You’ll be able to see the different sections of the plant and their root systems.
This is the crucial step for division. - Separate the clumps: Now, with clean hands or a small trowel, carefully pull apart the clump into sections. Each section should have a good amount of roots and several healthy shoots. If the roots are very tangled, you can use your knife to make a clean cut through them if necessary.
- Replant immediately: This is important! Get your new divisions into their new homes right away. Fill your pots with your well-draining potting mix, leaving a little space at the top.
- Plant each division: Make a small hole in the soil and place a division in it. Ensure the root ball is well-covered with soil, and the crown of the plant (where the shoots emerge from the roots) is at soil level.
- Water thoroughly: Give each new planting a gentle but thorough watering to settle the soil around the roots.
The “Secret Sauce” (Pro Tips)
Here are a couple of little tricks I’ve picked up over the years that can really help your ryegrass cuttings thrive:
- Don’t overcrowd: When you’re dividing, resist the urge to make your new sections too small. Each division needs enough stored energy in its roots to get going. Aim for sections with at least two or three shoots.
- Mimic Mother Nature’s humidity: After planting your divisions, water them in well and then cover the pots with a clear plastic bag or a plastic dome. This creates a mini-greenhouse effect, keeping humidity high and reducing water loss from the leaves while the roots are trying to establish. Just make sure the leaves aren’t touching the plastic if possible – that can encourage rot.
Aftercare & Troubleshooting
Once your divisions are planted and watered, keep the soil consistently moist, but not soggy. Think of it like a damp sponge. Direct sunlight is fine, but if it’s intensely hot, a little dappled shade might be beneficial for the first week or so.
Signs of success will be new green shoots emerging, and the plant looking generally perkier. If you see wilting that doesn’t improve after watering, or if the leaves start to turn yellow and mushy, it could be a sign of overwatering and rot. If this happens, gently remove the affected plant, check the soil moisture, and ensure your pot has good drainage. Sometimes, you just need to let them dry out a little more between waterings.
A Encouraging Closing
See? Propagating perennial ryegrass is a straightforward and incredibly satisfying way to expand your garden. Be patient with your new plants – they’re working hard to establish themselves. Don’t be afraid to experiment, and most importantly, enjoy the process of nurturing new life from your existing green beauty. Happy gardening!
Resource:
https://identify.plantnet.org/k-world-flora/species/Lolium%20perenne%20L./data