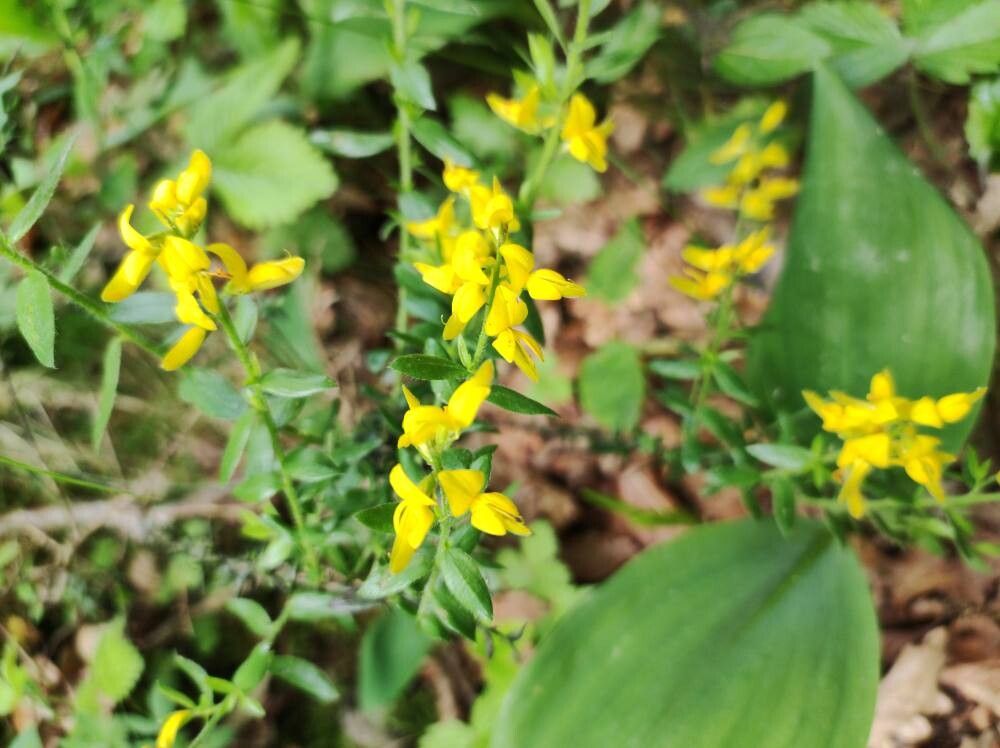
Hello there, fellow plant lovers! Today, we’re diving into the wonderful world of Genista germanica – or as many of us affectionately call it, the German Broom. This compact, spiky shrub is a real charmer with its vibrant yellow blossoms that practically hum with life in the summer garden. If you’ve ever admired its cheerful display and thought, “I wish I had more of those!”, you’re in luck. Propagating Genista germanica is a hugely rewarding endeavor, and while it might seem a little daunting at first, I promise you, it’s definitely achievable for most gardeners. It’s not the absolute easiest plant to propagate, but with a little care and attention, you’ll be well on your way to success.
The Best Time to Start
When it comes to getting new Genista germanica plants going, timing is key. I’ve found the sweetest spot is late spring to early summer. This is when the plant is actively growing, and you can take cuttings from its current season’s growth. Those young, pliable stems have a better chance of rooting than older, woodier bits. Aim for stems that are semi-hardwood – they’ll snap cleanly when you bend them, but they won’t be completely soft and green.
Supplies You’ll Need
Before we get our hands dirty, let’s gather our tools. Having everything ready makes the process so much smoother:
- Sharp pruning shears or a clean knife: For making clean cuts.
- Rooting hormone (powder or gel): This is your friend for encouraging root development.
- Well-draining potting mix: A good starting point is a mix of perlite, peat moss, and coarse sand, or a specialized seed-starting mix. I often use about a 50/50 blend of perlite and peat.
- Small pots or seed trays: Clean and with drainage holes!
- Plastic bags or a propagator lid: To create a humid environment.
- Watering can with a fine rose: For gentle watering.
Propagation Methods
There are a couple of ways you can give your Genista germanica a new lease on life, but for this shrub, stem cuttings are my go-to method.
Stem Cuttings:
- Take Your Cuttings: On a mild day, select healthy, non-flowering shoots from your mature plant. Gently pull or cut pieces about 4-6 inches long. Make the cut just below a leaf node (where a leaf attaches to the stem).
- Prepare the Cuttings: Carefully remove the lower leaves, leaving only the top few. This helps prevent them from rotting in the soil. If your cuttings are very leafy, you can trim some of the remaining leaves in half to reduce water loss.
- Dip in Rooting Hormone: Lightly dampen the cut end of each stem and then dip it into your rooting hormone. Tap off any excess.
- Potting Up: Fill your small pots with your prepared, moist potting mix. Make a small hole in the center of each pot with a pencil or your finger.
- Plant the Cuttings: Insert the prepared stem ends into the holes, ensuring the cut end is well-covered by the soil. Gently firm the soil around the base of each cutting.
- Create a Humid Environment: Water the pots gently. Then, place a clear plastic bag over the pot, securing it around the rim with a rubber band, or put the pots inside a propagator with a lid. This traps moisture and keeps the cuttings from drying out. Place them in a bright spot but out of direct, scorching sunlight.
The “Secret Sauce” (Pro Tips)
Here are a few little tricks I’ve picked up over the years that can make a big difference:
- Sterilization is Key: Before you start, wipe down your pruning shears or knife with rubbing alcohol. This prevents transferring any diseases from your parent plant to your new cuttings.
- Bottom Heat Helps: If you have a heat mat, placing your pots on it can significantly speed up root formation. Genista germanica really appreciates a bit of extra warmth from below, especially if your propagator isn’t in a super sunny, warm spot.
- Don’t Disturb Too Soon: Resist the urge to peek and pull at your cuttings to see if they’ve rooted! The smallest tug can break delicate new root hairs. Wait at least 4-6 weeks before gently trying to see if there’s any resistance when you very carefully wiggle the cutting.
Aftercare & Troubleshooting
Once you start to see new leaf growth on your cuttings, that’s a good sign! It usually means roots are forming.
- Gradual Acclimation: Begin to gradually remove the plastic bag or propagator lid over a week or so. This allows the new plants to get used to normal humidity levels.
- Gentle Watering: Continue to water gently, keeping the soil consistently moist but not waterlogged. Overwatering is one of the surest ways to invite problems.
- Signs of Failure: The most common issue you’ll encounter is rot. If your cuttings turn black and mushy, or if you see mold on the soil surface, it’s usually a sign of too much moisture and poor air circulation. Unfortunately, these are usually lost causes, so don’t get discouraged. Just start again with fresh cuttings and perhaps adjust your watering habits. Wilting that doesn’t recover might also indicate they haven’t rooted, or they’re drying out too fast.
A Encouraging Closing
Propagating plants is a journey, and it’s filled with learning. Don’t be disheartened if your first few attempts don’t pan out perfectly. Each time you try, you’re gaining experience. Be patient, observe your little green babies, and most importantly, enjoy the process. There’s a real magic in coaxing new life from a piece of a plant, and soon you’ll have your own delightful collection of German Brooms to brighten your garden. Happy propagating!
Resource:
https://identify.plantnet.org/k-world-flora/species/Genista%20germanica%20L./data