Hello fellow plant lovers! It’s so lovely to have you join me today. We’re going to delve into the wonderful world of propagating Cyclophyllum henriettiae. I’ve spent countless hours with these beauties, and let me tell you, watching a tiny cutting transform into a flourishing plant is one of the most deeply satisfying experiences in gardening.
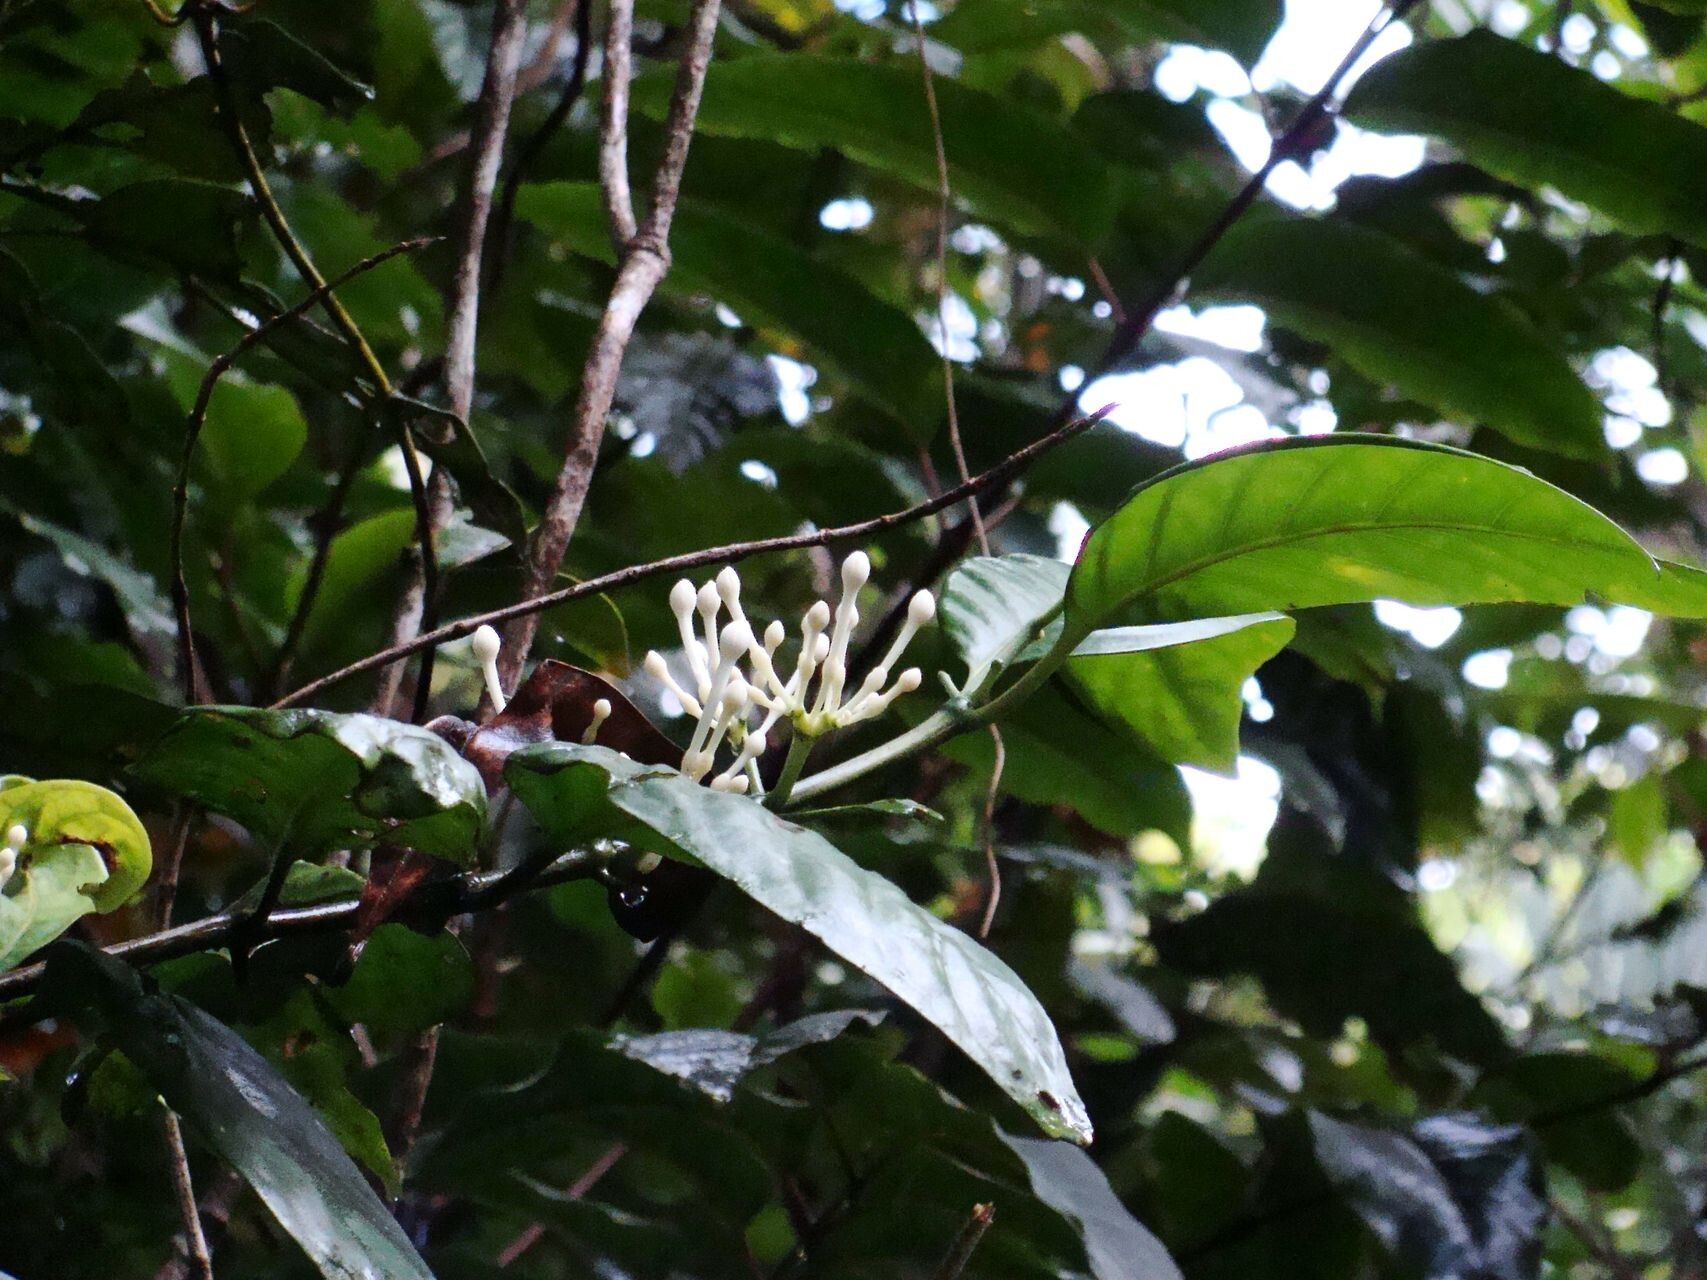
Cyclophyllum henriettiae, with its lush, glossy foliage, adds such an elegant touch to any collection. It’s like bringing a piece of a tropical wonderland right into your home. While it might seem a bit exotic, I promise, propagating it is achievable, even if you’re fairly new to the plant parent game. We’ll go through it step-by-step.
The Best Time to Start
For Cyclophyllum henriettiae, the spring and early summer are your golden ticket to success. This is when the plant is in its prime growth phase, meaning it has the energy to push out new roots and establish itself quickly. Waiting until temperatures are consistently warm will really give your cuttings the best start.
Supplies You’ll Need
Gathering your tools before you begin makes the whole process much smoother. Here’s what I usually have on hand:
- Sharp, clean pruning shears or a well-sanitized knife: Cleanliness is absolutely key to prevent diseases.
- Well-draining potting mix: A mix of perlite, coarse sand, and peat moss or coco coir works wonders. I often add a good scoop of my homemade compost too!
- Small pots or seed trays: Make sure they have drainage holes.
- Rooting hormone (optional but recommended): This significantly boosts your chances of success.
- Clear plastic bag or a propagation dome: To create a humid environment.
- Watering can with a fine rose attachment: Gentle watering is vital.
Propagation Methods: Stem Cuttings
This is my go-to method for Cyclophyllum henriettiae. It’s reliable and yields great results.
- Select a healthy stem: Look for a stem that’s actively growing but not overly soft. Aim for a piece around 4-6 inches long.
- Make the cut: Using your clean shears, make a clean cut just below a leaf node (where a leaf attaches to the stem). This is where the magic happens for root development.
- Prepare the cutting: Gently remove the lower leaves. You want to expose the nodes. Leave about 2-4 leaves at the top. If the remaining leaves are very large, I like to give them a trim by cutting them in half lengthwise – this reduces water loss.
- Apply rooting hormone: Dip the cut end into your rooting hormone. Tap off any excess.
- Plant the cutting: Fill your small pots with your prepared potting mix. Make a small hole with your finger or a pencil, and gently insert the cutting, ensuring the nodes are buried. Firm the soil around it.
- Water gently: Water the mix thoroughly but avoid waterlogging. You want it to be moist but not soggy.
- Create humidity: Cover the pot with a clear plastic bag, securing it around the base of the pot. You can also use a propagation dome. A little peek every few days is a good idea.
The “Secret Sauce” (Pro Tips)
Here are a few things I’ve learned that make a difference:
- Bottom heat is your friend: If you have a seedling heat mat, placing your pots on it provides that extra warmth that really encourages root growth. It’s like a warm hug for your cuttings!
- Don’t let leaves touch the water: If you opt for water propagation or if condensation is heavy, ensure the leaves stay above the water level. Contact with standing water can lead to rot.
- Patience is a virtue: I know it’s tempting to constantly check, but try to resist the urge! Let them settle in and do their thing for at least 4-6 weeks before you start gently tugging to check for resistance.
Aftercare & Troubleshooting
Once you see new growth emerging or feel a gentle tug of resistance when you very carefully pull on the cutting, it’s a sign that roots have formed!
- Gradual acclimatization: Slowly remove the plastic cover over a week or two. Start by opening a vent, then removing it for a few hours each day. This prevents shock.
- Continue gentle watering: Keep the soil consistently moist but not wet. Water at the base of the plant.
- Light requirements: Place your new plant in bright, indirect light. Never direct sun at this stage.
The most common issue you might encounter is rot, which usually happens from overwatering or poor drainage. If you see mushy stems or leaves turning yellow and dropping off, it’s often a sign of too much moisture. If it’s early days, you might be able to save it by allowing the soil to dry out a bit and ensuring good airflow. Sometimes, sadly, a cutting just doesn’t take. Don’t be discouraged!
A Big Hug and Happy Gardening!
So there you have it – a journey into propagating your very own Cyclophyllum henriettiae. Remember, gardening is all about observation, patience, and a bit of love. Don’t be afraid to try, and celebrate every little success. You’ve got this! Happy propagating!
Resource: