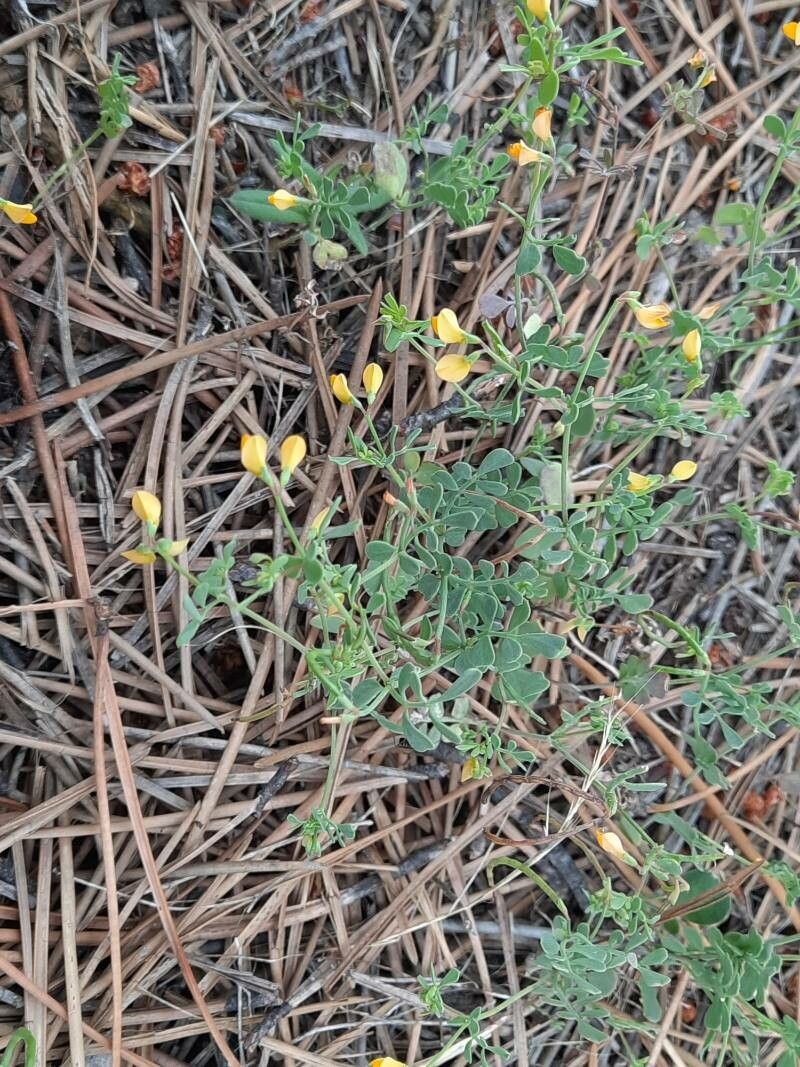
Oh, hello there! Grab your mug, and let’s chat about a plant I absolutely adore: Coronilla repanda. You know, the one with those beautiful, pea-like flowers and a scent that just transports you? It’s such a joy to have in the garden, spilling over walls or trailing from hanging baskets. And the best part? You can easily multiply it yourself, giving you more of that fragrant charm to share or simply fill your own space even more. For those of you just dipping your toes into propagation, I’d say Coronilla repanda is a pretty welcoming plant to start with. It’s not overly fussy, which is music to my ears!
The Best Time to Start
When it comes to getting new Coronilla repanda plants going, late spring to early summer is truly your sweet spot. Think of it as the plant’s prime growth period. Its stems are actively developing, which means they’re full of vigor and ready to put down roots. You’ll get the best results by waiting until the plant has put on some new growth after flowering, but before things get too hot and dry.
Supplies You’ll Need
Gathering your tools beforehand makes the whole process much smoother. Here’s what I always have on hand:
- Sharp Pruning Shears or a Clean Knife: For taking clean cuts.
- Rooting Hormone Powder (optional but recommended): Helps cuttings take off faster.
- A Good Potting Mix: I like a blend of perlite and peat moss – about 50/50 works wonders for drainage.
- Small Pots or Trays: With drainage holes, of course!
- A Spray Bottle: For a gentle mist of water.
- Plastic Bags or a Propagator: To create a humid environment.
Propagation Methods
Let’s dive into how we get these lovely plants going. Stem cuttings are generally the easiest and most reliable way for Coronilla repanda.
Stem Cuttings:
- Select Your Cuttings: Look for healthy, non-flowering stems from your established plant. Aim for cuttings that are about 4-6 inches long. Make your cut just below a leaf node (that little bumpy point where a leaf grows from the stem).
- Prepare the Cuttings: Gently remove the lower leaves from your cuttings, leaving just a few at the very top. This prevents them from rotting in the soil and focuses the plant’s energy on root production.
- Apply Rooting Hormone (Optional): Dip the cut end of each stem into your rooting hormone, tapping off any excess. It’s like giving them a little boost!
- Plant Your Cuttings: Fill your small pots with your prepared potting mix. Make a small hole with your finger or a pencil, and gently insert the cuttings, ensuring the node where you removed the leaves is buried.
- Water Gently: Water the soil lightly so it’s moist but not soggy.
- Create a Humid Environment: Cover the pots loosely with a clear plastic bag or place them in a propagator. This traps humidity, which is crucial for preventing the cuttings from drying out.
The “Secret Sauce” (Pro Tips)
Now, for a couple of things I’ve learned over the years that can really make a difference:
- Don’t Let Leaves Touch the Water: If you’re aiming for a more humid environment with your plastic bag, make sure the leaves aren’t sitting directly on the damp soil surface. I often prop up the bag with a small stick or twig so there’s a bit of air circulation.
- Bottom Heat is Your Friend: If you can, placing your pots on a gentle heat mat can significantly speed up root development. It mimics the warmth of the soil in warmer climates and gives those roots an extra nudge. Keep the temperature around 70-75°F (21-24°C).
Aftercare & Troubleshooting
Once your cuttings are planted, place them in a bright spot, but out of direct, harsh sunlight. Keep the soil consistently moist – think of it like a wrung-out sponge. You can give them a gentle misting with your spray bottle every few days if the humidity starts to drop.
You’ll know your cuttings have rooted when you see new leaf growth or when you gently tug on a cutting and feel some resistance. This usually takes between 4 to 8 weeks. Once they’ve established a good root system, you can transplant them into their own small pots, still keeping them in bright, indirect light.
The most common problem you might encounter is rot. This usually happens if the soil is too wet or if there’s not enough air circulation. If you see a cutting turning mushy or developing dark spots, it’s best to discard it to prevent it from spreading.
A Encouraging Closing
Have patience with your new little plants! Propagation is a lot like watching a seed sprout – it takes time and a bit of nurturing. Don’t get discouraged if not every cutting makes it; that’s just part of the gardening journey. The thrill of seeing those first roots emerge and then the first tiny leaves unfurl is incredibly rewarding. So go ahead, get your hands dirty, and enjoy the magic of creating new life! Happy propagating!
Resource:
https://identify.plantnet.org/k-world-flora/species/Coronilla%20repanda%20(Poir.)%20Guss./data