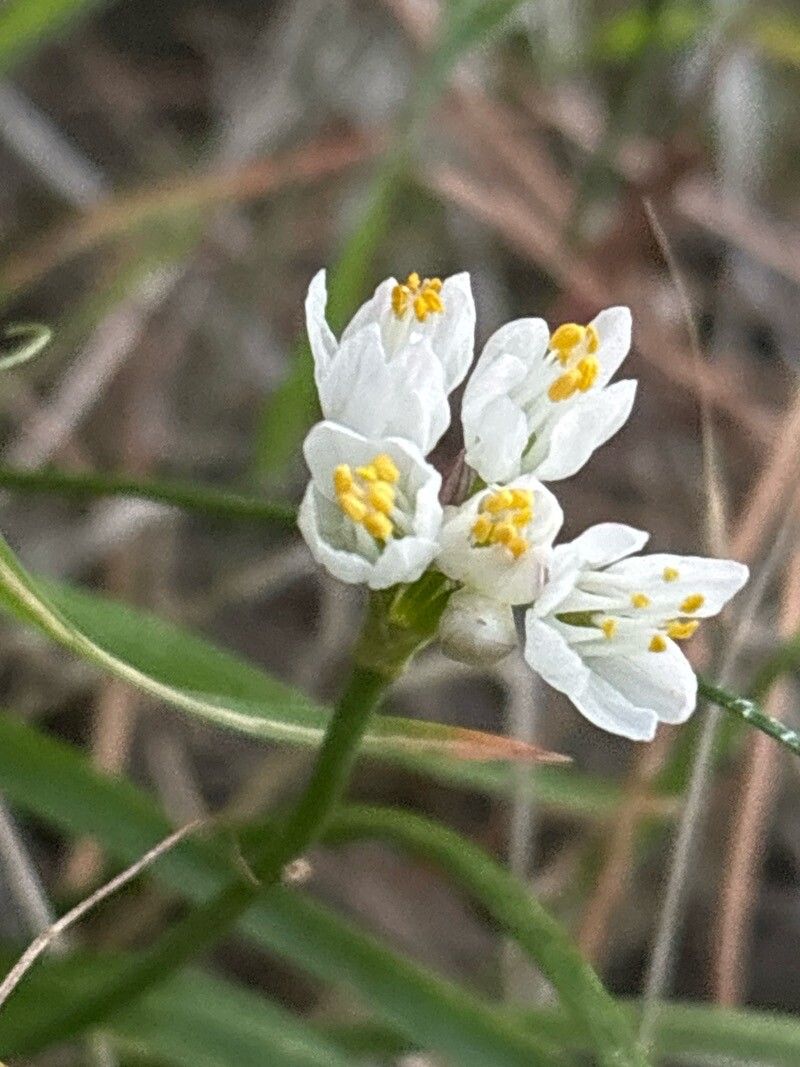
Hello fellow garden lovers! I’m so glad you’ve stumbled upon my little corner of the web today. We’re going to talk about a plant that brings a smile to my face every spring: Allium canariense, also known as the canary island onion or wild garlic. These charming little bulbs, with their delicate pinkish-white flowers, are a true delight. And the best part? They’re wonderfully easy to propagate, making it a truly rewarding project, even for those just dipping their toes into the world of gardening.
The Best Time to Start
Timing, as in most things in life, is key! For Allium canariense, your best bet is to propagate them in late summer or early fall. This is when the plants have finished flowering and are entering their dormant or semi-dormant phase. Their energy is focused on bulblets or offsets, making them perfect for dividing and replanting. Trying to propagate them when they are actively growing and flowering is much less likely to yield success.
Supplies You’ll Need
Here’s a quick rundown of what you’ll want to have on hand. Don’t worry, it’s nothing too fancy!
- Sharp pruning shears or a clean knife: For making clean cuts.
- A well-draining potting mix: Something like a cactus or succulent mix works brilliantly. You can also create your own by mixing equal parts potting soil, perlite, and coarse sand.
- Small pots or trays: Terracotta pots are lovely; they breathe well.
- Watering can with a fine rose: To avoid disturbing your new divisions.
- Gardening gloves: If you’re sensitive to the oniony scent!
- (Optional) Rooting hormone powder: I sometimes use it, but often the bulblets root readily on their own.
Propagation Methods
Allium canariense is primarily propagated through division. It’s a natural process for these plants as they produce little offsets, or bulblets, around the base of the main bulb.
Division Step-by-Step:
- Gently dig up the mature plant. Do this in late summer or early fall, after the foliage has started to die back. Carefully loosen the soil around the base, and lift the entire clump.
- Separate the bulblets. You’ll see small bulbs attached to the main bulb or emerging from its sides. Gently tease these apart with your fingers. If a bulblet has a small root attached, that’s fantastic! If not, don’t fret, they’ll grow. Make sure each piece you separate has at least a small bit of bulb.
- Inspect for health. Discard any mushy or obviously diseased bulblets. Healthy ones will feel firm.
- Replant immediately. Now for the fun part! Take your separated bulblets and plant them in your prepared pots or trays. Plant them about 1-2 inches deep, with the pointed end facing up. You can plant them fairly close together if you plan to transplant them to their permanent location later.
- Water lightly. Give them a gentle watering to settle the soil.
The “Secret Sauce” (Pro Tips)
You know, after years of gardening, you pick up a few tricks! Here are a couple of things I always do for my Allium canariense propagation:
- Let them dry a little. Before replanting, I sometimes leave the separated bulblets out of soil for a day or two in a dry, shaded spot. This helps any cut surfaces callus over, reducing the risk of rot. It’s like giving them a little recovery time before they get back to work!
- Don’t overcrowd! While you can plant divisions close for now, remember they need space to grow. Once they’ve established themselves and you start to see new foliage, consider giving them a bit more room.
Aftercare & Troubleshooting
Once your divisions are planted, keep the soil consistently moist but not waterlogged. Avoid the temptation to drench them too often. A good rule of thumb is to water when the top inch of soil feels dry.
You should start to see new growth emerge within a few weeks to a couple of months, depending on your conditions and when you planted. Be patient!
The most common issue you might encounter is rot. This usually happens from overwatering or soil that doesn’t drain well. If you notice a bulblet turning mushy or black, it’s likely on its way out. Remove it promptly to prevent it from affecting others. It’s a good reminder to always use that well-draining mix!
A Encouraging Closing
Growing your own Allium canariense from divisions is such a satisfying experience. You’re not just tending to plants; you’re creating more beauty to enjoy season after season. Be patient with your new little bulbs. They’ve got a big job to do to establish themselves. Just keep them happy with good drainage and a bit of moisture, and before you know it, you’ll have a lovely display of these enchanting blooms. Happy gardening!
Resource: