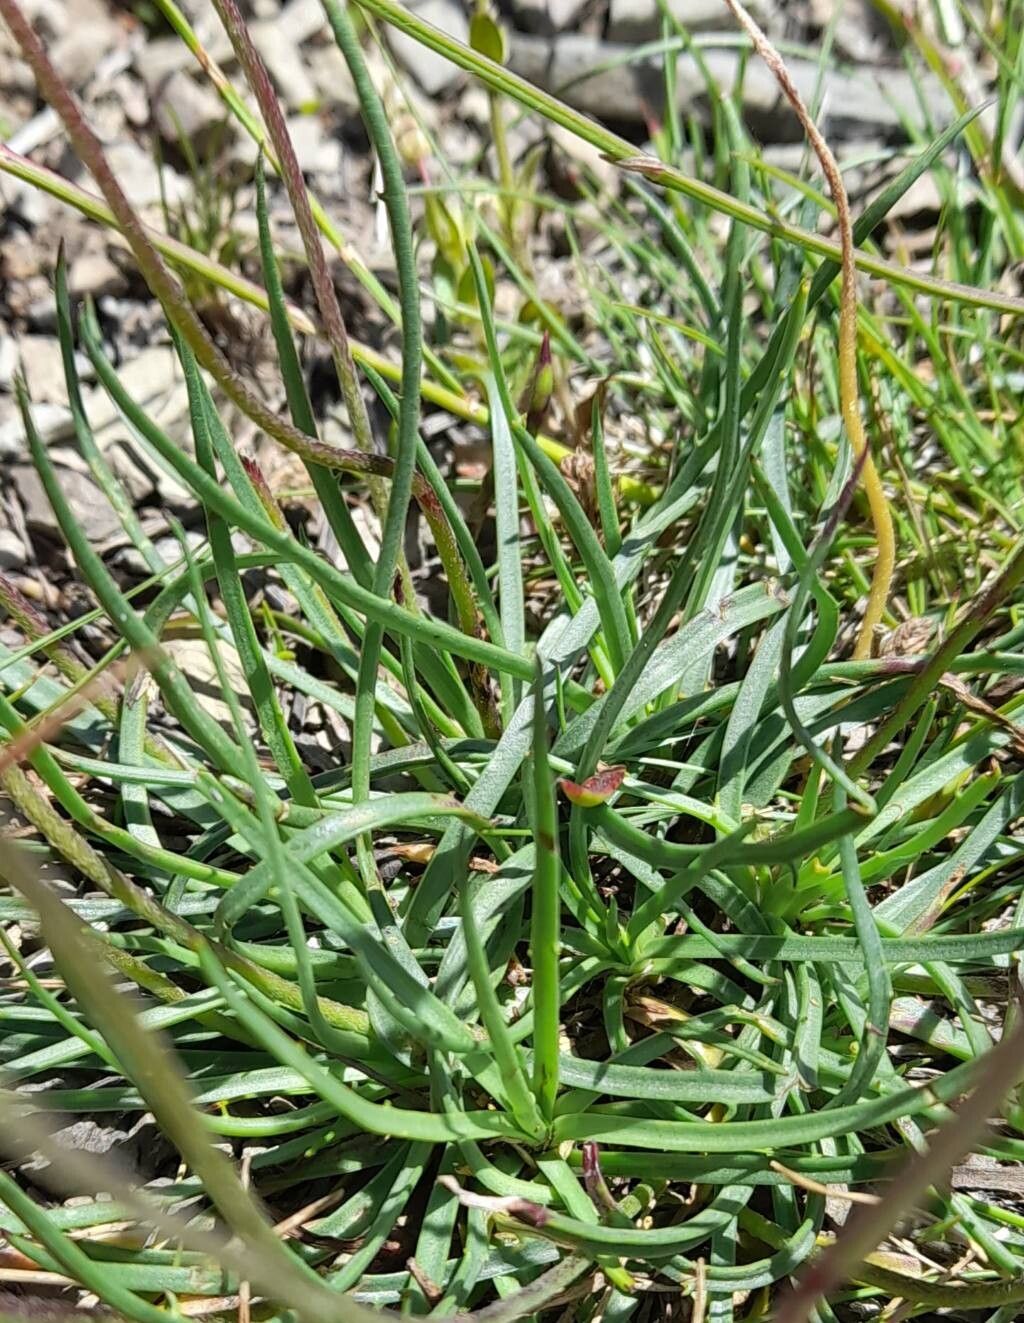
Hello fellow plant lovers! Today, we’re diving into the wonderful world of propagating Plantago alpina, also known as Alpine Plantain. This little gem, with its charming rosettes of fuzzy leaves and delicate flower spikes, is a delightful addition to any garden or even a windowsill. It’s a plant that thrives on a bit of neglect once established, but coaxing new life from it can be incredibly satisfying.
Now, I know some of you might be thinking, “Is this one going to be a headache for a beginner?” Honestly, I’ve found Plantago alpina to be quite forgiving, making propagation a rewarding project even if you’re just starting your plant journey. You’ll feel a real sense of accomplishment when you see those tiny roots emerge!
The Best Time to Start
For the highest success rate, I always recommend starting your propagates in late spring or early summer. This is when the plant is actively growing and has plenty of energy to put into developing those new roots. You can also try in early autumn before growth really slows down, but spring is usually my go-to time. Look for new, healthy growth on your parent plant – that’s your signal!
Supplies You’ll Need
Gathering your tools beforehand makes the whole process much smoother. Here’s what I usually have on hand:
- Sharp pruning shears or a clean knife: For making clean cuts.
- Well-draining potting mix: A good blend of potting soil, perlite, and a little sand works wonders.
- Small pots or seed trays: Cleansing them thoroughly before use is important to prevent disease.
- Rooting hormone (optional): This can give your cuttings a helpful boost.
- Watering can with a fine rose or a mister: For gentle watering.
- Plastic bags or a propagation dome: To maintain humidity around your cuttings.
- Labels and a marker: To keep track of what you’ve propagated and when.
Propagation Methods
Plantago alpina is wonderfully versatile, and you can have success with a couple of different methods.
1. Stem Cuttings: This is my favorite for a quick start.
- First, select a healthy, non-flowering stem from your mature plant. Look for one that’s about 3-4 inches long.
- Using your sharp pruning shears or knife, make a clean cut just below a leaf node (where a leaf attaches to the stem).
- Gently remove the lower leaves from the stem, leaving just the top few.
- If you’re using rooting hormone, dip the cut end of the stem into it, tapping off any excess.
- Insert the prepared cutting into your small pot filled with the well-draining potting mix. Make sure at least one leaf node is buried beneath the soil surface.
- Water gently to settle the soil around the cutting.
- Cover the pot with a plastic bag or propagation dome to create a humid environment.
- Place the pot in a warm spot with bright, indirect light. Avoid direct sun, which can scorch your new plant.
2. Division: If your Plantago alpina has formed a nice clump, division is a very straightforward way to make more plants.
- Gently remove the entire plant from its pot or carefully dig it up from the garden.
- Gently tease apart the root ball with your fingers or a trowel. You’re looking to separate the clump into smaller sections, each with its own healthy roots and at least a few leaves.
- If the roots are really tangled, don’t be afraid to use your sharp knife or shears to make a clean cut through them.
- Pot up each division into its own container filled with your well-draining potting mix.
- Water thoroughly and place in a location with bright, indirect light.
The “Secret Sauce” (Pro Tips)
Here are a few little tricks I’ve picked up over the years that really help boost your propagation success:
- Don’t let the leaves touch the water (if you happen to be experimenting with water propagation): While I usually stick to soil for Plantago alpina, if you try rooting a cutting in water, ensure the leaves are well above the water line. Submerged leaves tend to rot quickly, which is the last thing you want!
- Bottom heat is your friend: For cuttings, placing your pots on a gentle heat mat can significantly speed up root development. It mimics the warmth of spring soil and gives those little cells a nudge. Keep the temperature around 70-75°F (21-24°C).
- Don’t be impatient with watering: While you want the soil to be consistently moist, never let it become waterlogged. Soggy soil is a breeding ground for fungal diseases that can quickly take out your precious new plant. Err on the side of slightly too dry rather than too wet.
Aftercare & Troubleshooting
Once you start seeing signs of new growth, like tiny leaves emerging or the cutting feeling firm when gently tugged (a sign of roots!), it’s time for a little pampering. Gradually acclimate your new plant to less humid conditions by slowly opening the plastic bag or propagation dome over a few days. Continue to water when the top inch of soil feels dry.
What if things go wrong? The most common culprit is rot. You might see the stem turn mushy and brown, or the leaves might start to yellow and wilt despite being watered. This usually points to too much moisture in the soil or insufficient airflow. If you see rot, remove the affected cutting immediately to prevent it from spreading. Don’t be discouraged – sometimes it happens!
A Encouraging Closing
Propagating Plantago alpina is a wonderful way to fill your garden or give gifts to fellow plant enthusiasts. It takes a little patience, a sprinkle of care, and a dash of hope. Watch for those tiny roots, celebrate every new leaf, and most importantly, enjoy the journey of growing new life. Happy propagating!
Resource:
https://identify.plantnet.org/k-world-flora/species/Plantago%20alpina%20L./data