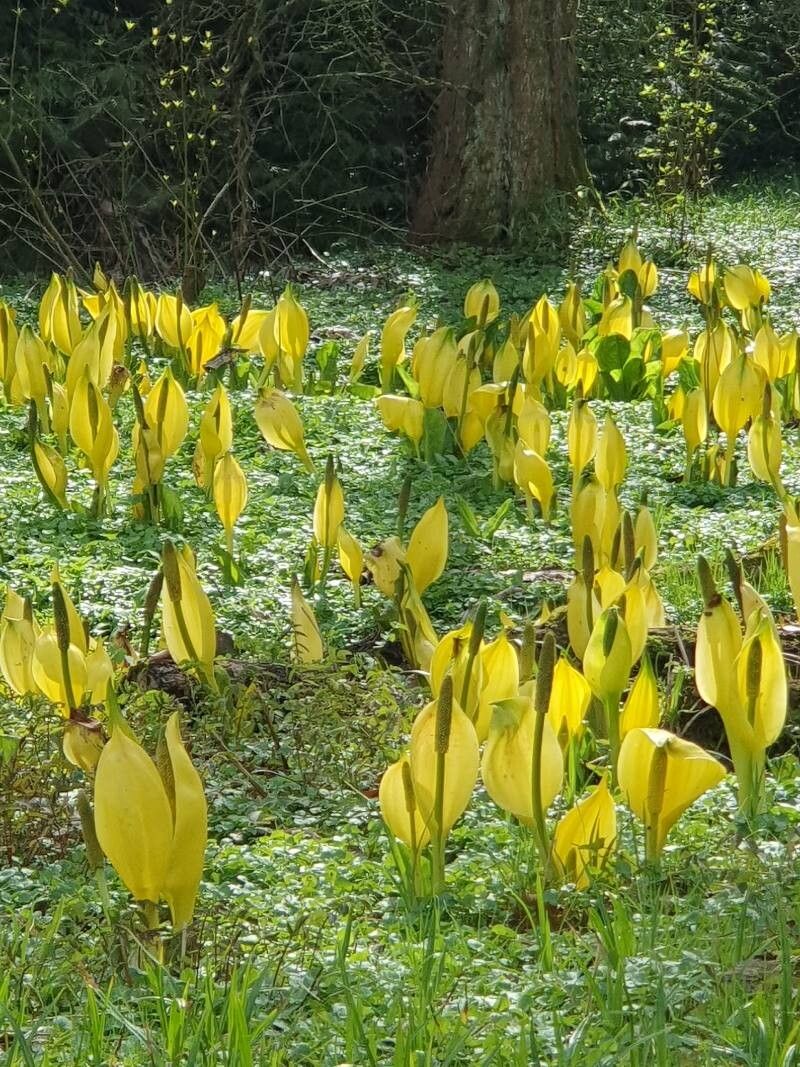
Gather ‘round, fellow plant lovers! Today, we’re diving into the wonderfully whimsical world of Western Skunk Cabbage, or Lysichiton americanus. If you’re someone who appreciates the unique and isn’t afraid of a bit of drama in the garden, this one’s for you. This striking woodland native boasts enormous, glossy leaves and those famously peculiar, spathe-hooded flowers that emerge in early spring, before the leaves even unfurl. Propagating it, from my experience, is moderately easy, a rewarding project that allows you to share its charm with friends or simply expand your own shady sanctuary.
The Best Time to Start
For the highest success rate with Lysichiton americanus, late spring to early summer is your sweet spot. This is when the plant is actively growing after its spring bloom, and you can often find healthy offsets or the beginnings of new growth. Waiting until the leaves are well-established means the plant has stored up good energy.
Supplies You’ll Need
Here’s what I usually have on hand when I’m propagating these beauties:
- Sharp, clean pruning shears or a trowel: For making clean cuts or carefully separating divisions.
- Well-draining potting mix: A blend of peat moss, perlite, and coarse sand is ideal. This mimics their natural boggy but aerated habitat. Avoid anything too heavy.
- Small pots or trays: Whatever suits the size of your cuttings or divisions.
- Watering can with a fine rose: To avoid disturbing tender young roots.
- Labels and a permanent marker: Essential for keeping track of what you’ve potted!
- Optional: Rooting hormone powder: While not always strictly necessary for divisions, it can give cuttings a helpful boost.
Propagation Methods
There are a couple of reliable ways to multiply your skunk cabbage.
1. Division (My Favorite!)
This is hands-down the easiest and most successful method for Lysichiton americanus.
- Wait for the right time: As mentioned, late spring or early summer is best.
- Gently excavate: Carefully dig around the base of the established plant with a trowel. You’re looking for offsets – smaller plants that have emerged from the main root system.
- Separate with care: Once you’ve located an offset, gently pry or cut it away from the mother plant. You want to ensure each division has its own set of roots. If you’re unsure, err on the side of taking a bit more root with your division.
- Pot them up: Replant each division in its own pot filled with your well-draining mix. Make sure the crown of the plant (where the leaves emerge) is just at the soil surface.
- Water thoroughly: Give them a good, gentle watering to settle the soil.
2. Stem Cuttings (A Bit More Advanced, but Doable)
This method relies on taking a piece of the developing stem, ideally one with a small leaf bud.
- Select a healthy shoot: During the active growing season, look for a new shoot that’s about 4-6 inches long. It should be firm but not woody.
- Make a clean cut: Using your clean pruners, make a cut just below a leaf node.
- Prepare the cutting: If your cutting has more than one or two leaves, you can trim them back by about half to reduce water loss.
- Apply rooting hormone (optional but recommended): Dip the cut end into rooting hormone powder, tapping off any excess.
- Plant your cutting: Insert the cut end into your prepared potting mix, ensuring at least one leaf node is buried.
- Water gently: Moisten the soil.
The “Secret Sauce” (Pro Tips)
Over the years, I’ve picked up a few tricks that make a big difference:
- Don’t rush the root check for cuttings: When you’ve planted cuttings, resist the urge to tug on them to see if they have roots. Wait at least 4-6 weeks. Gentle resistance is a sign of root development, but disturbing them too early can undo all your hard work. Instead, look for new leaf growth.
- Humidity is your friend for cuttings: While divisions are quite forgiving, cuttings need a bit more encouragement to root. Placing a clear plastic bag loosely over the pot (supported by stakes so it doesn’t touch the leaves!) creates a mini-greenhouse effect. Open it daily for a few minutes to allow for air circulation.
- Think “boggy but not soggy” for divisions: When you repot divisions, they love moisture, just like their wild cousins. However, constantly waterlogged soil can lead to rot. Ensure your pot has good drainage holes, and water when the top inch of soil begins to feel dry. They thrive in consistently moist conditions, but not standing water.
Aftercare & Troubleshooting
Once your divisions or rooted cuttings are settled in, provide consistent moisture and bright, indirect light. Avoid direct sun, which can scorch their leaves. As new leaves emerge and the plants grow stronger, you can gradually acclimate them to their permanent shady spot in the garden.
The most common issue you might encounter is rot, especially with cuttings if they are kept too wet and lack air circulation. Signs of rot include yellowing leaves that quickly turn mushy and black, or a foul odor from the soil. If you see this, act quickly: gently remove the affected cutting or division, trim away any rotted parts with a clean knife, and repot in fresh, drier mix. Sometimes, you can salvage a struggling plant, but often, it’s a good indicator that conditions weren’t quite right.
A Encouraging Closing
Propagating Lysichiton americanus is a journey, not a race. Be patient with your new green babies. Watch them grow, learn from them, and enjoy the satisfaction of multiplying these fascinating plants. Happy gardening, everyone!
Resource: