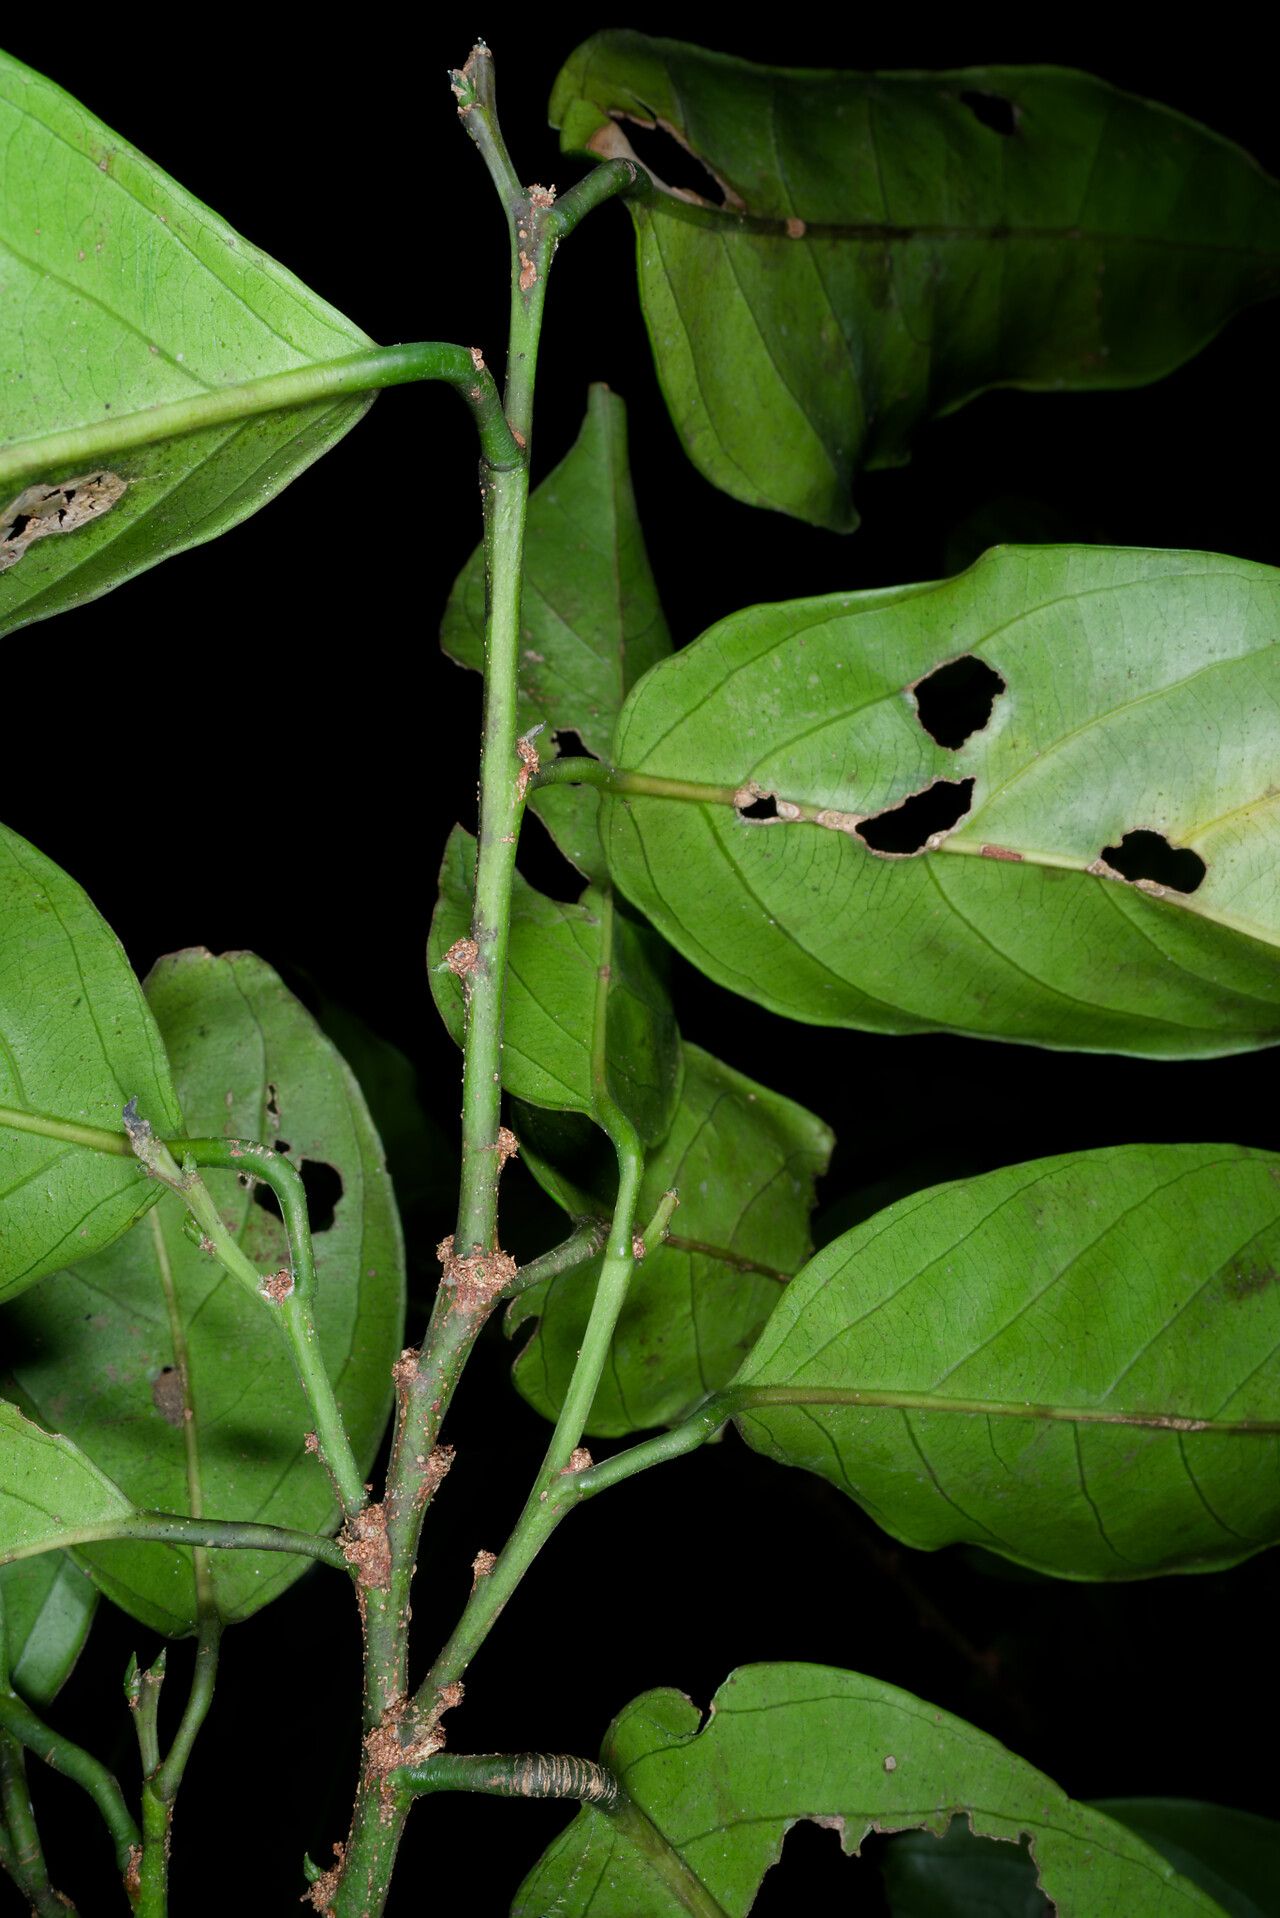
Oh, Strombosia pustulata! If you’re looking for a plant with a bit of quirky charm and a lot of glossy green appeal, you’ve found a winner. These beauties, with their wonderfully textured leaves, can add such a unique touch to any space. And the joy of coaxing a brand new plant to life from a bit of your existing one? Well, that’s just pure gardening magic.
Now, I won’t lie; Strombosia pustulata can be a tad on the fussy side when it comes to propagation. It’s not the plant I’d hand to an absolute beginner on their first day with a watering can. But with a little patience and understanding, I’m confident you can absolutely succeed. Think of it as a rewarding challenge!
The Best Time to Start
For the highest chance of success, aim to take your cuttings or start your divisions in late spring or early summer. This is when the plant is in its active growing phase, meaning it has plenty of energy to put into producing new roots. Avoid periods of dormancy; you want to work with the plant’s natural rhythm, not against it.
Supplies You’ll Need
- Clean, sharp pruning shears or a sharp knife: For making clean cuts.
- Rooting hormone (optional but recommended): Stimulates root development. Look for one suitable for semi-hardwood cuttings.
- Well-draining potting mix: A good blend of perlite, peat moss, and a bit of compost works wonders.
- Small pots or trays: With drainage holes, of course!
- Plastic bags or a propagation dome: To create a humid environment.
- Watering can with a fine rose attachment: For gentle watering.
- A sunny windowsill or a grow light: For bright, indirect light.
Propagation Methods
While Strombosia pustulata can be a little bit particular, the most reliable method for me has always been stem cuttings.
- Select a healthy stem: Look for a piece of stem that is firm but not woody, ideally with several sets of leaves. Aim for cuttings about 4-6 inches long.
- Make your cut: Using your clean shears or knife, make a clean cut just below a leaf node. A leaf node is where a leaf attaches to the stem; this is where roots are most likely to emerge.
- Prepare the cutting: Gently remove the lower leaves, leaving just the top two or three. This prevents them from rotting once in the soil.
- Dip in rooting hormone (optional): If you’re using rooting hormone, dip the cut end into the powder or gel, tapping off any excess.
- Plant your cutting: Make a hole in your well-draining potting mix with a pencil or your finger. Gently insert the cutting into the hole, ensuring the node where you removed the leaves is nestled in the soil.
- Firm the soil: Gently firm the soil around the base of the cutting to provide support.
- Water gently: Give your new cutting a light watering to settle the soil.
- Create a humid environment: Cover the pot with a plastic bag or a propagation dome. This is crucial for Strombosia pustulata! Make sure the leaves don’t touch the plastic if possible. You can use sticks or skewers to prop it up.
- Provide bright, indirect light: Place your cuttings in a spot that receives plenty of bright, indirect sunlight. Avoid direct sun, which can scorch young leaves.
The “Secret Sauce”
Here are a couple of little tricks I’ve learned over the years that make a big difference with more temperamental plants like Strombosia pustulata:
- Bottom heat is your friend: If you have a heated propagation mat, place your pots on it. That gentle warmth from below encourages root development like nothing else. It really speeds things up and gives those roots the best chance to take hold.
- Don’t overwater, but don’t let it dry out: This is a fine balance, I know! The idea is to keep the soil consistently moist, but not waterlogged. Check the soil moisture by gently poking your finger about an inch down. If it feels dry, give it a light drink. The humidity from the plastic cover will help retain moisture, but you still need to be mindful.
Aftercare & Troubleshooting
Once you see new leaf growth, that’s a fantastic sign! It means your cutting has likely started to root. You can often tell by gently tugging on the cutting – if there’s resistance, roots are forming.
When you see this new growth, start gradually acclimatizing your new plant to normal room humidity. This means opening up the plastic bag or dome for a few hours each day, slowly increasing the time until you can remove it entirely. Continue to water as needed, and keep it in bright, indirect light.
The most common issue you might encounter is rot. If your cutting looks limp, discolored, and mushy, it’s usually a sign of overwatering or poor drainage. Unfortunately, if rot sets in, it’s often too late. This is why using a well-draining mix and not overwatering are so critical from the start. If you see leaves yellowing, it could be a sign of too much or too little water, or insufficient light. Observe your plant closely!
A Encouraging Closing
Propagating plants is a journey of learning and observation. Some cuttings will root with ease, others will take their sweet time, and a few might just not make it. Don’t get discouraged! Every attempt teaches you something new. Be patient, trust your instincts, and enjoy the thrill of watching that tiny piece of your beloved Strombosia pustulata transform into a thriving new plant. Happy growing!
Resource:
https://identify.plantnet.org/k-world-flora/species/Strombosia%20pustulata%20Oliv./data