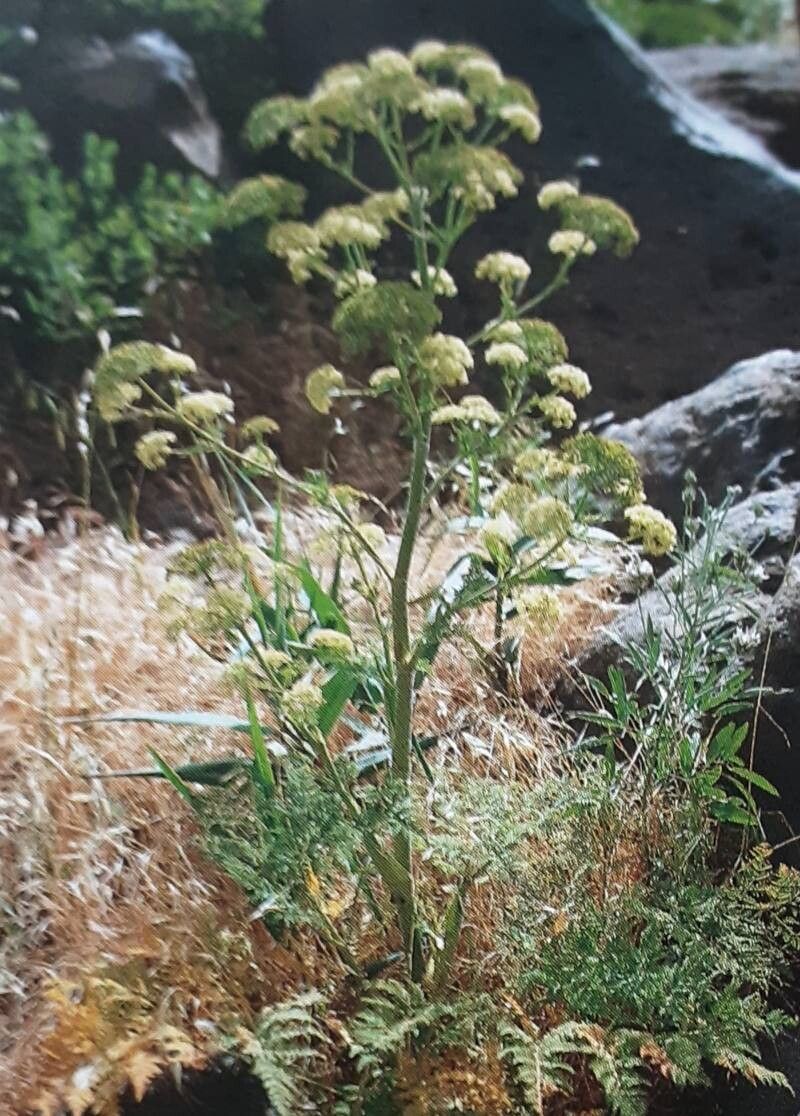
Hello fellow garden enthusiasts! Today, I want to chat with you about a real gem in the garden: Athamanta montana, sometimes called mountain balm. It’s this lovely, airy plant with delicate white flowers that create a beautiful frothy display in the summer. Honestly, watching those little umbels burst into bloom is such a delightful reward. And the best part? It’s surprisingly easy to propagate! Even if you’re just starting out on your gardening journey, you’ll find this plant very forgiving.
The Best Time to Start
The golden rule for most vegetative propagation, and Athamanta montana is no exception, is to take cuttings in late spring or early summer. This is when the plant is actively growing and has plenty of energy to put into forming new roots. You’re looking for stems that have started to firm up a bit but aren’t woody yet. Think of it as “semi-hardwood” – springy but holding its shape.
Supplies You’ll Need
To get started, you won’t need much. Here’s a little rundown of what’s helpful:
- Sharp, clean pruning shears or a sharp knife: This is crucial for making clean cuts, which reduces the risk of disease.
- Small pots or seed trays: About 4-inch pots are perfect for starting. Make sure they have drainage holes!
- Propagating medium: A good mix is 50% perlite and 50% peat moss or coco coir. This provides aeration and retains some moisture without getting waterlogged. You can also buy a dedicated seed starting or propagating mix.
- Rooting hormone (optional but recommended): A powdered or gel rooting hormone can significantly boost your success rate, especially for woody cuttings.
- Plastic bags or a propagator: To create a humid environment for your cuttings.
- Watering can or spray bottle: For gentle watering.
Propagation Methods
Athamanta montana is wonderfully versatile, and I’ve had great success with stem cuttings. Here’s how I do it:
- Take your cuttings: Using your clean shears, snip off healthy stems that are about 4-6 inches long. Make the cut just below a leaf node. This is where roots are most likely to form. Remove the lower leaves, leaving just a few at the top.
- Prepare the cuttings: If you’re using rooting hormone, dip the cut end into it, tapping off any excess. Then, insert the cutting into your prepared pot filled with the propagating mix. Gently firm the medium around the stem.
- Create humidity: Water the mix thoroughly until it drains from the bottom. Then, cover the pot with a clear plastic bag or place it in a propagator. This traps moisture and keeps the leaves from drying out. You can prop up the bag with a few sticks if it touches the leaves.
- Find a good spot: Place your pots in a bright location out of direct sunlight. A warm spot is ideal, but avoid intense heat.
The “Secret Sauce”
Now, for a couple of things I’ve learned over the years that really help:
- Don’t overcrowd: Give each cutting a little space in the pot. They need good air circulation around them, even when covered. Overcrowding can lead to fungal issues.
- Bottom heat is your friend: If you can, placing your pots on a heated propagator mat can make a world of difference. It encourages those roots to get going faster by keeping the soil temperature consistently warm. It’s like giving them a cozy little base to sprout from.
Aftercare & Troubleshooting
Once you’ve potted up your cuttings, the waiting game begins. You’ll want to keep the propagating medium consistently moist but not soggy. Check it every few days – if the surface feels dry, give it a gentle sprinkle. Don’t be tempted to lift the covers too often, as this lets the humidity escape.
You should start to see signs of rooting within 3-6 weeks. A good indicator is when you see new leaf growth. If you gently tug on a cutting and feel resistance, that’s another happy sign.
If things go wrong, the most common culprit is rot. This usually happens if the cuttings are kept too wet or if the air circulation is poor. If you see mushy stems or leaves turning brown and falling off, it’s likely rot. In this case, sadly, it’s usually best to discard the affected cuttings and start again, ensuring better drainage and airflow next time.
A Encouraging Closing
Propagating plants is a magical process. It’s all about patience and observation. Don’t be discouraged if your first attempt isn’t perfect. Every gardener has lost cuttings along the way! Just keep trying, enjoy the process of nurturing something new, and soon you’ll have a whole bunch of happy Athamanta montana plants to share or enjoy in your own garden. Happy gardening!
Resource: