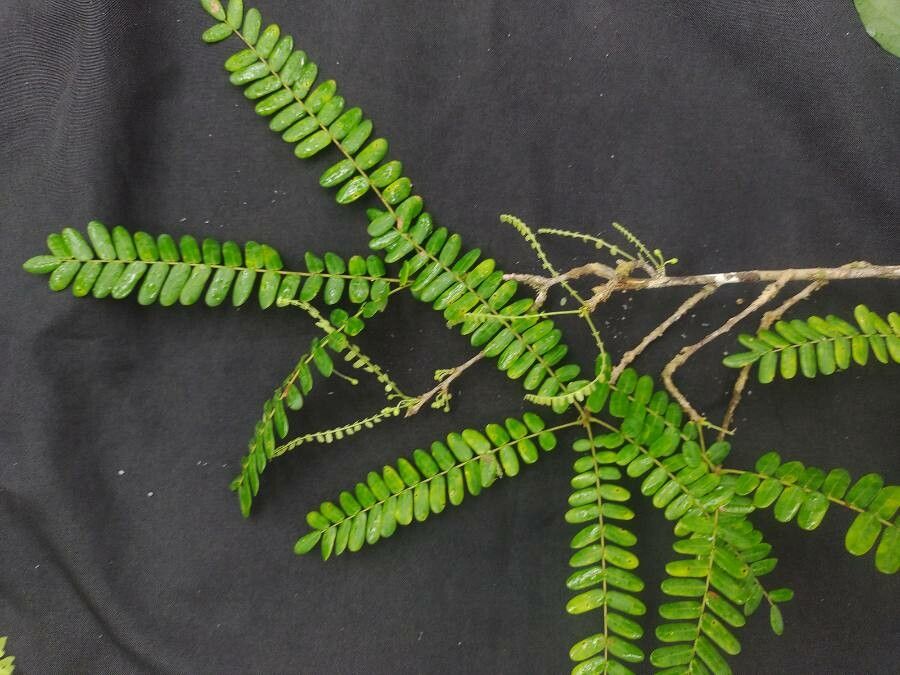
Oh, hello there! Come on in, grab a mug. We’re going to chat about a truly lovely plant today: Rourea bahiensis. If you haven’t met her yet, imagine delicate, glossy leaves that cascade with an effortless grace, often tinged with bronzy hues. She brings such a beautiful, airy texture to any space, whether she’s gracing a hanging basket or trailing from a shelf. And the best part? She’s quite rewarding to propagate! For those of you just dipping your toes into the world of plant magic, I wouldn’t say she’s the absolute easiest plant to start with, but with a little patience and these tips, you’ll be amazed at what you can achieve.
The Best Time to Start
Timing is everything in the garden, isn’t it? For Rourea bahiensis, spring is really your golden ticket. As the days lengthen and the plant is gearing up for its most vigorous growth, you’ll find cuttings take root with more enthusiasm. Think late spring right into early summer. You want the plant to be actively growing, not sitting dormant.
Supplies You’ll Need
Here’s what you’ll want to have on hand before we get down to business:
- Sharp Pruning Shears or a Craft Knife: Clean cuts are crucial for preventing disease.
- A Well-Draining Potting Mix: I like a blend of equal parts perlite, coco coir, and a good quality potting soil. This way, the roots don’t get waterlogged.
- Small Pots or Seedling Trays: For your cuttings.
- Rooting Hormone (Optional but Recommended): A powder or gel can give your cuttings a helpful boost.
- Clear Plastic Bag or Dome: To create a humid environment.
- Spray Bottle: For misting.
- Water: Clean, room-temperature water.
Propagation Methods
Let’s get our hands dirty! The most reliable way I’ve found to propagate Rourea bahiensis is through stem cuttings.
- Select Healthy Stems: Look for a healthy, non-flowering stem that’s at least 4-6 inches long. Ideally, it should be somewhere between new growth and older, woody growth – sort of a happy medium.
- Make Your Cut: Using your clean shears or knife, make a clean cut just below a leaf node (that little bump where a leaf attaches to the stem). This is where the magic really happens for root development.
- Prepare the Cutting: Gently remove the lower leaves from the cutting, leaving about 2-3 leaves at the top. If your remaining leaves are very large, you can even cut them in half horizontally. This reduces water loss through transpiration.
- Apply Rooting Hormone (If Using): Dip the cut end of the stem into your rooting hormone, tapping off any excess.
- Plant Your Cuttings: Fill your small pots with your prepared potting mix. Make a small hole in the center with your finger or a pencil. Gently insert the cut end of your Rourea bahiensis cutting into the hole and firm the soil gently around it.
- Water and Cover: Water the soil thoroughly until you see water drain from the bottom. Then, place the pot inside a clear plastic bag or put a clear plastic dome over it, creating a mini-greenhouse. This traps humidity, which is vital for cuttings.
The “Secret Sauce” (Pro Tips)
Here are a few things I’ve learned over the years that really make a difference:
- Don’t let the leaves touch the water (if you were to try water propagation, which I find less reliable for this one). With stem cuttings in soil, this means ensuring any stray lower leaves aren’t buried in the damp soil. They’ll just rot and invite disease.
- Bottom heat is your friend! If you have a seedling heat mat, placing your potted cuttings on it can significantly speed up root development. It mimics the warmth of spring soil wonderfully.
- Be patient with the misting. You want the soil to stay consistently moist, but not soggy. A good misting every few days, especially if the humidity seems to be dropping inside your plastic cover, will keep your cutting happy. You’ll know when it’s too dry if the leaves start to droop a bit.
Aftercare & Troubleshooting
Once you start to see new growth emerging from the top of your cutting, that’s a fantastic sign! It usually means roots are forming. You can gently tug on the cutting; if you feel resistance, you’ve likely got roots.
Gradually introduce your new plant to lower humidity by opening the plastic bag a little more each day over a week or so. Once it’s acclimated, you can remove the cover completely. Continue to water when the top inch of soil feels dry.
The biggest issue you might encounter is rot. This usually happens if the soil is kept too wet, or if the cutting isn’t getting enough air circulation within its humid environment. If you see a cutting turn black and mushy, it’s unfortunately a goner. Don’t be disheartened; just try again with fresh cuttings and perhaps adjust your watering schedule.
A Encouraging Closing
See? It’s not rocket science, just good old-fashioned plant care! Propagating Rourea bahiensis is a journey, and like any good journey, it requires a little patience. Celebrate the small wins, learn from any setbacks, and most importantly, enjoy the process of creating new life from your beloved plants. You’ve got this!
Resource:
https://identify.plantnet.org/k-world-flora/species/Rourea%20bahiensis%20Forero/data