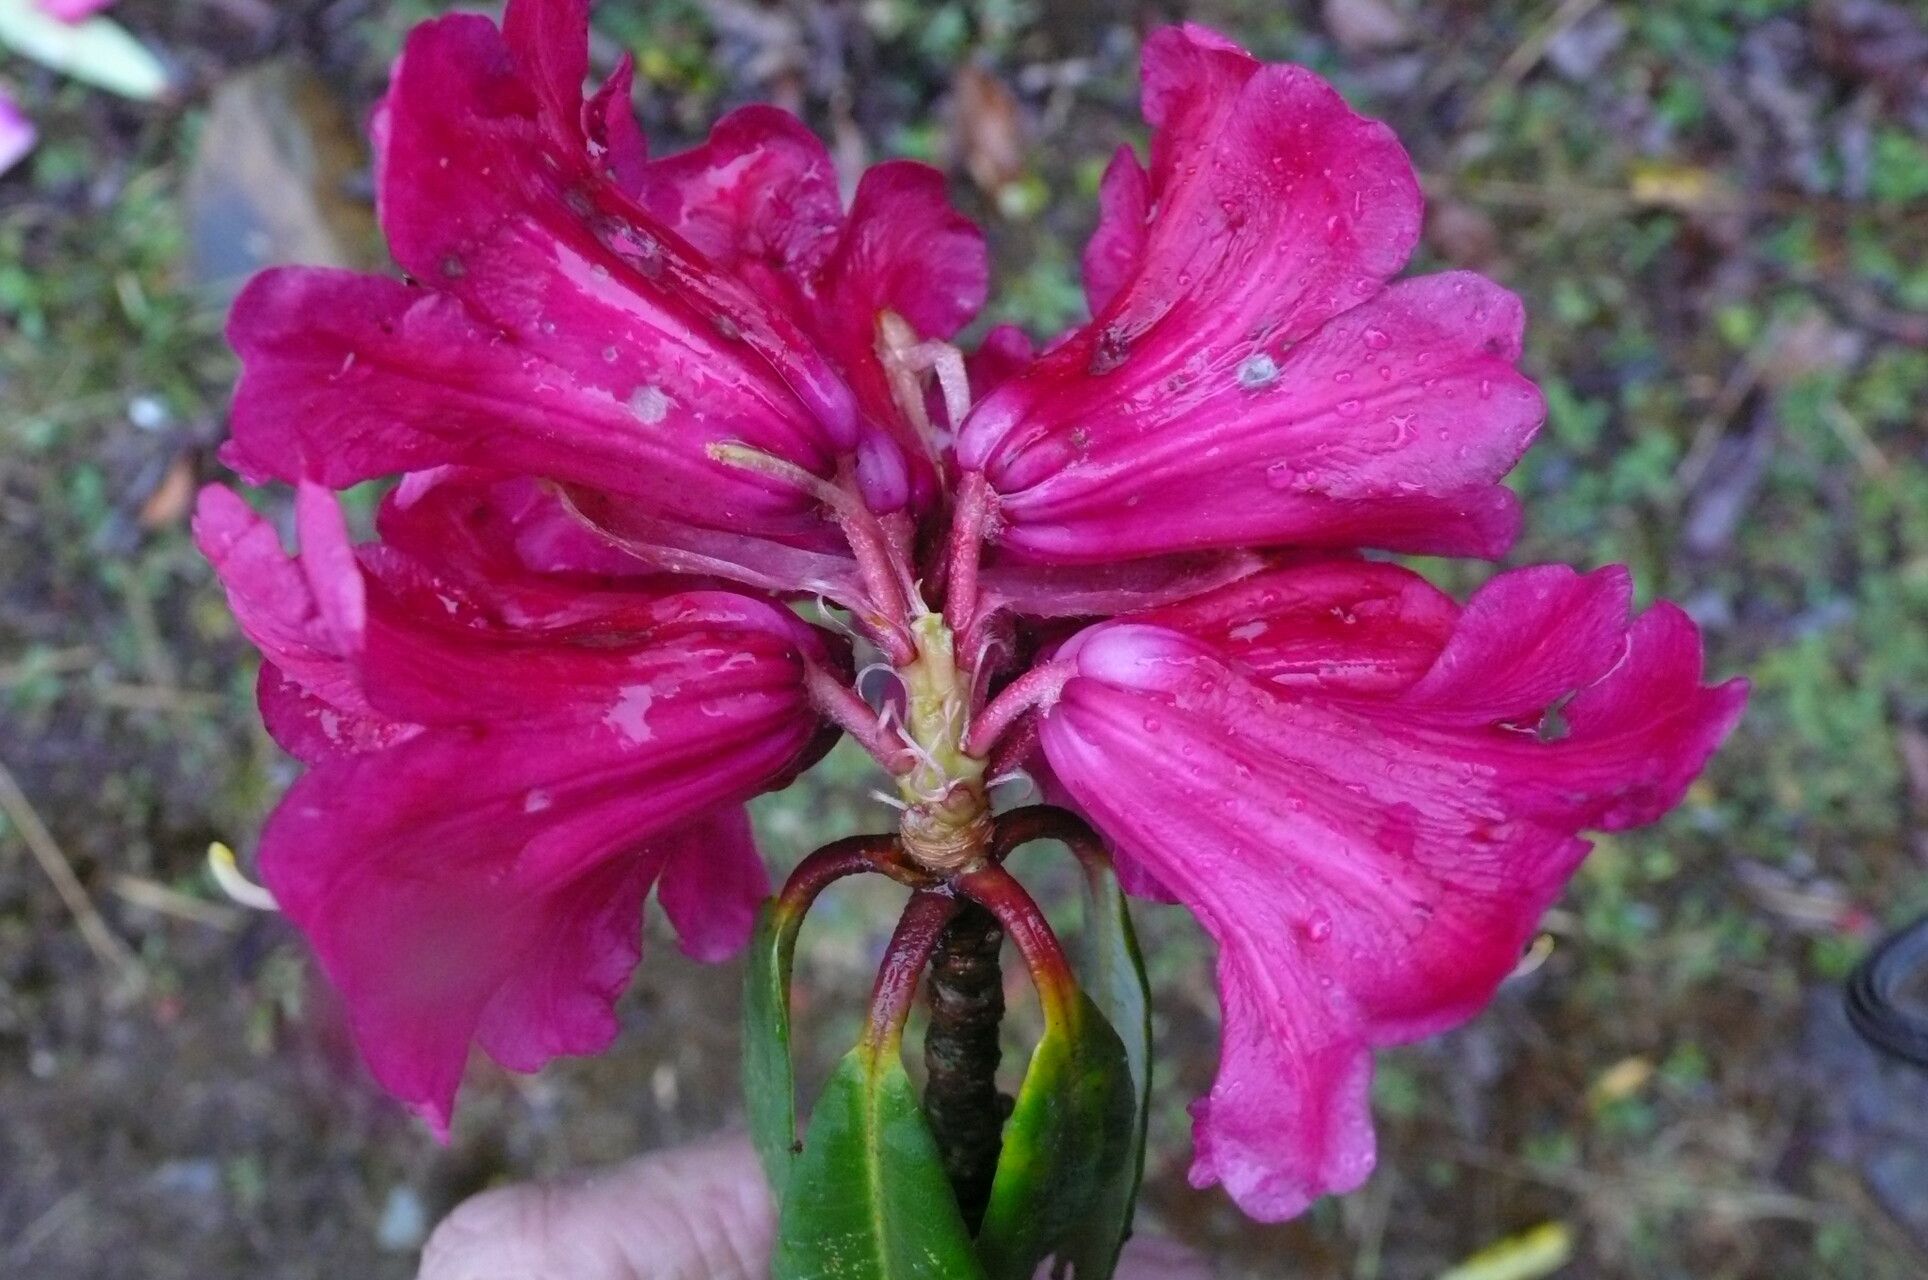
Oh, hello there! It’s so lovely to have you join me. If you’re like me, you’ve probably admired those dreamy Rhododendron anthosphaerum, haven’t you? That explosion of color, the way the blooms just cascade… it’s enough to make your heart sing. And the best part? You can bring that beauty into your own garden by growing your own!
Now, I won’t sugarcoat it. Rhododendron anthosphaerum can be a little fussy. It’s not quite a beginner’s plant from the get-go, but with a bit of care and the right timing, you’ll be well on your way. Trust me, there’s nothing quite like nurturing a tiny cutting into a proud new rhododendron. It’s incredibly rewarding.
When to Get Your Hands Dirty
For the best shot at success with your Rhododendron anthosphaerum cuttings, aim for late spring to early summer. This is when the plant is actively growing and has nice, semi-hardwood stems. You’re looking for stems that have started to mature a bit, meaning they’re not so bendy and green that they snap, but they’re not woody and stiff either.
Your Propagation Toolkit
Before we dive in, let’s gather our supplies. Having everything ready makes the process so much smoother.
- Sharp, sterile pruning shears or a sharp knife: Cleanliness is key to preventing disease.
- Rooting hormone: This is a little helper that encourages root development. You can find it in powder or liquid form.
- Rooting medium: A good mix is coarse sand and peat moss (about a 50/50 blend), or you can use a specialized seedling or propagation mix. We want something that drains well!
- Small pots or a propagation tray: 4-6 inch pots are usually a good size for cuttings. Make sure they have drainage holes.
- Plastic bags or a propagator: This creates a humid environment that cuttings love.
- Water spray bottle: For keeping things moist.
- Labels and a permanent marker: So you remember what you planted where!
Let’s Get Propagating: Stem Cuttings
This is my go-to method for Rhododendron anthosphaerum. It’s reliable if you follow these steps closely.
- Take Your Cuttings: Early in the morning, when the plant is fully hydrated, select healthy, non-flowering shoots. Using your sharp shears, take cuttings that are about 4-6 inches long. Make your cut just below a leaf node (where a leaf attaches to the stem).
- Prepare the Cuttings: Gently remove the lower leaves from the cutting, leaving just a few at the top. This prevents them from rotting when buried in the soil. If the leaves are very large, you can even cut them in half horizontally to reduce water loss.
- Apply Rooting Hormone: Dip the cut end of each cutting into your rooting hormone, coating about an inch of the stem. Tap off any excess.
- Plant the Cuttings: Moisten your rooting medium. Make a small hole in the soil with a pencil or your finger. Insert the prepared cutting into the hole, ensuring the leaf nodes are below the soil line. Gently firm the soil around the stem.
- Create a Humid Environment: Water the soil lightly. Place the pots inside a plastic bag or in a propagator. If using a bag, tie it loosely at the top so there’s still some air circulation. You can also prop up the bag with sticks so it doesn’t touch the leaves.
- Find a Spot: Place your cuttings in a bright spot out of direct sunlight. A windowsill that gets bright, indirect light is perfect.
My “Secret Sauce” for Success
Here are a few things I’ve learned over the years that really make a difference:
- Don’t let leaves touch water: Whether it’s in a propagator or a water propagation setup (which I find less successful for rhododendrons), ensure that no leaves are submerged. They’ll turn to mush and invite rot.
- Bottom heat is your friend: Rhododendrons benefit from a bit of warmth from below. A propagator mat can significantly speed up root formation. Just a gentle warmth, nothing too hot!
- Sterilize, sterilize, sterilize! I can’t stress this enough. Clean tools, clean pots, clean hands. It’s the easiest way to prevent damping-off disease, which can wipe out your cuttings in a flash.
Aftercare and Troubleshooting
Be patient! This is the most important rule. It can take 6 weeks to several months for your Rhododendron anthosphaerum cuttings to develop a good root system. You can gently tug on a cutting to feel for resistance – that’s a good sign of roots!
Once you see signs of rooting (new leaf growth is a great indicator), it’s time to start acclimating them. Gradually open up the plastic bag or propagator over a week or two. Water them whenever the top inch of soil feels dry.
If you notice leaf yellowing or wilting, it could be a sign of too much or too little water, or not enough light. Rotting at the base of the stem is usually due to overwatering or poor drainage. If you see this, remove the affected cutting immediately.
Happy Growing!
Propagating Rhododendron anthosphaerum is a journey, not a race. There might be a few setbacks along the way, and that’s perfectly okay. Learn from them, keep trying, and celebrate every little success. Soon enough, you’ll have a whole garden of these beauties, grown with your own two hands. Happy gardening!
Resource:
https://identify.plantnet.org/k-world-flora/species/Rhododendron%20anthosphaerum%20Diels/data