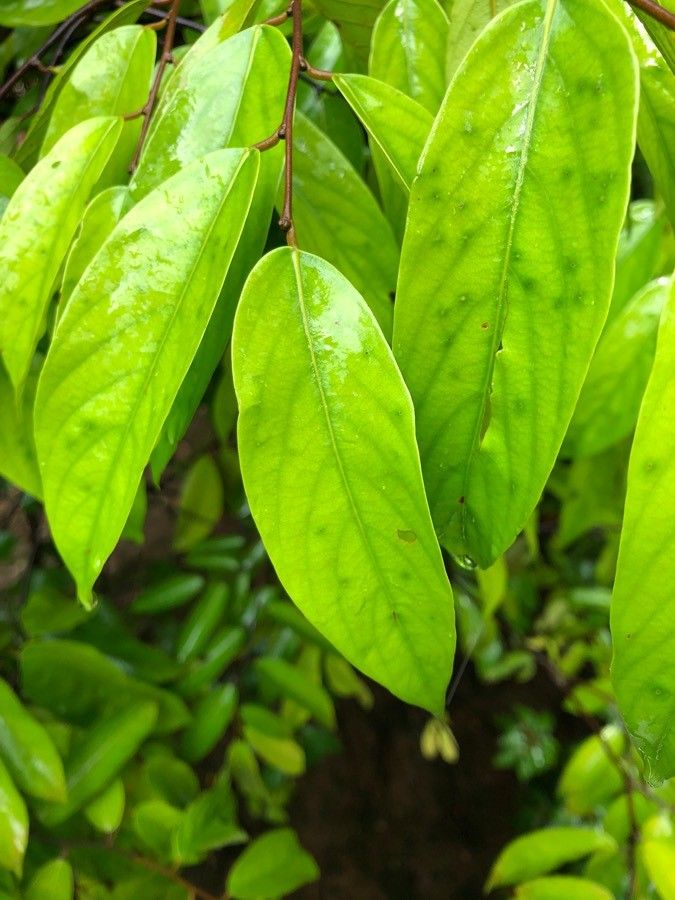
Hey there, fellow plant enthusiasts! Today, we’re diving into the wonderful world of propagating Neobalanocarpus heimii, also known as the fascinating Yellow Balau. If you’ve ever admired its elegant leaves and desirable timber, you might be itching to grow your own. And let me tell you, it’s an incredibly rewarding feeling to nurture a new plant from a tiny cutting. Now, is Neobalanocarpus heimii a walk in the park for absolute beginners? Honestly, it leans a bit more towards the “patient novice” category. It’s not the most forgiving plant out there, but with a bit of care and this guide, you’ll be well on your way.
The Best Time to Start
Timing is everything in the garden, and for Neobalanocarpus heimii, the sweet spot for propagation is during its active growing season. Think late spring through summer. This is when the plant has ample energy to put into root development. You’ll want to look for semi-hardwood cuttings – those that have started to firm up but are still somewhat flexible. Avoid taking cuttings from brand new, soft growth or old, woody stems.
Supplies You’ll Need
Gathering your tools beforehand makes the whole process smoother. Here’s what I always have on hand:
- Sharp Pruning Shears or a Knife: Clean cuts are crucial for healthy healing and rooting.
- Rooting Hormone: A good quality rooting powder or gel will significantly boost your success rate by encouraging root formation.
- Potting Mix: I prefer a well-draining blend. A good starting point is a mix of equal parts perlite, vermiculite, and peat moss or coco coir. This ensures good aeration and prevents waterlogging.
- Small Pots or Trays: Clean pots with drainage holes are essential.
- Plastic Bags or a Propagation Dome: To create a humid environment for your cuttings.
- Water: For misting and, if you choose, for initial water propagation.
- Labels and a Marker: To keep track of what you’ve planted and when!
Propagation Methods
Let’s get our hands dirty with the best ways to multiply your Neobalanocarpus heimii.
Stem Cuttings
This is my go-to method for Neobalanocarpus heimii.
- Take Your Cuttings: On a pleasant day, select a healthy stem. Using your clean pruners, make a cut just below a leaf node (where a leaf attaches to the stem). Aim for cuttings that are about 4-6 inches long.
- Prepare the Cutting: Gently remove the lower leaves, leaving just the top two or three. If the remaining leaves are very large, you can cut them in half horizontally to reduce water loss.
- Apply Rooting Hormone: Dip the cut end of the stem into your rooting hormone, ensuring it’s well-coated. Tap off any excess.
- Plant Your Cuttings: Fill your clean pots with your prepared potting mix. Make a pilot hole with a pencil or your finger, then insert the treated end of the cutting. Gently firm the soil around the stem to ensure good contact.
- Water and Cover: Water thoroughly but gently. Then, cover the pot with a clear plastic bag, creating a mini-greenhouse. You can also use a propagation dome. Make sure the plastic doesn’t touch the leaves of the cutting.
Water Propagation (with a Caveat)
While some plants readily root in water, Neobalanocarpus heimii can be a bit trickier with this method. If you do try it, be warned that the roots can be more fragile and harder to transition to soil.
- Select and Prepare Your Cutting: Follow steps 1 and 2 from the Stem Cuttings section.
- Place in Water: Submerge the cut end of the cutting in a glass or jar of clean water.
- Crucial Tip: Ensure absolutely no leaves are submerged in the water. This is key to preventing rot. Change the water every few days to keep it fresh.
- Wait for Roots: Keep the jar in bright, indirect light. You’ll need to be patient. Once you see tiny white roots forming (at least an inch long), you can attempt to pot them up into the soil mix as described in step 4 of the Stem Cuttings method. Be very gentle.
The “Secret Sauce” (Pro Tips)
Here are a few tricks I’ve picked up over the years that can make a real difference:
- Bottom Heat is Your Friend: Neobalanocarpus heimii absolutely loves warmth at its base. If you can, place your pots on a heat mat designed for propagation. This consistent warmth will significantly speed up root development. You might be surprised by how much faster your cuttings take off!
- Don’t Disturb Them (Too Soon!): Resist the urge to constantly pull up your cuttings to check for roots. This can damage delicate new growth. Instead, gentle tugging is your best indicator. If the cutting offers slight resistance when you gently tug, it’s likely developing roots.
- Freshness Matters: When you take your cuttings, try to work relatively quickly. The longer a cutting sits out of the plant, the harder it is for it to establish. If you can’t plant them immediately, keep them in a small amount of water to prevent wilting.
Aftercare & Troubleshooting
Once you see those first signs of roots, congratulations! You’re on your way.
- Gradual Acclimation: If you used a plastic bag or dome, slowly introduce your new plant to the open air. Start by opening the bag for an hour or two each day, gradually increasing the time until the plastic is removed entirely. This prevents shock.
- Watering: Continue to keep the soil consistently moist but not soggy. Allow the top inch of soil to dry out slightly between waterings.
- Light: Your young plant will appreciate bright, indirect light. Avoid harsh, direct sun, which can scorch new growth.
- Common Problems: The biggest enemy of cuttings is rot, usually caused by overwatering and poor drainage. You’ll see a blackened, mushy stem – a clear sign it’s too late for that particular cutting. Another sign of failure is wilting that doesn’t recover even with water, which could mean it’s not rooting or drying out too quickly. If you see mold on the soil surface, improve air circulation.
A Encouraging Closing
Propagating plants is a journey, and Neobalanocarpus heimii certainly keeps you on your toes. Don’t get discouraged if not every cutting takes. Gardening is all about learning, experimenting, and celebrating those successes! Be patient, enjoy the process of nurturing new life, and soon you’ll have the satisfaction of seeing your own Yellow Balau flourish. Happy propagating!
Resource: