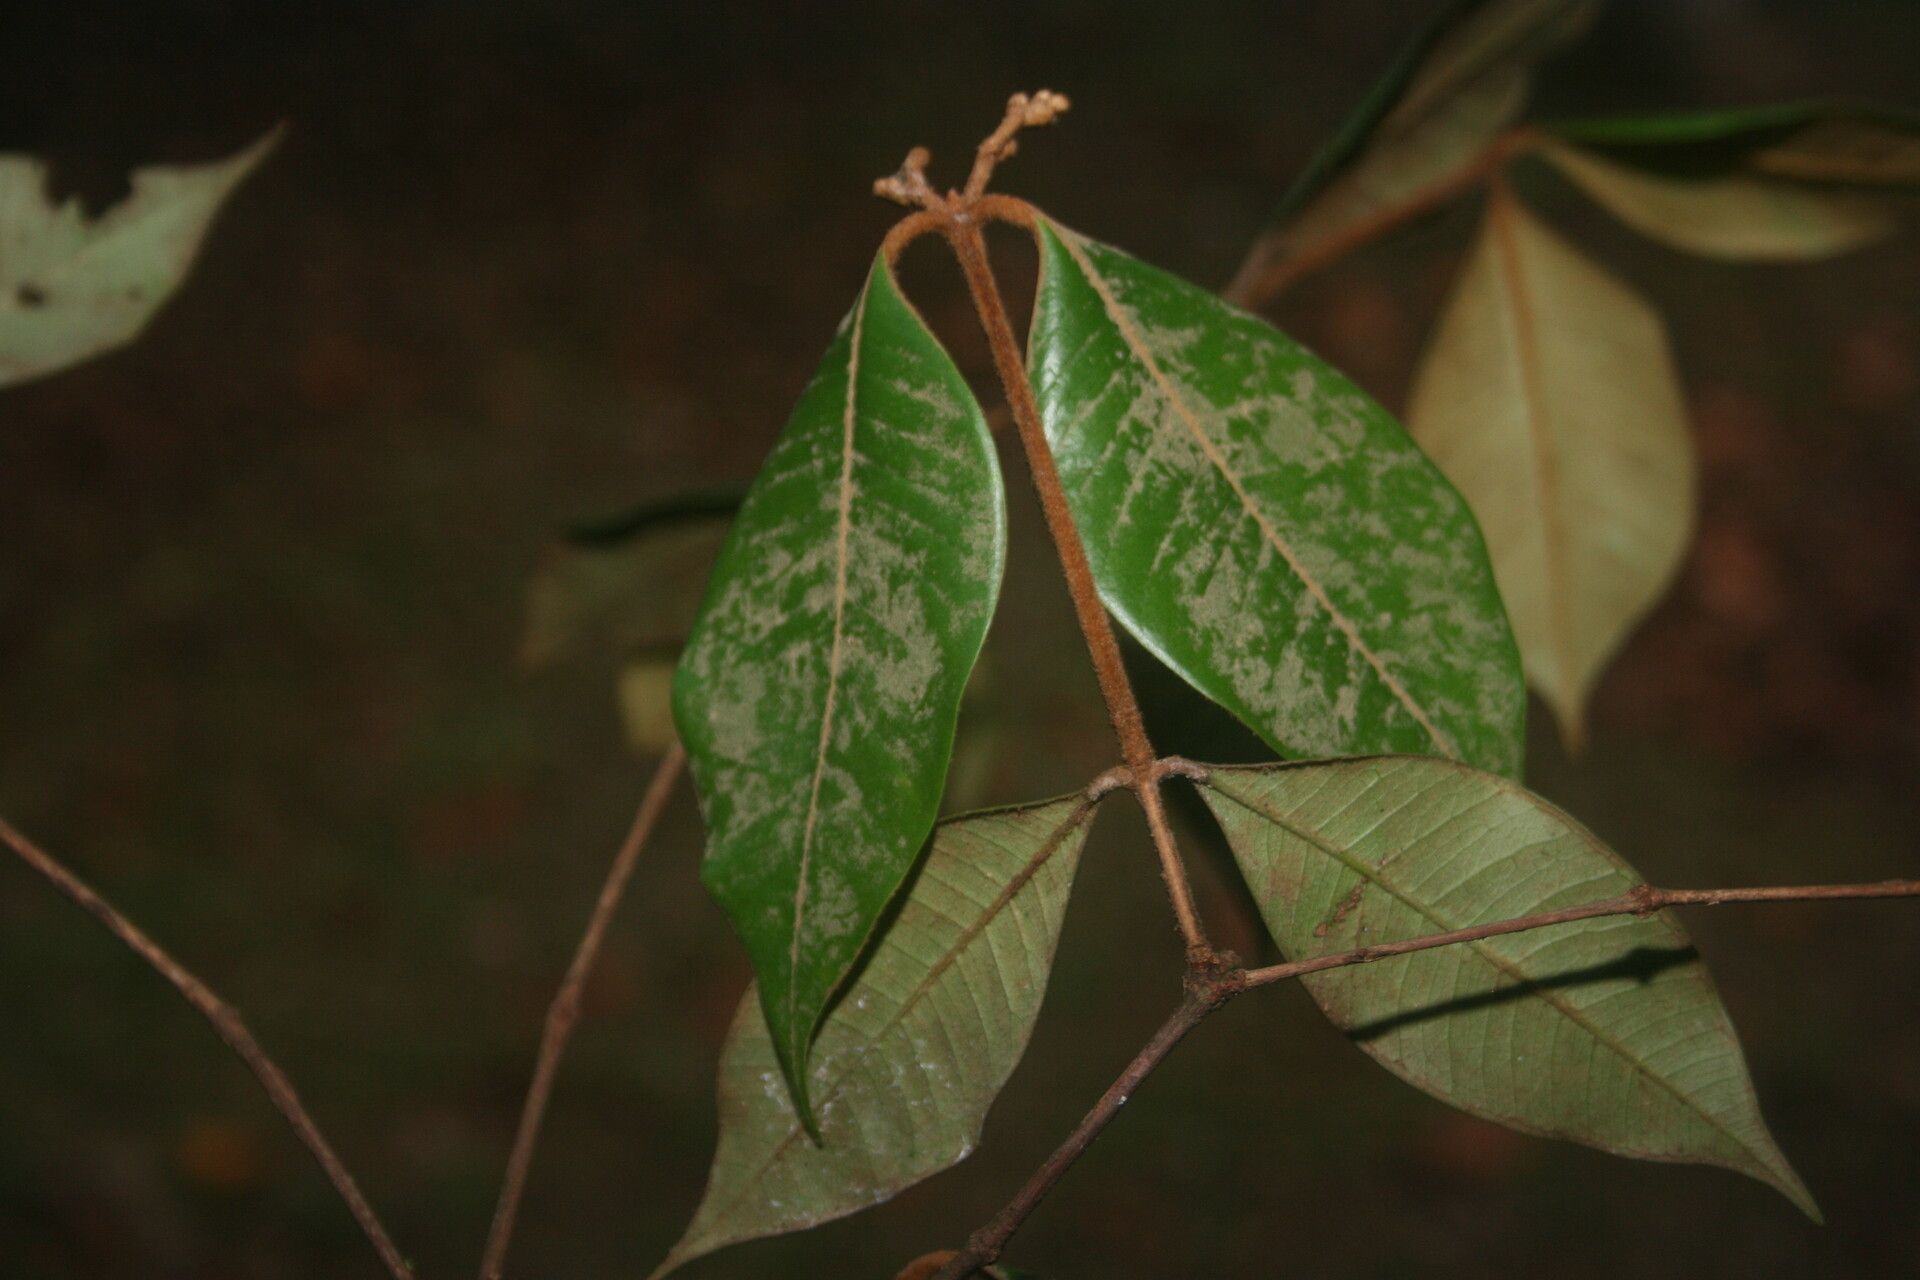
Oh, hello there! Grab your favorite mug, and let’s chat about Myrcia ferruginea. This little gem, with its lovely bronze new growth and intriguing berries, is quite a charmer in the garden. If you’ve ever admired its glossy leaves and wanted more of them, you’re in for a treat. Propagating it yourself is incredibly rewarding, and honestly, it’s not as daunting as it might seem. While not quite a “throw it in dirt and forget it” kind of plant, with a little care, even beginners can have success.
The Best Time to Start
When it comes to getting your Myrcia ferruginea going, timing is key. I’ve found the late spring to early summer is your sweet spot. This is when the plant is actively growing, meaning it has the energy to put into developing new roots. Look for stems that are somewhat mature – not brand new, floppy green shoots, but also not old, woody growth. A stem that bends a little but doesn’t snap cleanly is usually just right.
Supplies You’ll Need
Gathering your supplies beforehand makes the whole process smoother. Here’s what I like to have on hand:
- Sharp Pruning Shears or a Clean Knife: For making clean cuts.
- Rooting Hormone: A good quality powdered hormone can really give cuttings a boost.
- Well-Draining Potting Mix: I prefer a mix of equal parts peat moss or coco coir, perlite, and coarse sand. This ensures good aeration and prevents waterlogging.
- Small Pots or Propagation Trays: Clean pots are essential to avoid disease.
- Plastic Bags or a Clear Dome: To create a humid environment around your cuttings.
- Watering Can with a Fine Rose or a Spray Bottle: For gentle watering.
- Labels: To keep track of what you’ve planted and when!
Propagation Methods
Let’s get our hands dirty! Stem cuttings are my go-to for Myrcia ferruginea.
Stem Cuttings:
- Take Your Cuttings: Using your clean shears, take 4-6 inch cuttings from healthy stems. Make your cut just below a leaf node (where a leaf attaches to the stem). Remove the lower leaves, leaving just a couple at the very top.
- Apply Rooting Hormone: Dip the cut end of each cutting into your rooting hormone, tapping off any excess. This step is crucial for encouraging root development.
- Plant Your Cuttings: Fill your small pots with your prepared potting mix. Make a small hole in the center of each pot with your finger or a pencil. Gently insert the cut end of the cutting into the hole, ensuring the nodes where you removed leaves are buried. Firm the soil gently around the stem.
- Create Humidity: Water the soil lightly. Then, cover each pot with a clear plastic bag or place them under a propagation dome. This traps moisture and creates that humid environment the cuttings need to thrive before they can take up water through roots. You can also stick a few skewers in the pot to keep the plastic from touching the leaves.
- Find a Bright Spot: Place your pots in a bright location that receives indirect sunlight. Avoid direct sun, which can scorch the tender cuttings.
The “Secret Sauce” (Pro Tips)
Here are a couple of tricks I’ve learned over the years that can really make a difference:
- Think “Dessert-Sized” Leaves: If your Myrcia ferruginea leaves are quite large, consider gently cutting them in half. This reduces water loss through transpiration, allowing the cutting to focus its energy on root formation rather than supporting large leaves.
- Bottom Heat is Your Friend: If you have a seedling heat mat, place your pots on it. A little bit of gentle bottom warmth can significantly speed up the rooting process. It mimics the cozy soil temperatures the plant loves. Don’t let it get too hot, though – just a gentle warming.
Aftercare & Troubleshooting
Once your cuttings are planted, patience is your best friend.
- Keep it Moist: Check the soil moisture regularly. It should feel consistently damp, but not waterlogged. Mist the leaves occasionally if they start to look dry, especially if you haven’t got them fully covered.
- The Check for Roots: After 4-8 weeks, gently tug on a cutting. If you feel resistance, it’s a good sign that roots have formed! You can also carefully unpot one to peek, but try not to disturb them too much.
- Signs of Trouble: The most common issue is rot. If your cutting turns mushy and black, it’s likely succumbed to fungal issues. This often happens if the soil is too wet or the humidity is too high without enough air circulation. Make sure your potting mix is very well-draining and remove any rotted material immediately. If you see mold on the soil surface, it’s a sign to increase airflow by opening the plastic bag for a bit.
A Little Patience Goes a Long Way
Propagating plants is a beautiful dance between observation and intuition. Don’t get discouraged if every single cutting doesn’t make it. Nature has its own pace, and celebrating the successes is part of the joy. Enjoy watching those tiny roots emerge, and soon you’ll have a whole new generation of Myrcia ferruginea to share or enjoy in your own garden. Happy propagating!
Resource:
https://identify.plantnet.org/k-world-flora/species/Myrcia%20ferruginea%20(Poir.)%20DC./data