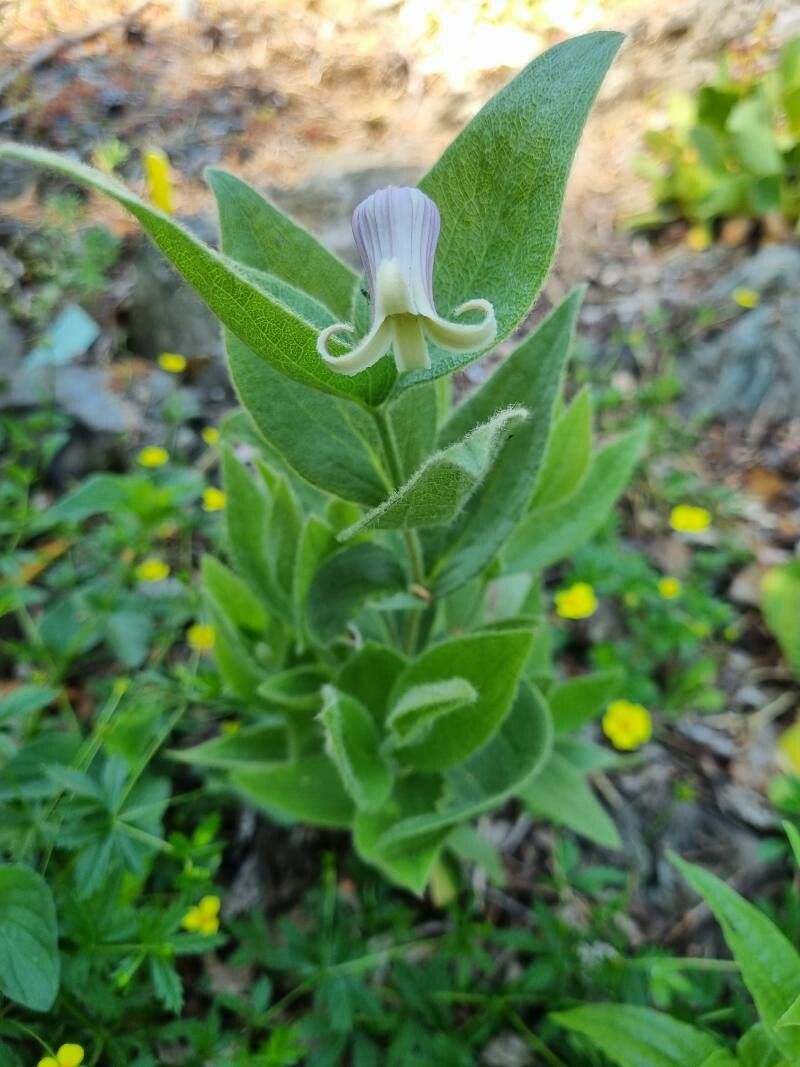
Hey there, fellow garden enthusiasts! If you’ve ever found yourself captivated by the unique charm of Clematis fremontii, with its lovely, bell-shaped blooms that often dangle so gracefully, then you’re in for a treat. There’s something incredibly satisfying about nurturing a new plant from a tiny cutting or a division. It connects you to the plant in a special way. Now, be warned, Clematis fremontii isn’t always the easiest plant to propagate. It can be a bit finicky, so while it might be a touch challenging for absolute beginners, it’s definitely achievable with a little patience and care!
The Best Time to Start
For Clematis fremontii, the sweet spot for propagation is typically late spring to early summer. This is when the plant is actively growing, and you’ll be taking cuttings from that year’s new, semi-hardwood growth. You want stems that are flexible but not so soft that they flop over. Think of it as pinching the tip of a bendy twig – that’s the kind of material you’re looking for.
Supplies You’ll Need
Gathering your supplies beforehand makes the whole process much smoother. Here’s what I usually have on hand:
- Sharp Pruning Shears or a Craft Knife: Clean cuts are essential for successful rooting.
- Rooting Hormone: A liquid or powder. I find Clematis responds well to a good rooting hormone.
- Small Pots or Seed Trays: With good drainage holes, of course!
- Propagation Mix: A light, airy blend. I like to use a mix of equal parts perlite and peat moss or a good quality, sterile seed-starting mix.
- Plastic Bags or a Humidity Dome: To create a mini greenhouse effect.
- Watering Can with a Fine Rose: For gentle watering.
- Labels and a Marker: To keep track of what you planted and when.
- Optional: Gentle Bottom Heat: A seedling heat mat can really speed things up.
Propagation Methods
While Clematis fremontii can be a bit stubborn, stem cuttings are usually the most successful method for me. Division is another option, but let’s focus on cuttings first.
Stem Cuttings:
- Select Your Cuttings: Choose young, healthy shoots that are about pencil-thick and have started to firm up. You’re looking for stems that snap cleanly but aren’t completely woody.
- Take the Cuttings: Using your clean shears, cut stems about 4-6 inches long. Make the cut just below a leaf node (where a leaf attaches to the stem). Remove the very tip of the cutting if it’s very soft or damaged.
- Prepare the Cuttings: Strip off the lower leaves, leaving just one or two at the very top. This prevents them from rotting in the soil. If the remaining leaves are very large, I’ll often cut them in half horizontally to reduce water loss.
- Apply Rooting Hormone: Dip the cut end of each stem into rooting hormone. Tap off any excess.
- Plant Your Cuttings: Gently insert the hormone-dipped end into your prepared propagation mix. Make sure the lowest leaf node is buried in the soil. You can fit several cuttings into one pot, as long as they aren’t touching each other.
- Water Gently: Give the pot a gentle watering to settle the soil around the cuttings.
- Create a Humid Environment: Cover the pot with a plastic bag, securing it with a rubber band, or place it under a humidity dome. If you’re using a plastic bag, try to ensure the leaves don’t touch the sides if possible.
- Provide Light and Warmth: Place the pots in a bright spot, but out of direct sunlight. A greenhouse or bright windowsill is ideal. If you have a seedling heat mat, place the pots on it – this is where the “secret sauce” comes in.
The “Secret Sauce” (Pro Tips)
Here are a few little tricks I’ve picked up over the years that seem to make a difference with Clematis fremontii:
- Bottom Heat is Your Friend: This is probably the biggest one. Clematis roots are slow to develop, and consistent bottom warmth (around 70-75°F) really encourages them to get moving and forming. It’s a game-changer.
- Don’t Let Those Leaves Drip: If you’re using a plastic bag, try to avoid the leaves constantly touching condensation droplets. This can encourage fungal diseases. If condensation is heavy, wipe down the inside of the bag with a paper towel or slightly vent the humidity.
- Patience is Key (Seriously!): This is where many people give up. Clematis fremontii can take weeks, even months, to show signs of rooting. Resist the urge to pull them up and check for roots too often. You’ll know they’ve rooted when you see new leaf growth or feel a gentle tug when you try to wiggle them slightly.
Aftercare & Troubleshooting
Once you start to see signs of roots – usually new, healthy leaf growth – it’s time to ease them into the real world.
- Acclimatize Slowly: Gradually remove the plastic bag or open the humidity dome over a few days to let the cuttings adjust to lower humidity.
- Gentle Watering: Continue to keep the soil consistently moist but not waterlogged. Overwatering is the quickest way to lose your progress.
- Transplanting: When the cuttings have developed a good root system (you’ll see roots emerging from the drainage holes or feel a good resistance when you gently tug), it’s time to pot them up into individual, slightly larger pots. Use a good quality potting mix for this stage.
The most common sign of failure is rot. If your cuttings turn black and mushy, it’s usually a sign of too much moisture and not enough air circulation, or they were simply too soft when you took them. Again, bottom heat and a well-draining mix help combat this.
A Encouraging Closing
Propagating Clematis fremontii can be a bit of a journey, but seeing those first tiny roots emerge makes all the effort worthwhile. Don’t be discouraged if your first attempt isn’t a roaring success. Every gardener has had their share of cuttings that just didn’t make it! Keep trying, learn from each batch, and most importantly, enjoy the process of nurturing new life. Happy gardening!
Resource:
https://identify.plantnet.org/k-world-flora/species/Clematis%20fremontii%20S.Watson/data