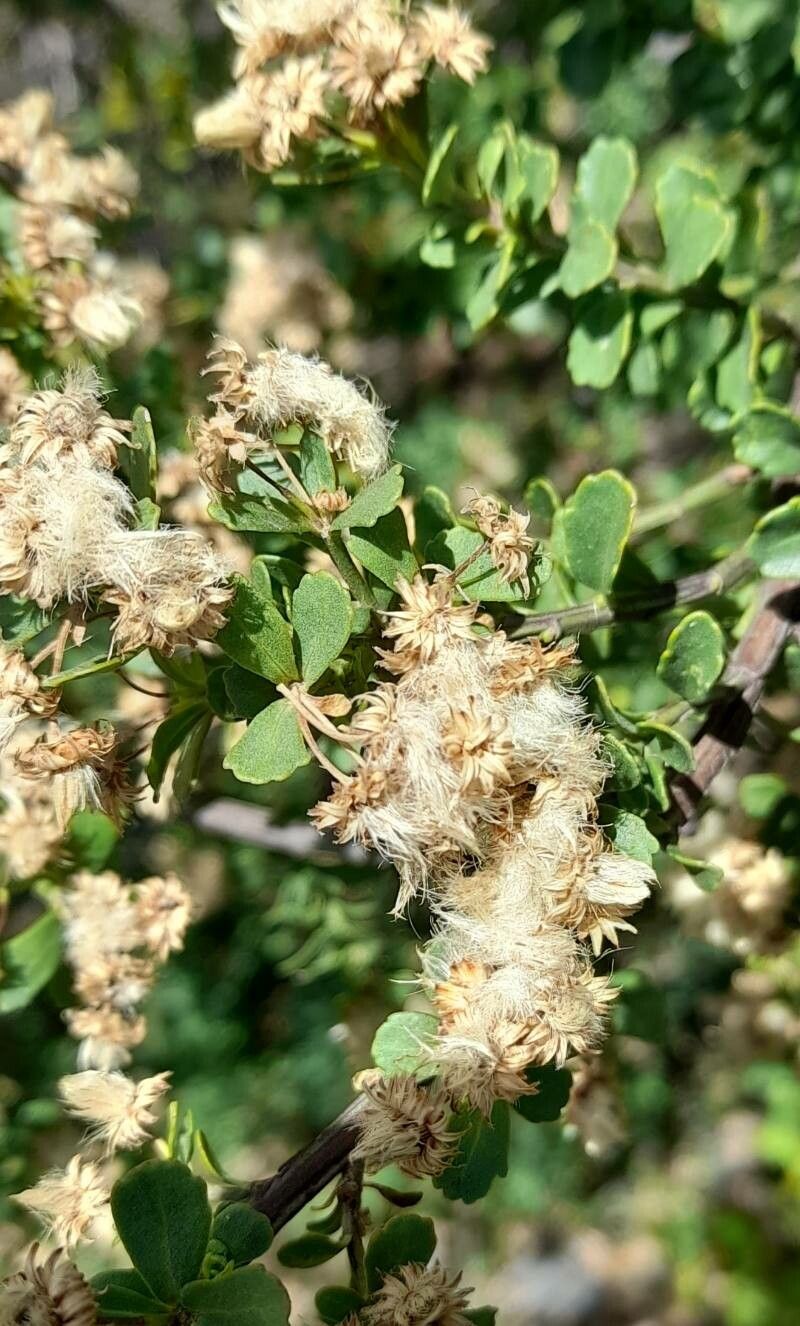
Hey there, fellow plant lovers! I’m so excited to chat with you today about a fantastic shrub that deserves a spot in more gardens: Baccharis obovata. You might know it by some of its common names like Dwarf Coyote Bush or Rosemary Creeper, and let me tell you, it’s a real winner. It’s tough, drought-tolerant, and those lovely, aromatic leaves are just a joy. Plus, propagating it is a wonderfully satisfying way to fill your garden or share with friends.
Now, I know some propagation can feel a bit daunting, but I’m happy to report that Baccharis obovata is generally quite forgiving. It’s a great plant to learn from, and you’ll likely have a good success rate even if this is your first rodeo with cuttings.
The Best Time to Start
For the most success, I always recommend starting with softwood cuttings taken in late spring to early summer. This is when the plant is actively growing, and the new stems are pliable but not yet woody. You’ll find they root much more readily at this stage.
Supplies You’ll Need
Gathering your tools beforehand makes the whole process smoother. Here’s what I typically have on hand:
- Sharp pruning shears or a clean knife: For making nice, clean cuts.
- Rooting hormone (optional but recommended): A powder or gel that can give your cuttings a helpful boost.
- Well-draining potting mix: A good ratio is 50% perlite and 50% peat moss or coco coir. You can also use a commercial seed-starting mix.
- Small pots or seed trays: Clean ones are key to preventing disease.
- Plastic bags or a propagation dome: To create a humid environment.
- A spray bottle: For misting.
- Labels: So you don’t forget what you planted where!
Propagation Methods
Let’s dive into how we’ll get some new Baccharis obovata babies!
Stem Cuttings
This is my go-to method for this plant. It’s tried and true!
- Take your cuttings: Look for healthy, non-flowering stems that are about 4-6 inches long. Use your clean shears to make a clean cut just below a leaf node (where a leaf attaches to the stem).
- Prepare the cuttings: Gently remove the lower leaves from the cutting, leaving just the top few leaves. This prevents them from rotting in the soil. If your leaves are very large, you can even cut them in half to reduce water loss.
- Apply rooting hormone (optional): Dip the cut end of each stem into your rooting hormone, tapping off any excess.
- Pot them up: Fill your small pots or seed trays with your prepared potting mix. Make a small hole with your finger or a pencil and insert the cutting. Gently firm the soil around the base of the cutting to ensure good contact.
- Water and cover: Water the soil thoroughly until it’s moist but not soggy. Then, cover the pots with a plastic bag or place them under a propagation dome to maintain high humidity. You can prop the bag up with a few stakes so it doesn’t touch the leaves.
The “Secret Sauce” (Pro Tips)
Here are a couple of little tricks I’ve learned over the years that can really make a difference:
- Don’t let the leaves touch the water: While it’s tempting to stick cuttings in water, for woody plants like Baccharis, soil propagation is usually much more successful. If you are using water for something else, be sure no leaves are submerged. They’ll just rot and introduce disease.
- Consider bottom heat: If you have the setup, placing your pots on a heat mat designed for seedlings can significantly speed up root development. It mimics the warmth of spring soil and encourages those roots to get going.
Aftercare & Troubleshooting
Once your cuttings are potted up, keep them in a bright, indirect light location. Avoid direct sun, which can scorch those tender leaves. You’ll want to mist the cuttings daily or whenever the surface of the soil looks dry, maintaining that humid environment.
You’ll know they’re starting to root when you see new leaf growth – that’s the best sign! It usually takes anywhere from 3-8 weeks, depending on the conditions. Once they have a decent root system, you can carefully transplant them into slightly larger pots with a good quality potting mix.
What if things go wrong? The most common culprit is rot. If a cutting turns black and mushy, it’s usually a sign of too much moisture and not enough air circulation. Unfortunately, a rotted cutting is a lost cause, but don’t get discouraged! Just pull it out, sterilize your pot, and try again.
A Encouraging Closing
Propagating Baccharis obovata is such a rewarding journey. It’s a fantastic way to connect with nature and your plants on a deeper level. Be patient with the process, celebrate every little sign of progress, and enjoy watching your new shrublets grow. Happy gardening!
Resource:
https://identify.plantnet.org/k-world-flora/species/Baccharis%20obovata%20Hook.%20&%20Arn./data