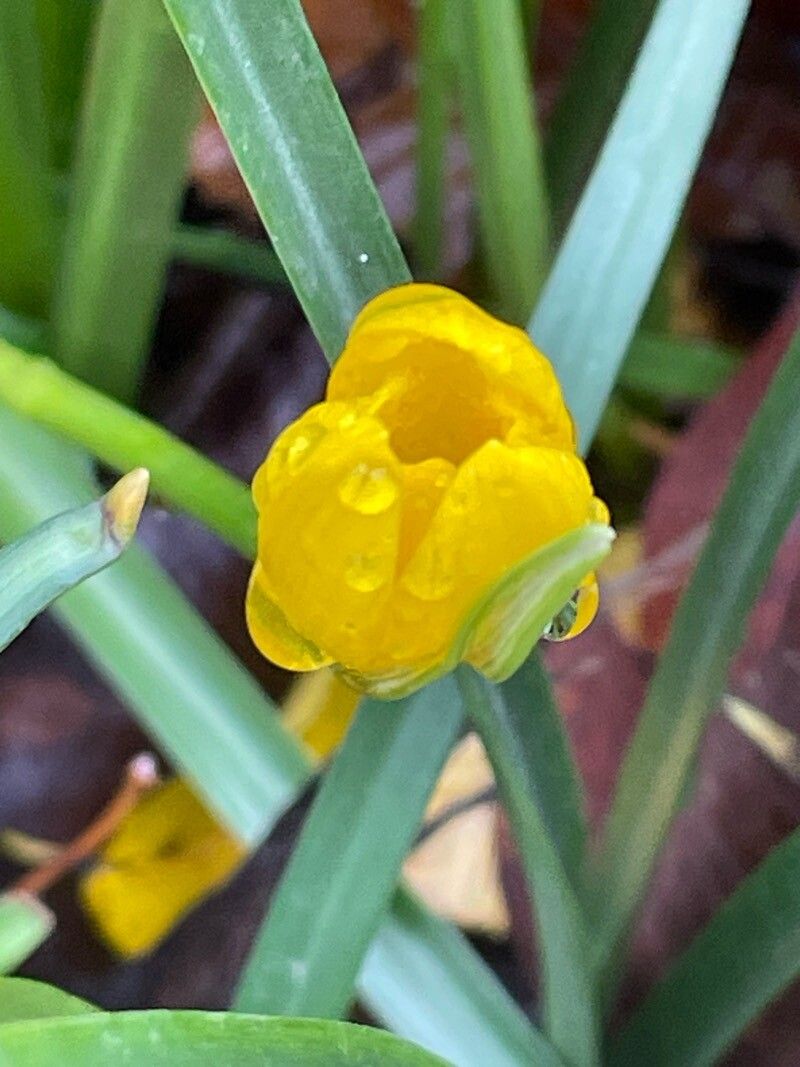
Hello there, fellow garden enthusiasts! Today, we’re going to delve into the delightful world of Sternbergia lutea, often called Autumn Daffodils or Fall Crocuses. These little golden gems are an absolute joy, gracing our gardens with vibrant color when most other blooms have faded. Their cheerful, crocus-like flowers emerge from the earth as if by magic, often before their leaves even appear.
There’s a special kind of magic in bringing new life into your garden, and propagating Sternbergia lutea is no exception. It’s a wonderful way to multiply these beauties and share them with friends – or simply fill every little nook and cranny that needs a splash of sunshine. For many gardeners, especially those just starting out, Sternbergia lutea can be a bit of a gentle surprise. They aren’t the trickiest plants to propagate, but they do have their own little quirks that make success all the sweeter.
The Best Time to Start
The absolute best time to propagate Sternbergia lutea is right after they finish their bloom cycle and their leaves begin to yellow and die back. This usually happens in late spring or early summer. Think of it as harvesting time for the bulbs. You want to catch them when they’re storing up energy for their next big show and are relatively dormant. This lull in their active growth phase is the perfect window to gently divide them or collect their offsets.
Supplies You’ll Need
To get started, gather these essentials:
- Trowel or small spade: For carefully lifting the bulbs.
- Sharp secateurs or pruning shears: Clean and sharp for any necessary trimming.
- Well-draining potting mix: A mix designed for bulbs or a combination of potting soil, perlite, and a bit of coarse sand works wonders.
- Small pots or containers: For your newly divided bulbs. Ensure they have drainage holes!
- Watering can or gentle spray bottle: For delicate watering.
- Optional: Rooting hormone: While not strictly necessary for divisions, some gardeners like to use it.
Propagation Methods
The primary and most successful way to propagate Sternbergia lutea is through division. These lovely bulbs tend to clump together over time, forming new offsets.
Here’s how to do it:
- Dig them up gently: Using your trowel, carefully dig around the clump of bulbs. Try to lift the entire mass without disturbing the bulbs too much. It’s often best to dig a wider circle than you think you need.
- Separate the bulbs: Gently shake off the excess soil. You’ll see the main bulb and smaller offsets attached. Carefully, using your fingers or a clean knife if they’re very tightly attached, separate the offsets from the parent bulb. You want each division to have at least a healthy bulb base and possibly a small papery skin.
- Inspect and trim: Check the bulbs for any signs of rot or damage. If any roots are excessively long or damaged, you can give them a light trim with your secateurs.
- Pot them up: Fill your small pots with your well-draining potting mix. Plant each offset or small clump about 2-3 inches deep, ensuring the tip points upwards.
The “Secret Sauce” (Pro Tips)
Here’s a little bit of what I’ve learned over the years that makes a difference:
- Let them breathe: After division, it’s a good idea to let the bulbs sit out of the soil in a cool, dry, and airy spot for a day or two. This helps any cut surfaces to dry and callous over a bit, reducing the risk of rot when you replant them.
- Don’t overwater initially: Once planted, give them a good initial watering to settle the soil, but then err on the side of caution. Let the soil dry out a bit between waterings. They’re more susceptible to rot if kept constantly soggy, especially during their dormancy.
- Mimic nature’s timing: Remember they bloom in autumn and then their leaves grow through winter and spring. When you divide them in early summer, they’re essentially going into their summer rest. So, plant them and then largely forget about them until autumn when you might see signs of life.
Aftercare & Troubleshooting
Once your bulbs are potted, place them in a bright location, but avoid direct, scorching sun for now. Water them sparingly, only when the top inch of soil feels dry.
The most common issue you might encounter is bulb rot. This usually happens due to overwatering, poor drainage, or planting too deeply in wet soil. If you notice a bulb turning mushy, black, or smelling off, it’s likely rotted. Unfortunately, there’s not much you can do once that happens, so prevention is key!
You’ll know your propagation is successful when you start to see new leaf shoots emerge in the autumn. This can take a little patience, so don’t despair if it doesn’t happen immediately. Each bulb is a little powerhouse of potential.
A Encouraging Closing
Propagating Sternbergia lutea is a rewarding journey. It’s a chance to connect with these beautiful plants on a deeper level, to understand their life cycle, and to celebrate the abundance they bring to our gardens. Be patient with your new divisions. They might take a season to establish themselves fully, but the sight of those golden blooms appearing in the fall, knowing you nurtured them into existence, is truly something special. Happy gardening!
Resource: