Hello, garden friends! It’s so lovely to have you join me today. I’ve been nurturing plants for two decades now, and I’m still captivated by the sheer magic of coaxing new life from a tiny sliver of an existing one. Today, we’re going to delve into the fascinating world of propagating Iodanthus pinnatifidus.
Why Grow Iodanthus pinnatifidus?
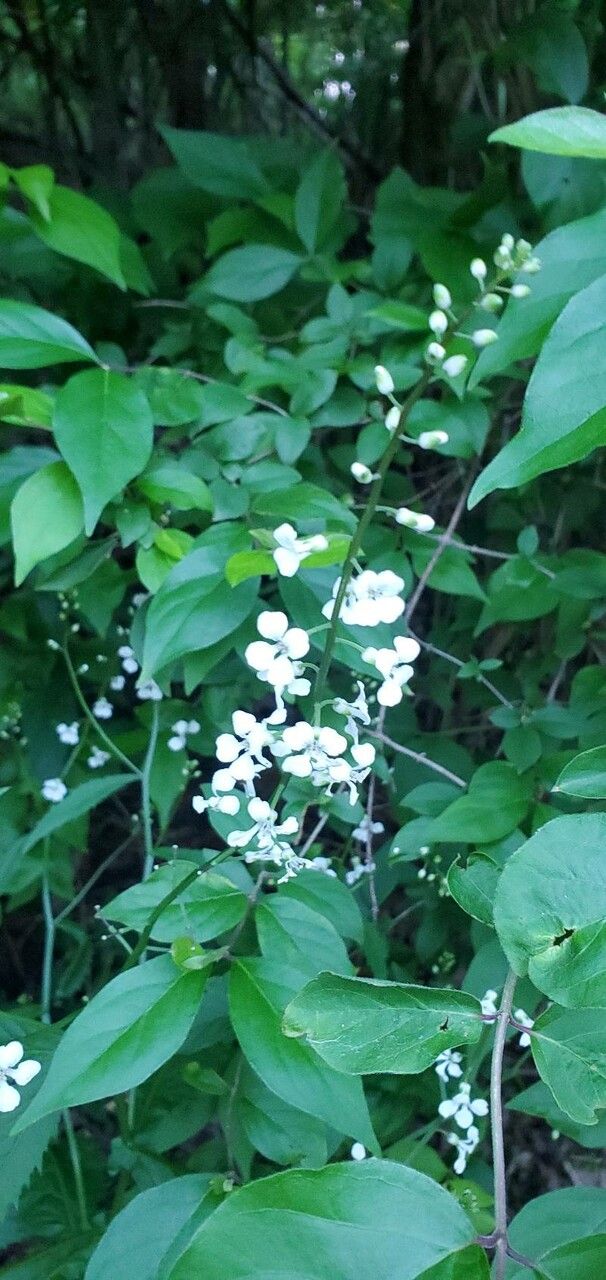
I really adore Iodanthus pinnatifidus for its delicate, violet-blue flowers and airy foliage. It brings such a gentle charm to the garden, especially when it catches the breeze. Sharing this beauty with others, or simply filling your own space with more of it, is incredibly satisfying. This particular plant is moderately easy to propagate, making it a wonderful project for those looking to expand their horticultural skills beyond the absolute basics.
When Should You Get Started?
The sweet spot for propagating Iodanthus pinnatifidus is typically late spring to early summer. This is when the plant has a good flush of new growth and is actively putting energy into developing. Aim to take your cuttings when the stems are semi-hardened – not brand new and floppy, but not old and woody either. Think of that perfect stage before a summer downpour, when the growth feels firm but still pliable.
Gathering Your Toolkit
Before we get our hands dirty, let’s make sure we have everything we need. A well-prepared gardener is a successful gardener, after all!
- Sharp Pruning Shears or a Clean Knife: For making precise cuts.
- Rooting Hormone (Optional but Recommended): A little boost can go a long way!
- Small Pots or Seed Trays: 3-4 inch pots are usually a good size.
- Well-Draining Potting Mix: I prefer a mix of equal parts peat moss or coco coir, perlite, and a bit of compost.
- Watering Can with a Fine Rose: To water gently without disturbing the cuttings.
- Clear Plastic Bags or a Propagator Lid: To create a mini-greenhouse environment.
- Labels and a Marker: To keep track of what you’ve planted!
- A Saucer or Tray: To catch any excess water.
Bringing New Life Forth: Propagation Methods
Iodanthus pinnatifidus can be propagated quite successfully through stem cuttings. It’s my go-to method for this lovely plant.
Stem Cuttings: A Step-by-Step Guide
- Select Your Mother Plant: Choose a healthy, vigorous Iodanthus. Look for stems that are actively growing but have firmed up a bit.
- Take Your Cuttings: Using your clean shears or knife, cut healthy stems about 4-6 inches long. Make your cut just below a leaf node (where a leaf attaches to the stem). This is where the magic happens, as roots are eager to emerge from this area.
- Prepare the Cuttings: Gently remove the lower leaves from the cutting, leaving just two or three sets of leaves at the top. If the remaining leaves are very large, you can even snip them in half to reduce water loss.
- Apply Rooting Hormone (Optional): Dip the cut end of each stem into your rooting hormone. Just a light coating is needed; tap off any excess.
- Plant Your Cuttings: Fill your small pots with your prepared potting mix. Make a small hole in the center with your finger or a pencil, then gently insert the cut end of the stem. Firm the soil gently around it so the cutting stands upright.
- Water Thoroughly: Give your newly planted cuttings a good, gentle watering. You want the soil to be moist but not waterlogged.
- Create a Humid Environment: Place the pots into a clear plastic bag, zipping it up carefully, or place them under a propagator lid. This traps moisture and creates the humid environment that cuttings crave. You can also just place the pots on a tray and cover the whole tray with a clear plastic dome.
The “Secret Sauce”: My Insider Tips
Over the years, I’ve learned a few tricks that really make a difference. Think of these as little nudges to help your cuttings along.
- Don’t Let the Leaves Touch the Water (If Water Propagating): While stem cuttings in soil are my preferred method for this plant, if you ever try water propagation with other plants, always make sure the leaves are above the water line. Submerged leaves will rot and can infect the entire cutting.
- Bottom Heat is Your Friend: If you have the space and inclination, placing your pots on a gentle heat mat can significantly speed up root development. It mimics the warmth of spring soil and encourages those roots to form. Just a low setting is perfect.
- Sterilize Everything: I can’t stress this enough! Make sure your tools, pots, and even your hands are clean. This prevents the introduction of any nasties that could cause your precious cuttings to rot before they even have a chance to root.
Nurturing New Roots and Troubleshooting
Once your cuttings are nestled in their new home, be patient!
Aftercare:
- Location, Location, Location: Place your pots in a bright spot that receives indirect sunlight. Direct sun can scorch the delicate new growth.
- Misting: Once a day, especially if using a plastic bag, give the inside of the bag or propagator a good mist to keep humidity levels high.
- Check for Roots: After 3-6 weeks, gently tug on a cutting. If you feel resistance, tiny roots have formed! You can also look for new leaf growth, which is a good sign.
- Transplanting: Once the roots are well-established and you see healthy new growth, you can carefully transplant your new Iodanthus into slightly larger pots.
Troubleshooting:
- Yellowing Leaves: This can be a sign of overwatering or lack of light. Check your watering schedule and move them to a brighter spot.
- Wilting: If your cuttings look droopy, they might need more humidity or are dry. Mist them and ensure they are in their humid environment.
- Rotting: This is the most common failure. It usually means too much moisture and not enough air circulation. If you see mushy stems or blackening at the base, sadly, that cutting is likely lost. Start again, ensuring your soil drains well and you’re not overwatering.
Happy Propagating!
Gardening is a journey of experimentation and learning. Don’t be discouraged if not every cutting takes. Each attempt teaches you something new. Be patient, enjoy the process of nurturing these little wonders, and soon you’ll have a whole new collection of Iodanthus pinnatifidus to admire and share. Happy growing!
Resource: