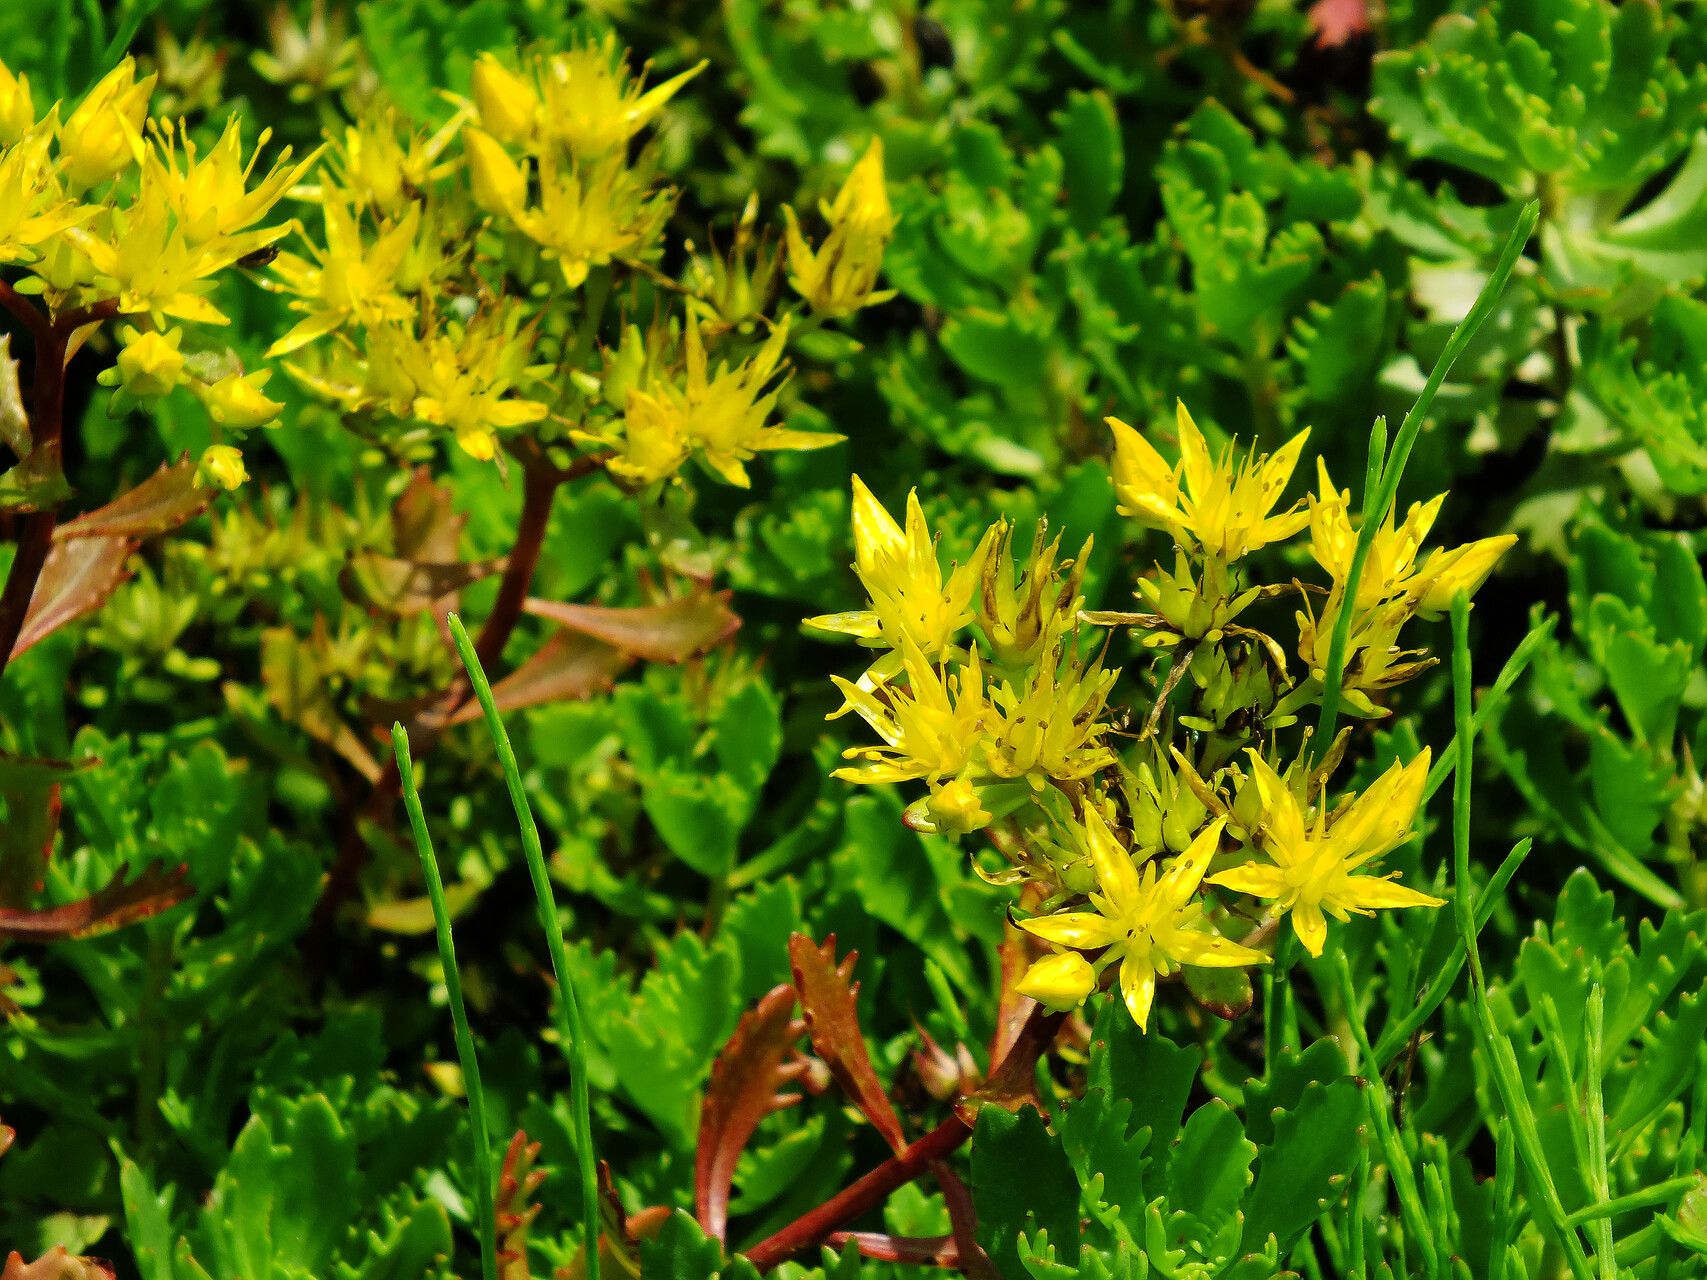
Oh, hello there! Come on in and pull up a chair. I’m so glad you’re interested in Phedimus hybridus, or as many of us affectionately call them, sedum hybrids. These resilient little beauties are just a joy in the garden. They offer that lovely succulent texture, come in a kaleidoscope of colors, and often sport charming pink or red flower heads in late summer and fall that pollinators absolutely adore.
There’s something incredibly satisfying about taking a piece of a plant you love and coaxing it into a whole new life. Phedimus hybrids are wonderfully generous that way. And I’m happy to tell you, if you’re just starting out in the propagation world, this is an excellent plant to learn with. It’s quite forgiving!
The Best Time to Start
For Phedimus hybrids, the sweet spot for propagation is generally late spring or early summer. This is when the plant is actively growing and has plenty of energy to put into developing new roots. You want to work with healthy, vigorous stems. Avoid propagating from plants that look stressed or are just coming out of dormancy.
Supplies You’ll Need
Gathering your tools makes the whole process feel much smoother. Here’s what I usually have on hand:
- Sharp Misting Bottle: For gentle watering.
- Clean Pruning Shears or a Sharp Knife: Essential for making clean cuts.
- Rooting Hormone (Optional but Recommended): Especially if you’re a bit nervous about root development. Look for one formulated for herbaceous cuttings.
- Well-Draining Potting Mix: A mix specifically for succulents and cacti is perfect. You can also make your own by combining potting soil with perlite or coarse sand.
- Small Pots or Trays: Clean containers are a must to prevent disease.
- Labels and a Pen: Because trust me, you will forget which is which!
- A Sunny Spot or Grow Light: Young plants need good light but not scorching afternoon sun.
Propagation Methods
Phedimus hybrids are super adaptable, which means you have a few winning ways to grow more. My favorites are stem cuttings and division.
Stem Cuttings (My Go-To!)
This is my absolute favorite method for these guys. It’s quick, easy, and you can get a lot of new plants from a single parent.
- Take Your Cuttings: Select healthy, non-flowering stems. Using your clean shears or knife, cut a stem that’s about 3-5 inches long. It’s best to take them from the tip of a growing shoot.
- Prepare the Cuttings: Gently remove the lower leaves from the bottom inch or so of the stem. This is crucial! If you leave leaves on, they’ll just rot when buried.
- Let Them Callus: This is a really important step for succulents. Allow the cut ends to dry and form a callus for a day or two in a dry, shaded spot. This scab-like layer prevents rot when you plant them. Don’t skip this!
- Dip in Rooting Hormone (Optional): If you’re using rooting hormone, dip the callused end into the powder or gel. Tap off any excess.
- Plant Your Cuttings: Fill your clean pots or trays with your well-draining mix. Poke a small hole with a pencil or your finger, and gently insert the callused end of the cutting about an inch deep. If you’re planting multiple cuttings in one pot, give them space.
- Water Gently: Lightly water the soil after planting. You want it to be slightly moist, not soggy. A gentle misting is often best at this stage.
- Provide Good Conditions: Place the pots in a bright spot with indirect light. Avoid direct, hot sun, which can scorch the young cuttings.
Division
If your Phedimus hybrid has grown into a nice clump, dividing it is another fantastic and easy way to multiply your plants.
- Dig Up the Clump: In late spring or early summer, carefully dig up the entire plant from its pot or garden bed.
- Gently Separate: Shake off excess soil. You can often gently pull the root ball apart with your hands. If it’s really dense, you might need to use a clean trowel or knife to help separate the sections, but try to keep as much of the root system intact as possible for each division.
- Replant: Plant each divided section as you would a small Phedimus hybrid plant, making sure the roots are covered and the crown is at soil level. Water them in well.
The “Secret Sauce” (Pro Tips)
Here are a few little tricks I’ve learned over the years that seem to make all the difference:
- Don’t Let Leaves Touch the Water: If you opt for water propagation (which you can do with Phedimus, but I find cuttings in soil more successful), ensure that the leaves themselves are well above the waterline. Only the stem should be submerged. Leaves in the water almost always rot.
- Bottom Heat is Your Friend: For faster rooting with stem cuttings, consider placing your pots on a heat mat designed for seedlings. This gentle warmth encourages root development without drying out the top of the soil too quickly.
- Patience with the Parent: When taking stem cuttings, don’t “stress” the mother plant too much. Take several cuttings from different parts of the plant, rather than stripping one single stem bare. This allows the parent to recover and continue growing beautifully.
Aftercare & Troubleshooting
Once your cuttings have developed a good root system (this can take anywhere from 2-6 weeks, depending on conditions), you’ll start to see new growth emerging from the top. That’s your cue!
- Watering: Continue to water them lightly when the soil feels dry to the touch. As the plant gets more established, you can gradually increase watering frequency, but always ensure good drainage. Overwatering is the quickest way to lose a new plant.
- Transplanting: Once the roots are well-established and you see noticeable new growth, you can pot them up into slightly larger individual pots if they were in a tray, or find them a permanent home in the garden.
- Troubleshooting: The most common issue you might encounter is rot. This usually happens if the cuttings are kept too wet, if they didn’t callus properly, or if the soil mix is too heavy. If you see a cutting looking mushy or blackened, it’s best to discard it to prevent it from spreading. Other signs of trouble include wilting (which could be underwatering or shock) or no signs of root development at all (which might mean it’s just taking its time, or conditions aren’t quite right).
A Little Encouragement
Don’t be discouraged if your first attempt isn’t a wild success. Gardening is a journey, and propagation is a skill that hones with practice. Be patient, observe your cuttings, and enjoy the magic of watching something new grow. Happy propagating!
Resource:
https://identify.plantnet.org/k-world-flora/species/Phedimus%20hybridus%20(L.)%20’t%20Hart/data