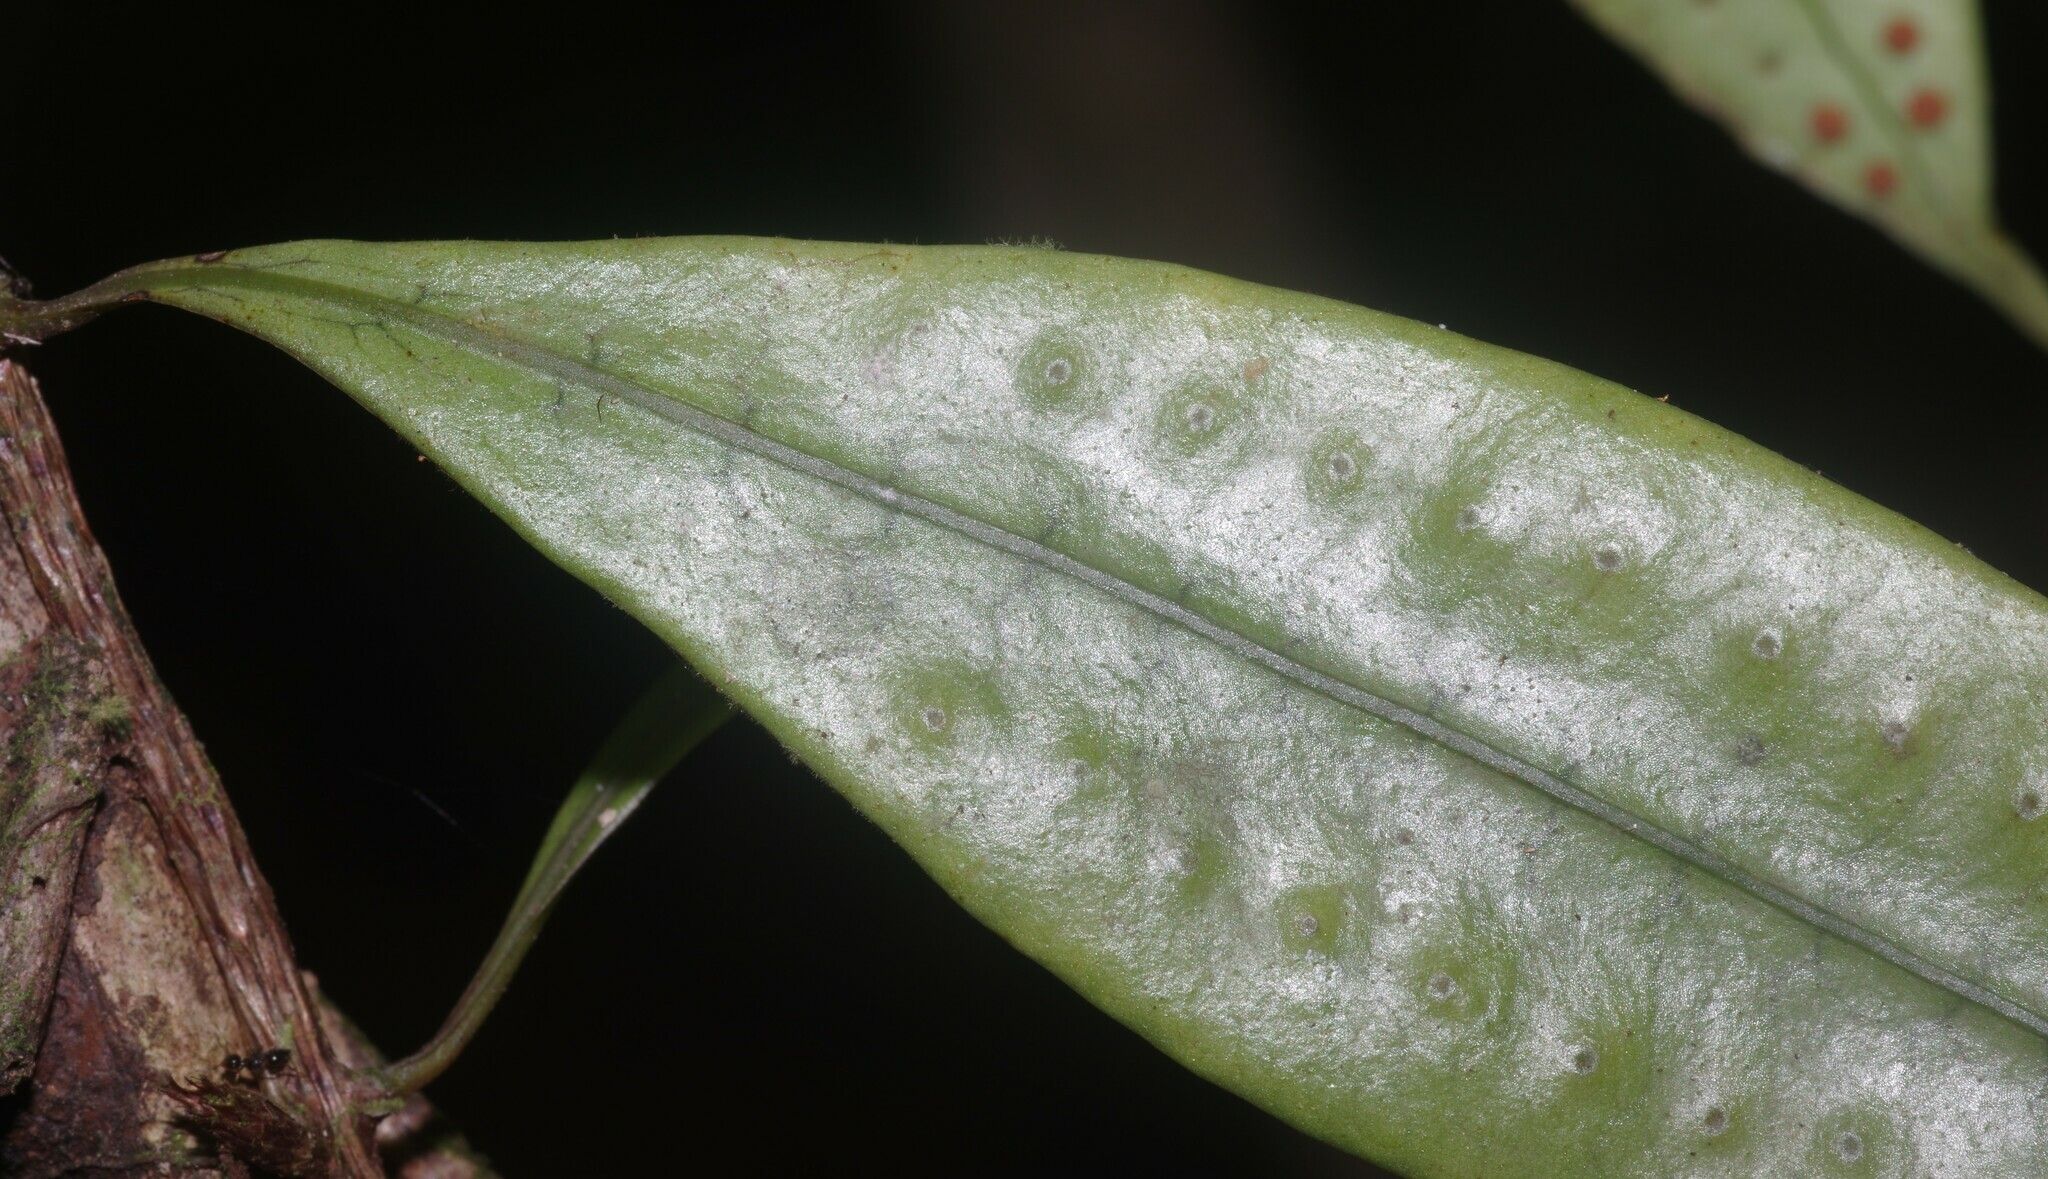
Oh, it’s so lovely to have you here for a bit of garden chat! Today, we’re diving into the wonderful world of propagating Microgramma thurnii, also known as the Scramble fern. If you’ve ever admired its delicate, shimmering fronds climbing or cascading in a pot, you’re going to love this. There’s a special kind of magic in coaxing a new life from an existing plant, turning one treasure into many to share or fill your home with even more greenery. I’d say Microgramma thurnii is a moderately easy plant to propagate, especially if you’re familiar with basic plant care. It’s a rewarding project that doesn’t require an advanced degree in botany!
The Best Time to Start
Generally, the warmer months are your best friends when it comes to propagating ferns. I find spring and early summer to be absolutely ideal. This is when the plant is in its active growth phase, brimming with energy. Starting propagation then means your new baby ferns have a good long growing season ahead of them to establish themselves. Aim to work with healthy, vigorous stems that are clearly growing.
Supplies You’ll Need
Here’s a little list of what you’ll want to gather:
- Sharp, clean pruning shears or a sterile knife: For making clean cuts.
- Well-draining potting mix: I like a blend of peat moss, perlite, and a bit of coco coir. Commercial orchid mix works wonderfully too!
- Small pots or propagation trays: With drainage holes, of course.
- Clear plastic bags or a mini greenhouse: To create a humid environment.
- Watering can with a fine rose or spray bottle: For gentle watering.
- Rooting hormone (optional but helpful): A powder or gel can give your cuttings a boost.
- Labels and a marker: To keep track of what you’ve propagated and when.
Propagation Methods
Microgramma thurnii is a fantastic candidate for propagating through stem cuttings. It’s straightforward and usually yields great results.
- Prepare Your Parent Plant: Gently examine your Microgramma thurnii. Look for healthy, mature stems that are at least 4-6 inches long and have a few sets of fronds.
- Make the Cut: Using your sharp, clean pruning shears or knife, make a clean cut just below a node (where a frond emerges from the stem). You want cuttings that include at least two or three nodes. Remove the lowest fronds so they won’t be buried in the soil.
- Apply Rooting Hormone (Optional): If you’re using rooting hormone, lightly dip the cut end of the stem into the powder or gel. Tap off any excess.
- Plant Your Cuttings: Fill your small pots or trays with your prepared, moistened potting mix. Make a small hole with your finger or a pencil. Insert the cut end of the stem into the hole, ensuring at least one node is below the surface of the soil. Gently firm the soil around the cutting.
- Create a Humid Environment: Water the soil gently. Then, cover the pot with a clear plastic bag or place it inside a mini greenhouse. This is crucial for keeping the humidity high, which ferns absolutely adore.
- Placement is Key: Place the pots in a warm spot with bright, indirect light. Avoid direct sunlight, as it can scorch the delicate cuttings and dry out the soil too quickly.
The “Secret Sauce” (Pro Tips)
Now, for a few little tricks I’ve learned over the years that can really improve your success rate:
- Don’t Let the Fronds Touch the Water in the Bag: When you cover your cuttings with a plastic bag, try to make sure the leaves aren’t constantly sitting in condensation. If they are, gently wipe them dry or prop the bag up slightly so air can circulate. This helps prevent rot.
- Bottom Heat Works Wonders: If you have a seedling heat mat, placing your propagation pots on it will make a huge difference. A little bottom warmth encourages root development much faster than ambient room temperature alone. It mimics the cozy conditions of spring soil.
- Be Patient with Water Propagation: While I primarily recommend soil propagation for Microgramma thurnii, if you do decide to try water, remember to change the water every few days. And, this is important: never let the leaves touch the water – only the submerged stem nodes. This dramatically reduces the risk of rot.
Aftercare & Troubleshooting
Once you start to see signs of new growth – tiny fronds unfurling from the soil – or feel a gentle resistance when you lightly tug on the cutting, you know roots have formed!
Continue to keep the soil consistently moist, but not soggy. Gradually acclimate your new plant to lower humidity by opening the plastic bag a little more each day over a week or two. Once it’s looking robust and can tolerate being out of the bag, you can treat it like a mature Microgramma thurnii.
Common culprits for failure include rot (indicated by mushy, blackened stems) and drying out. If your cuttings look limp and dry, they might be getting too much direct sun or the humidity isn’t high enough. If they’re mushy, you’re likely overwatering, or the environment is too wet without enough air circulation. Don’t be discouraged if a few don’t make it; that’s part of the learning process!
A Little Encouragement
Propagating brings such joy, doesn’t it? Seeing those tiny new fronds emerge is incredibly rewarding. Remember to be patient with your new little ferns. Some take their sweet time, and that’s perfectly okay. Enjoy the process, get your hands a little dirty, and soon you’ll have a whole new collection of these beautiful Scramble ferns to admire! Happy propagating!
Resource: