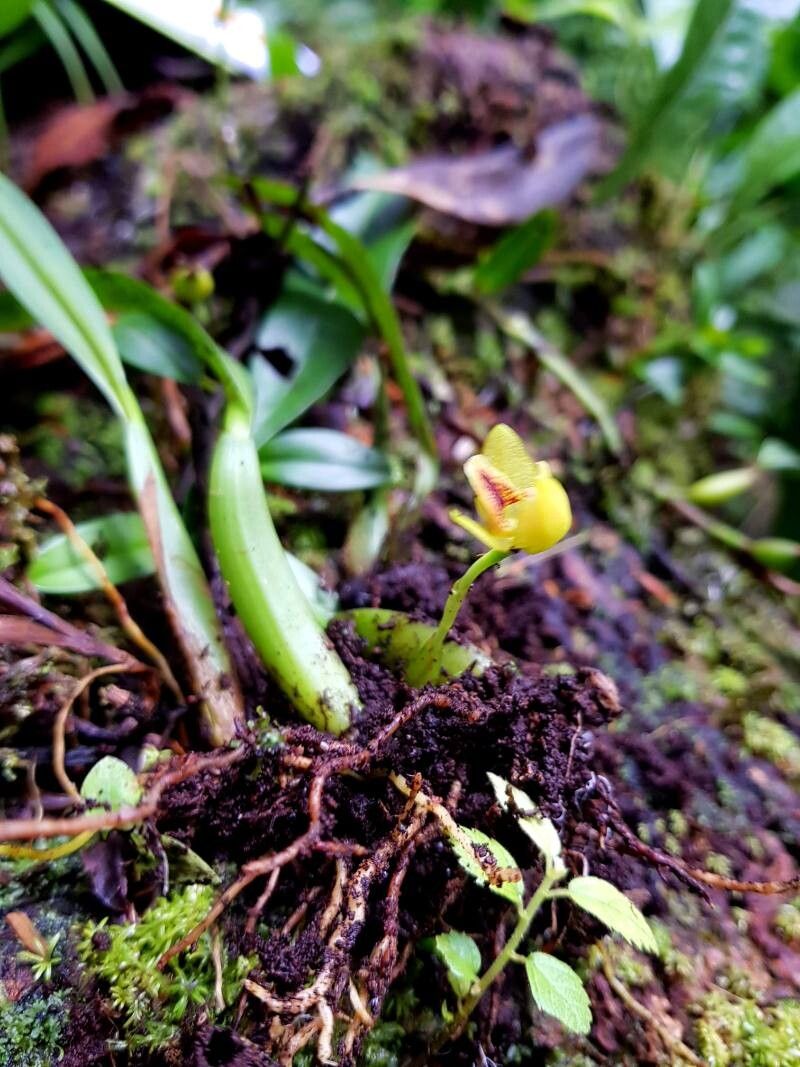
Hello, fellow plant enthusiasts! Today, we’re diving into the wonderful world of Maxillaria moralesii. If you’ve ever admired this orchid’s charming blooms and unique charm, you’re in for a treat. Propagating it really is a beautiful way to share that joy and expand your own collection. Honestly, while it has its own pace, I find Maxillaria – and moralesii in particular – to be quite rewarding for those willing to give it a little attention. It’s not a “set it and forget it” plant, but it’s definitely achievable for determined beginners.
The Best Time to Start
For the highest success rates with Maxillaria moralesii, I always aim for late spring or early summer. This is when the plant is actively growing after its winter rest. You’ll see new shoots emerging, and these are prime candidates for propagation. Trying to propagate when the plant is dormant or stressed is just inviting disappointment, so timing is key here!
Supplies You’ll Need
Gathering your supplies beforehand makes the whole process so much smoother. Here’s what I usually have on hand:
- Sharp, sterilized pruning shears or a clean knife: Crucial for clean cuts to prevent infection. I always sterilize mine with rubbing alcohol between each cut.
- Sphagnum moss: This is a favorite for orchids. Make sure it’s high-quality, long-fibered sphagnum.
- Orchid potting mix: A good bark-based mix is essential for aeration.
- Small pots or seedling trays: Whatever you choose, ensure they have drainage holes.
- Optional: Rooting hormone: I sometimes use it, especially if I’m feeling a bit unsure about a particular division.
- Water: Clean, preferably filtered or rainwater.
- Labels and a marker: Never underestimate the importance of knowing what you’ve potted!
Propagation Methods
For Maxillaria moralesii, division is my go-to method. It’s the most natural and successful way to increase your plant count.
- Assess Your Plant: Gently remove your Maxillaria moralesii from its pot. If it’s root-bound, that’s a good sign you’re ready to divide. Look for distinct pseudo-bulbs that have at least three healthy leaves and a good-looking root system.
- Clean the Roots: Gently tease away as much of the old potting mix as you can. This allows you to clearly see where the divisions are and helps you avoid damaging emerging roots.
- Make the Cut: Using your sterilized shears or knife, carefully separate the larger mature plant into smaller sections. Aim to have at least three sturdy pseudo-bulbs and a good clump of roots for each new division. Don’t be afraid to get in there, but be gentle with those precious roots!
- Pot Up Your Divisions: Prepare your new pots with your fresh orchid potting mix or moist sphagnum moss. Place each division into its pot, ensuring the roots are spread out. The base of the pseudo-bulbs should be at or just slightly above the surface of the medium.
- Water Sparingly: Initially, I water very lightly, just enough to settle the medium around the roots. You don’t want them sitting in soggy conditions right away.
The “Secret Sauce” (Pro Tips)
Here are a couple of things I’ve learned over the years that make a big difference:
- Don’t Over-Pot Early On: Resist the urge to put a tiny new division into a huge pot. They need to feel a little snug to encourage root development. A pot that’s just large enough to accommodate the roots comfortably is perfect.
- Humidity is Your Friend: After potting, I place my divisions in a humid environment, often in a small greenhouse or a covered tray. This helps prevent them from drying out before they have established roots. I mist occasionally but avoid direct water on the leaves.
Aftercare & Troubleshooting
Once your new divisions are potted, continue to keep them in a bright, indirect light location. Water them when the potting mix is starting to dry out – for sphagnum, this might be every 4-7 days, while bark mixes could be faster. You’re looking for signs of new root growth and new leaf development.
The biggest scare you might encounter is rot. This usually happens if the plant is kept too wet, especially in cooler temperatures. You might see the pseudo-bulbs turn mushy and brown, or leaves will yellow and drop off. If you spot this, pull the plant out, trim away any rotted parts (sterilize your tool again!), and repot it in fresh, dry medium. Sometimes, you can even save a severely rotted division by letting it air dry for a day or two before repotting.
A Encouraging Closing
Propagating Maxillaria moralesii takes a little patience, but seeing a new plant emerge from a piece of established one is incredibly satisfying. Don’t get discouraged if every single division isn’t an instant success. Learn from each one, enjoy the process, and soon you’ll have many more of these beautiful orchids to admire! Happy growing!
Resource: