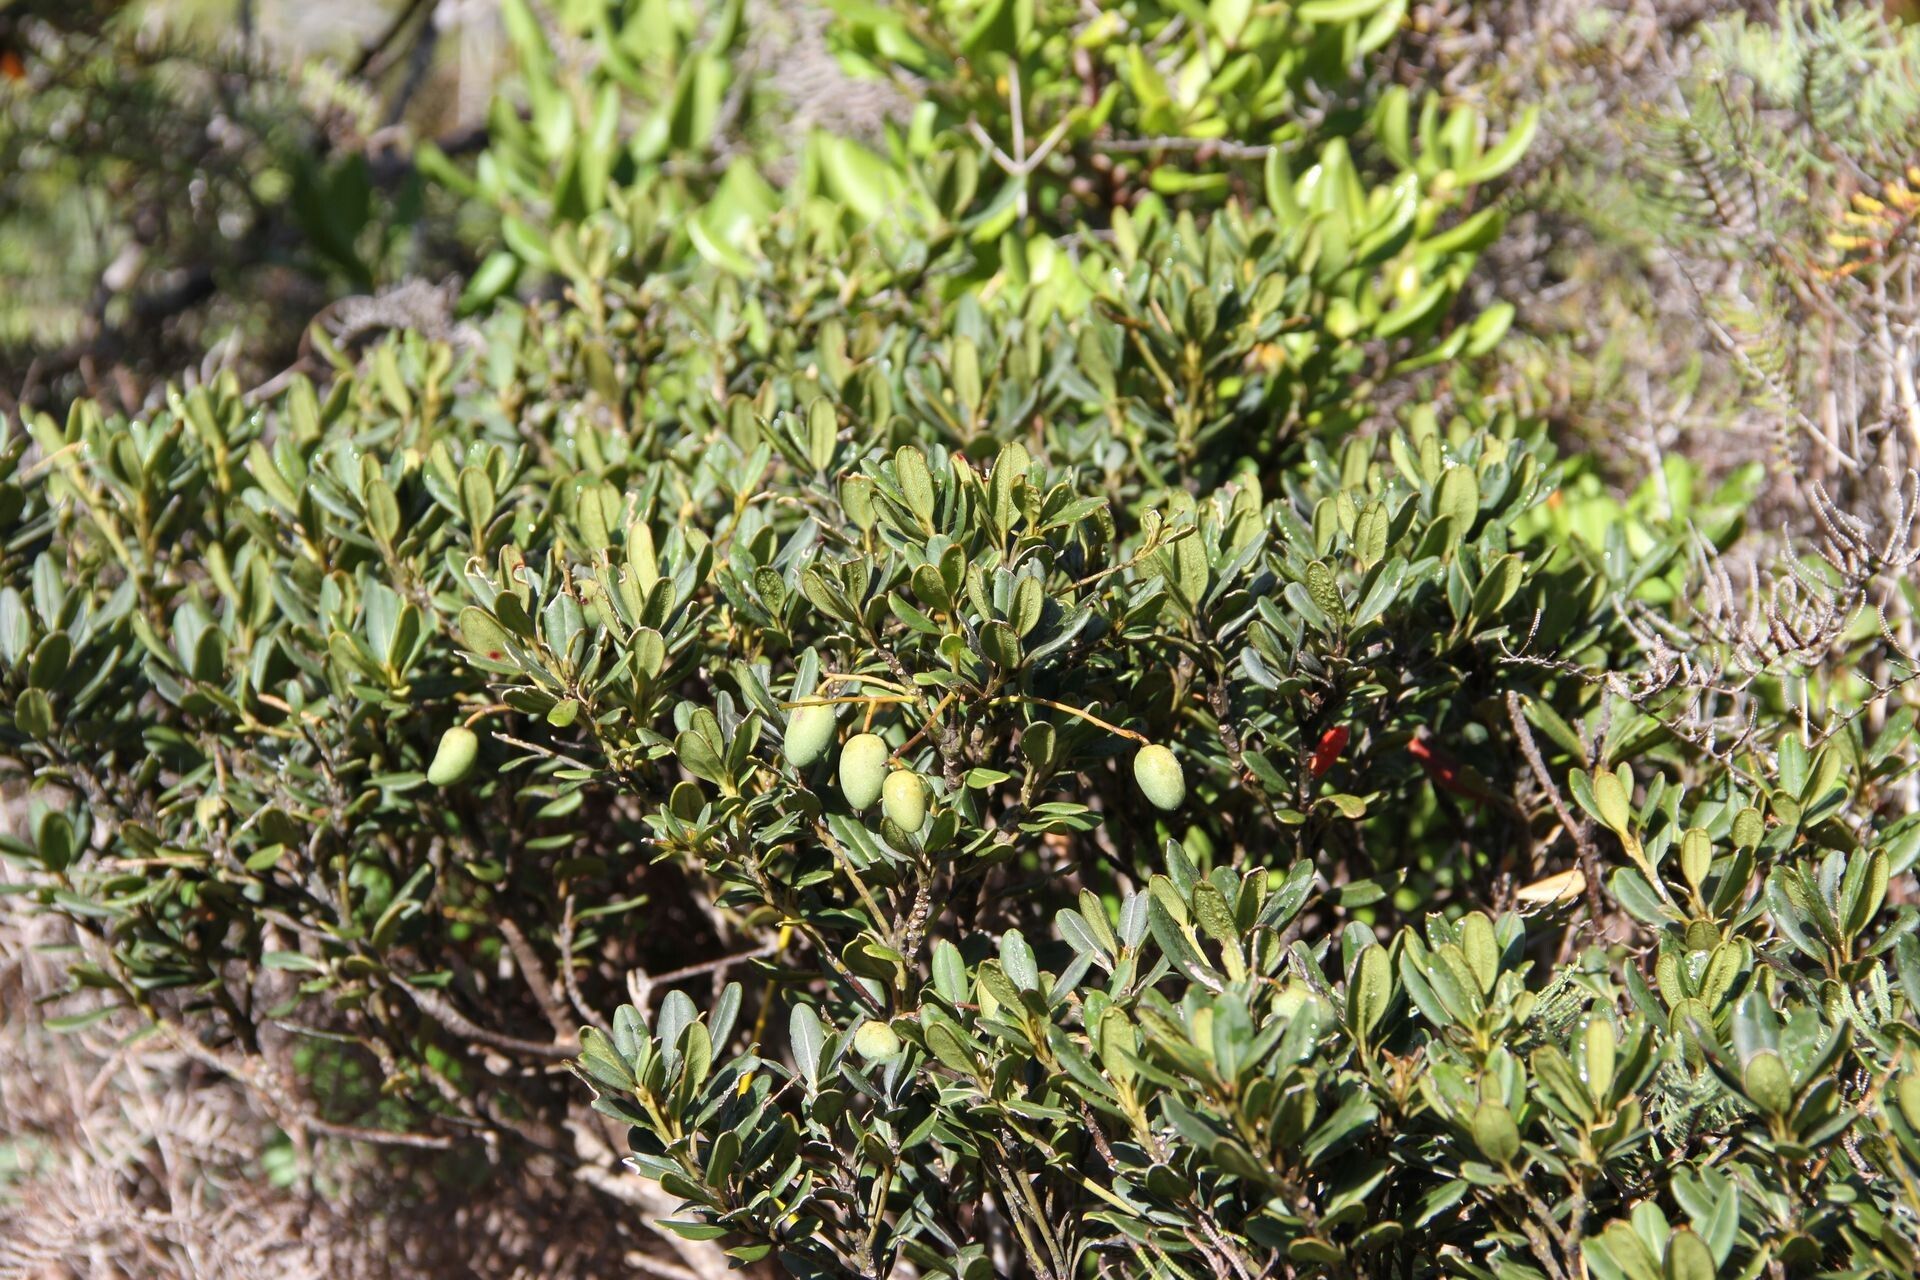
Hello fellow plant lovers! I’m so excited to chat with you today about a truly special tree: Elaeocarpus pulchellus. You might know it better by its common name, the Azure Berry or Blue Fig. If you’ve ever seen its delicate, bell-shaped white flowers cascading down, followed by those stunning, turquoise-blue berries, you’ll understand why I’m so smitten. It’s a real showstopper, and honestly, one of the most rewarding plants to grow from a cutting. Now, for beginners, it might feel a tad daunting at first, but with a little guidance, you’ll be well on your way!
The Best Time to Start
When I’m looking to propagate my Elaeocarpus pulchellus, I always aim for late spring to early summer. This is when the plant is in its active growing phase. You’ll want to choose stems that have grown in the current year, but are no longer completely soft and green. They should have a bit of a woody feel to them – we call these semi-hardwood cuttings. Think of it as being firm enough to hold its shape, but not so rigid that it snaps.
Supplies You’ll Need
Gathering the right tools makes all the difference. Trust me on this!
- Sharp Pruning Shears or a Knife: Clean cuts are crucial for a clean start.
- Rooting Hormone: This is your secret weapon for encouraging root development. I prefer a powder form, but gel works too.
- Well-Draining Potting Mix: A good blend is key. I often use a mix of equal parts peat moss, perlite, and a little bit of coarse sand. You can also buy a specific cuttings mix.
- Small Pots or Propagation Trays: Clean pots are your friend here to prevent any yucky diseases from taking hold.
- Plastic Bag or Propagation Dome: To create a mini-greenhouse effect.
- Watering Can with a Fine Rose: Gentle watering is important.
- Optional: Bottom Heat Mat: This can really speed things up, especially if your house is on the cooler side.
Propagation Methods
For Elaeocarpus pulchellus, stem cuttings are by far the most reliable method. Here’s how I do it:
- Take Your Cuttings: On a lovely morning after a rain or a good watering, head out to your tree. Select healthy stems that are about 6-8 inches long. Using your sharp shears, make a clean cut just below a leaf node (where a leaf attaches to the stem). Remove any leaves from the bottom half of the cutting. You want to make sure no leaves are going to be buried in the soil; they’ll just rot.
- Prepare Your Cuttings: Dip the cut end of each stem into your rooting hormone, tapping off any excess. This step is super important for giving your cutting a head start.
- Plant Your Cuttings: Fill your pots or trays with your well-draining potting mix and lightly water it. Make little holes with your finger or a pencil and insert the prepared cuttings. Gently firm the soil around them. You can usually fit a few cuttings in one pot.
- Create a Humid Environment: This is where the plastic bag or dome comes in. Cover the pots loosely with a clear plastic bag, making sure the leaves don’t touch the plastic. If you’re using a propagation dome, just close the lid. This traps moisture, which is vital for the cuttings to develop roots before they dry out. Place the pots in a bright spot, but out of direct sunlight.
The “Secret Sauce” (Pro Tips)
After years of trial and error, I’ve picked up a few tricks that have really boosted my success rates:
- Don’t Let Leaves Touch the Water (if water propagating): While I primarily use soil cuttings for Elaeocarpus pulchellus, if you were to experiment with water, always make sure the leaves aren’t submerged. Only the stem should be in the water. Any submerged leaves will decay and invite disease.
- Bottom Heat is Gold: Seriously, if you can get your hands on a bottom heat mat, do it! Placing your pots on one provides consistent, gentle warmth to the base of the cuttings. This mimics ideal soil temperatures and encourages roots to form much faster. I’ve found it cuts down rooting time by weeks.
- Be Patient with the Leaf Drop: It’s totally normal for cuttings to drop a few leaves, especially at first. Don’t panic! As long as the stem itself looks healthy and plump, it’s likely still trying. If all the leaves fall off, that’s a sign it might not have made it, but don’t give up on your first try!
Aftercare & Troubleshooting
Once you start to see signs of new leaf growth, that’s your clue that roots are forming! You can gently tug on a cutting – if there’s resistance, you’ve got roots! At this point, you can start to gradually acclimate them to less humid conditions by opening the plastic bag a little more each day. Once they seem robust, you can remove the bag entirely.
The most common issue you might encounter is rot. This usually happens due to overwatering or poor drainage. If you see your cuttings turning black and mushy at the base, it’s likely rot. Sadly, there’s not much you can do to save a rotten cutting. The best prevention is to use that excellent, well-draining mix and water only when the top inch of soil feels dry to the touch.
A Encouraging Closing
Propagating Elaeocarpus pulchellus is a journey, and like all good gardening endeavors, it requires a little patience. Don’t be discouraged if your first few attempts aren’t perfect. Every cutting you take, every pot you fill, is a learning experience. Enjoy the process of nurturing these tiny new lives, and soon enough, you’ll have your own beautiful Azure Berry trees to admire! Happy planting!
Resource: