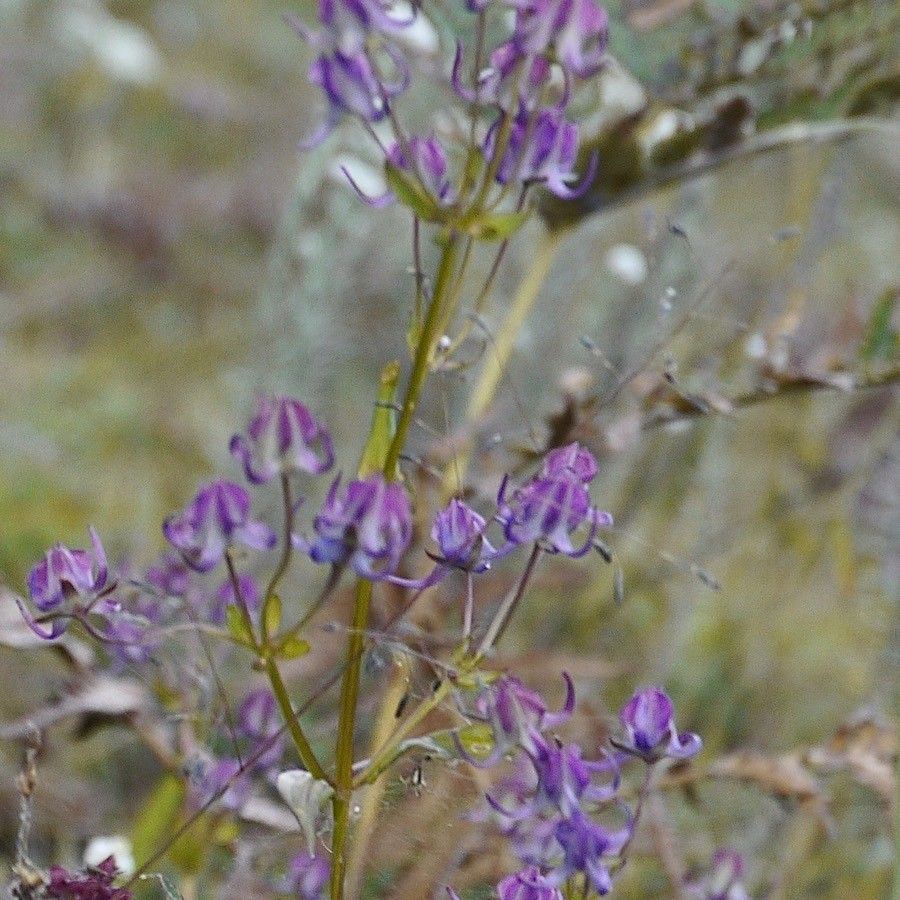
Hello, fellow garden enthusiasts! I’m so delighted to share my passion for Delphinium polycladon with you. These plants, with their stunning spires of delicate, sky-blue flowers, are a true highlight in any garden. Imagine them dancing in the summer breeze, a breathtaking sight that never fails to bring a smile to my face.
Propagating them yourself is a wonderfully rewarding journey. You get to witness new life emerge right from your own garden, and soon you’ll have more of these beauties to share or fill out your beds. Now, I won’t lie; Delphinium polycladon can be a little finicky, so it might not be the absolute easiest plant for a complete beginner. But with a little care and these tips, you’ll be well on your way!
The Best Time to Start
For Delphinium polycladon, spring is truly your golden window. Aim for late spring, just as the plant is waking up and putting on new, vigorous growth. The young shoots will be pliable and more receptive to striking roots. Waiting until the plant has established itself after the last frost is key for success.
Supplies You’ll Need
Here’s what you’ll want to have on hand:
- Sharp Pruning Shears or a Clean Knife: For taking precise cuttings.
- Potting Mix: A well-draining mix is crucial. I often use a blend of peat moss, perlite, and a bit of compost. You can also buy specialized seed-starting or cutting mixes.
- Small Pots or Trays: With drainage holes, of course!
- Rooting Hormone (Optional but Recommended): This helps to encourage faster and stronger root development. Look for one specifically for stem cuttings.
- Plastic Bags or a Clear Dome: To create a humid environment for your cuttings.
- Watering Can or Spray Bottle: For gentle watering.
- Labels: To keep track of your efforts!
Propagation Methods
Delphinium polycladon is best propagated from stem cuttings. I’ve found this method gives the highest success rate.
-
Taking the Cuttings: On a mild spring morning, select healthy, non-flowering stems from a mature plant. Look for stems that are about 4-6 inches long and have at least two sets of leaves. Using your sharp shears or knife, make a clean cut just below a leaf node (where a leaf attaches to the stem). Remove a few of the lower leaves, leaving just the top set or two.
-
Applying Rooting Hormone (If Using): Dip the cut end of the stem into your rooting hormone, tapping off any excess. This step isn’t always strictly necessary, but it gives your cuttings a helpful boost.
-
Planting Your Cuttings: Fill your small pots with your prepared, moistened potting mix. Gently insert the cut end of each stem into the mix, ensuring the nodes from which you removed the leaves are buried. You want the soil to be in good contact with the stem.
-
Creating a Humid Environment: Water the soil gently. Then, cover the pot loosely with a plastic bag or place it under a clear dome. This traps humidity, which is vital for preventing the cuttings from drying out before they can form roots.
-
Placement: Place the pots in a bright, indirect light location. Avoid direct sunlight, as this can scorch the delicate cuttings.
The “Secret Sauce” (Pro Tips)
- Bottom Heat is Your Friend: If you have a heat mat designed for propagation, use it! Placing your pots on a gentle bottom heat source (around 70-75°F) can significantly speed up root formation. It mimics the warmth of spring soil.
- Don’t Let the Leaves Touch Water: When you water, try to keep the leaves dry. If you’re water propagating (which I don’t recommend as much for Delphiniums, but if you try!), make absolutely sure the leaves are not submerged. They’ll rot very quickly in water.
- Patience with the Potting Mix: After planting, resist the urge to overwater. Let the soil surface dry slightly between waterings. Overly soggy conditions are a fast track to rot.
Aftercare & Troubleshooting
Once you’ve planted your cuttings, it’s time for patience. Check for roots by very gently tugging on a cutting after about 3-4 weeks. If you feel resistance, roots are forming! You’ll know they’re ready to be transplanted into slightly larger pots when you see new growth appearing.
The most common culprit for failure is rot. This usually happens if the cuttings are kept too wet or lack good air circulation. If you see any mushy stems or blackening at the base, unfortunately, that cutting is likely lost. Remove it from the pot immediately to prevent it from spreading. Ensure your potting mix is always well-draining.
A Heartfelt Closing
Propagating Delphinium polycladon might require a bit more attention than some other plants, but seeing those tiny roots develop is a truly magical experience. Don’t be discouraged if your first attempt isn’t perfect – every gardener learns from the process. Enjoy the journey of nurturing these delicate beauties into full bloom! Happy gardening!
Resource:
https://identify.plantnet.org/k-world-flora/species/Delphinium%20polycladon%20Eastw./data