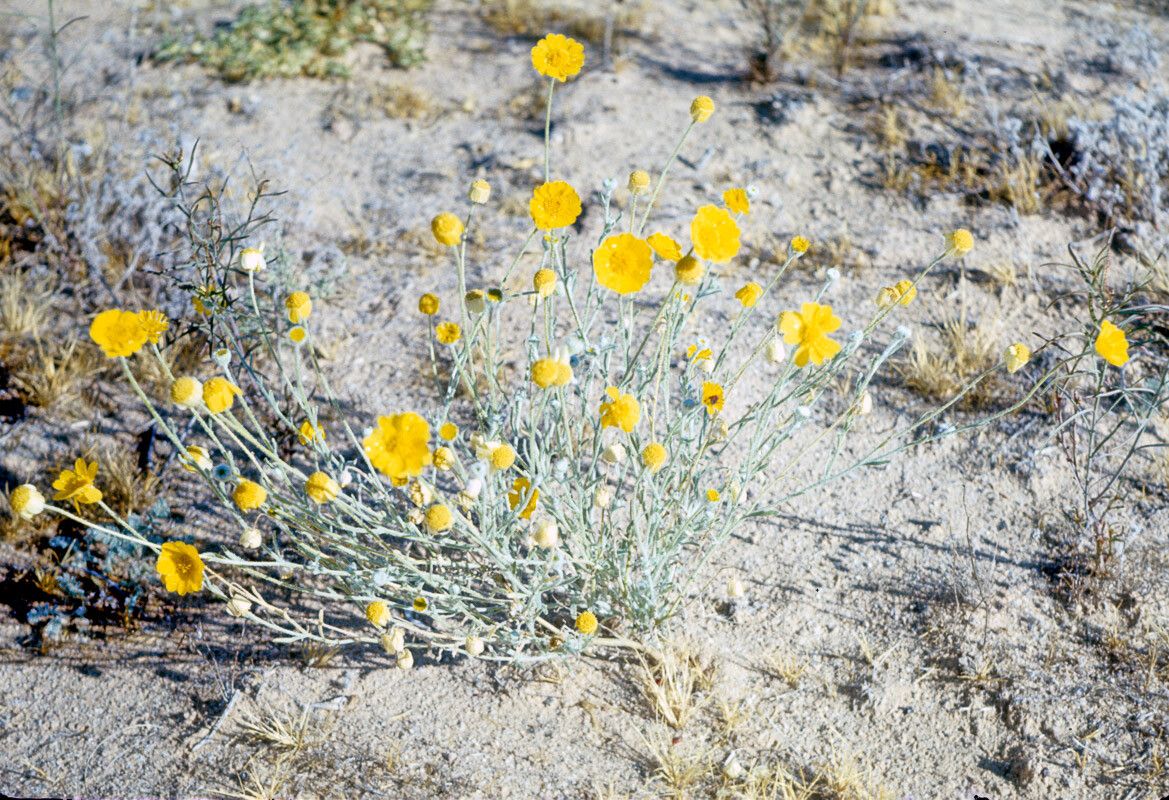
Hello fellow plant lovers! Today, we’re diving into the wonderful world of propagating Baileya pleniradiata, also known as Desert Marigold. If you’ve ever admired its cheerful, daisy-like blooms and silvery foliage, you’re in for a treat. Sharing this sunshine-loving beauty with friends or just expanding your own collection is incredibly satisfying. For beginners, I’d say Baileya pleniradiata is moderately easy to propagate. It doesn’t require whisper-soft handling, but a little know-how goes a long way.
The Best Time to Start
Spring is often the sweet spot for starting new Baileya pleniradiata plants. Think April or May, when the days are getting longer and warming up, but before the intense heat of summer sets in. You’ll want to take cuttings from healthy, actively growing stems. Avoid material that’s woody or looks stressed.
Supplies You’ll Need
- Sharp pruning shears or a clean knife: For taking your cuttings. Cleanliness is key to preventing disease!
- Rooting hormone (optional but recommended): A powder or gel form will do. It gives those new roots a little head start.
- Well-draining potting mix: A cactus or succulent mix works perfectly. You can also create your own by blending equal parts peat moss, perlite, and coarse sand.
- Small pots or seed trays: Make sure they have drainage holes.
- Perlite or coarse sand: For mixing into your soil or for a decorative, breathable top layer.
- A spray bottle: For misting.
- A plastic bag or propagation dome: To create a humid environment.
Propagation Methods
I’ve found success with stem cuttings when propagating Baileya pleniradiata. It’s a straightforward method that usually yields good results.
- Take Your Cuttings: Select a healthy stem that is at least 3-4 inches long. Using your clean shears or knife, make a cut just below a leaf node (where a leaf attaches to the stem). Remove the lower leaves, leaving just a couple at the very top.
- Apply Rooting Hormone (Optional): Dip the cut end of the stem into your rooting hormone, tapping off any excess.
- Plant Your Cuttings: Fill your pots with the well-draining potting mix. Make a small hole in the center of the soil with your finger or a pencil. Gently insert the cut end of the stem into the hole.
- Firm the Soil: Gently firm the soil around the cutting to ensure good contact.
- Water Lightly: Water the soil just enough to moisten it. You don’t want it soggy.
- Create Humidity: Cover the pot with a clear plastic bag or a propagation dome. This traps moisture and helps prevent the cuttings from drying out while they develop roots. For best results, make sure the leaves don’t touch the sides of the plastic bag as this can lead to rot.
The “Secret Sauce” (Pro Tips)
Here are a few little tricks I’ve learned over the years that really boost success:
- Bottom Heat is Your Friend: If you have a seedling heat mat, placing your pots on it can significantly speed up root development. It mimics the warmth of the soil in its native habitat.
- Don’t Overwater: This is probably the most crucial tip for Desert Marigolds and their relatives. They are adapted to dry conditions, and waterlogged soil is their worst enemy. Allow the soil to dry out slightly between waterings.
- Air Circulation is Key: While you want humidity, stagnant, damp air can encourage fungal diseases. Once you see signs of new growth, start to gradually vent the plastic bag or dome to acclimate your new plants to normal conditions.
Aftercare & Troubleshooting
Once your cuttings have developed a decent root system – you’ll know when you gently tug on the stem and feel resistance, or you might even see roots peeking out of the drainage holes – it’s time for a bit more individual attention. You can transplant them into their own small pots if they were in a shared tray. Continue to water sparingly, allowing the soil to dry between waterings.
The most common issue you might encounter is rot. If your cutting turns mushy and black at the base, it’s a sign of too much moisture and/or disease. Unfortunately, this is usually irreversible. If you see this happening, remove the affected cutting immediately to prevent it from spreading to others. Don’t despair if a few don’t make it; it’s part of the learning process!
A Encouraging Closing
Propagating plants is a journey. It requires patience and a willingness to learn from both successes and failures. With Baileya pleniradiata, you’re working with a plant that’s pretty resilient. So, grab your tools, find a sunny spot, and enjoy the rewarding process of coaxing new life from a single stem. Happy gardening!
Resource:
https://identify.plantnet.org/k-world-flora/species/Baileya%20pleniradiata%20Harv.%20&%20A.Gray/data