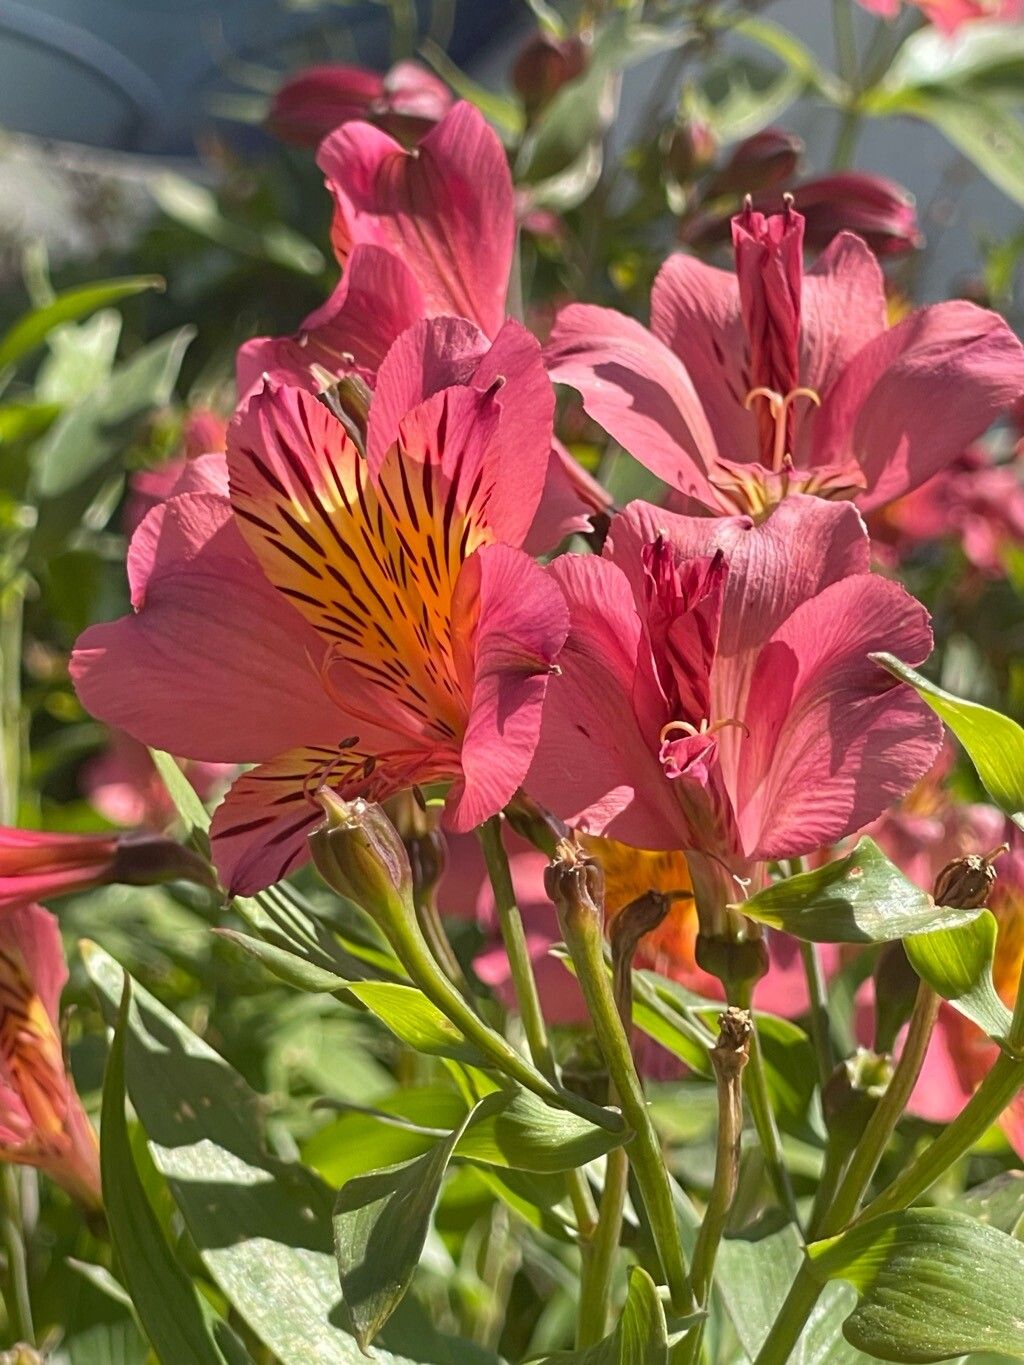
Oh, Alstroemeria! Those vibrant trumpet flowers, often called Peruvian Lilies, are such a delight in the garden. They bring such a splash of color, don’t they? And the best part? You can easily multiply these beauties to fill more spaces or share with friends. It’s a truly rewarding feeling, watching a tiny piece of a plant transform into a whole new life. For beginners, I’d say Alstroemeria propagation falls into the ‘moderately easy’ category – with a little patience and a few key tricks, you’ll be a pro in no time!
The Best Time to Start
The sweet spot for propagating Alstroemeria is late spring or early summer, just as the plant is hitting its stride for the growing season. This gives the new cuttings plenty of time to establish themselves before cooler weather sets in. Aim for when the plant is actively growing, but before it gets bogged down in peak flowering.
Supplies You’ll Need
Here’s what I like to have on hand:
- Sharp pruning shears or a clean knife: For taking clean cuts.
- Rooting hormone powder or gel: This really gives your cuttings a helpful boost.
- A well-draining potting mix: I often use a blend of peat moss, perlite, and a bit of compost. You can also buy specific succulent or cactus mixes – they work wonderfully because they drain so well.
- Small pots or trays: Clean containers with drainage holes are a must.
- Plastic bags or a small greenhouse: To create a humid environment for your cuttings.
- Watering can with a fine rose: For gentle watering.
- Labels and a pen: To keep track of what you’ve planted and when!
Propagation Methods
There are a couple of ways to go about this. I find division to be the most reliable for Alstroemeria, but stem cuttings can also work well if you’re patient.
Division (My Favorite!)
This is my go-to method because it’s often done when you’re transplanting or dividing overgrown clumps anyway.
- Gently excavate: In late spring or early summer, carefully dig up your Alstroemeria plant. Try not to damage the fleshy roots too much.
- Locate the rhizomes: You’ll see thick, fleshy underground stems called rhizomes. These are where new shoots and roots emerge.
- Divide with care: Using your hands or a clean trowel, gently pull or cut the rhizome into sections. Each section should have at least one healthy growth bud (the little pinkish nubs) and some roots attached.
- Plant your new divisions: Immediately replant these divisions into your prepared potting mix. Make sure the growth buds are just at or slightly below the soil surface. Water gently.
Stem Cuttings
This method takes a bit more finesse, but it’s exciting to see those tiny roots develop!
- Select healthy stems: Choose young, pliable stems that are not flowering, usually about 4-6 inches long.
- Take clean cuttings: Using sharp pruning shears, make a clean cut just below a leaf node (where a leaf attaches to the stem).
- Prepare the cutting: Remove the lower leaves from the bottom half of the stem. You can leave 2-3 leaves at the top. If the leaves are large, I sometimes snip them in half to reduce water loss.
- Dip in rooting hormone: Lightly moisten the cut end of the stem and dip it into your rooting hormone. Tap off any excess.
- Pot them up: Fill your pots or trays with the well-draining potting mix. Make small holes with a pencil or dowel and insert the cuttings, ensuring the nodes where you removed leaves are buried. Gently firm the soil around them.
- Create humidity: Water the soil gently and then cover the entire pot or tray with a clear plastic bag or place it in a small propagator. This creates a greenhouse effect.
The “Secret Sauce” (Pro Tips)
- Don’t drown them: For stem cuttings in pots, while you want the soil to be consistently moist, it shouldn’t be waterlogged. Overwatering is a quick path to rot, even with good drainage. I like to check the moisture by feeling the soil about an inch down.
- Bottom heat is your friend: If you’re doing stem cuttings, placing the pots on a heat mat specifically designed for seedlings can dramatically speed up rooting. It mimics the warming soil of spring and encourages root development.
- Be patient with division: When you divide Alstroemeria rhizomes, it might look like you’ve just got a bunch of wispy roots and a few buds. Don’t despair! Even small divisions can come back strong with a little time and consistent moisture.
Aftercare & Troubleshooting
Once your cuttings have rooted (this can take anywhere from 4-8 weeks, depending on the method and conditions), you’ll start to see new growth.
- Transition gradually: If you used a plastic bag, gradually acclimate your new plants to open air over a week or so. Poke a few holes in the bag first, then remove it for longer periods each day before taking it off entirely.
- Watering: Water whenever the top inch of soil feels dry. For divided plants, ensure they don’t dry out completely in their first season.
- Light: Place your potted cuttings in a bright spot, but out of direct, harsh sunlight, especially when they are still young and vulnerable.
- Signs of trouble: The most common issue is rot, which usually shows up as mushy, black stems or rhizomes. This is almost always due to overwatering. If you see this, unfortunately, the cutting is likely lost. Another sign of failure is a cutting that just shrivels and never shows signs of new growth – this could be due to lack of moisture or just not getting enough energy to start. Don’t be discouraged if a few don’t make it; it’s part of the learning process!
A Gentle Encouragement
Propagating Alstroemeria is such a fulfilling way to expand your garden and share the joy. Remember, gardening is an adventure, and sometimes, plants have their own schedules! Just keep a watchful eye, offer them good conditions, and celebrate every tiny bit of new life you nurture. Happy planting!
Resource:
https://identify.plantnet.org/k-world-flora/species/Alstroemeria%20ligtu%20L./data