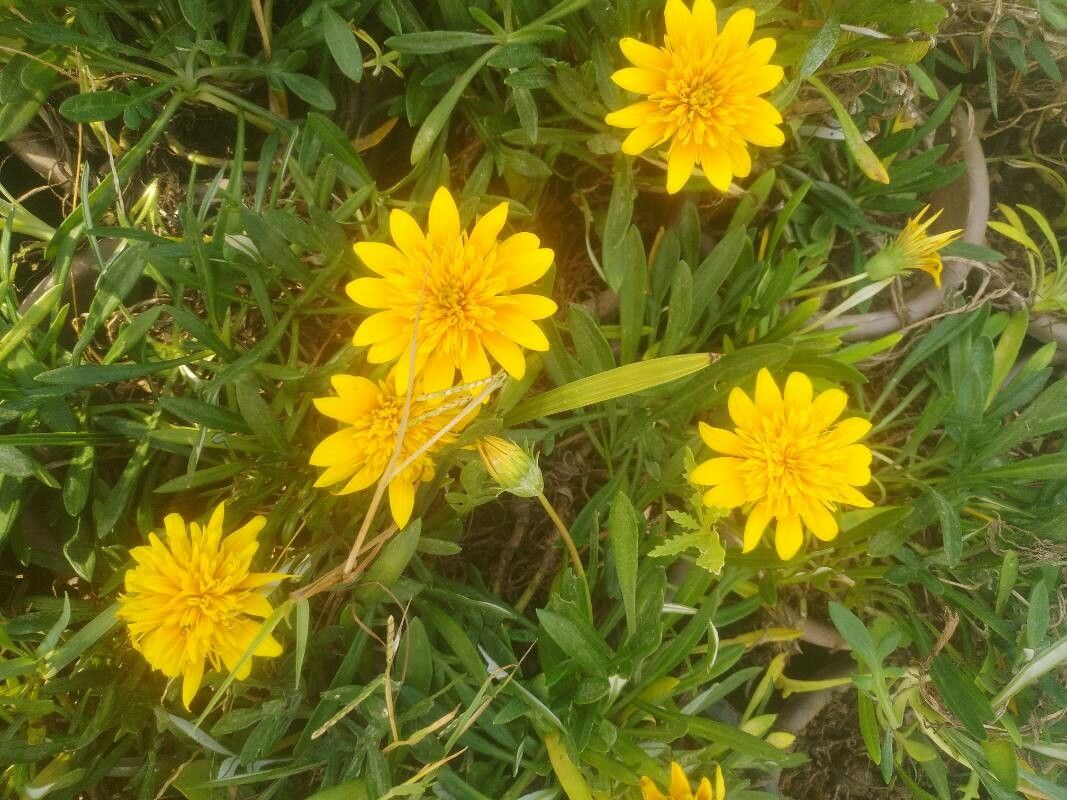
Hello, fellow plant lovers! I’m thrilled to chat with you today about a darling of the native plant world: Agoseris heterophylla, often called the California Dandelion. Now, I know what you might be thinking – “dandelion?” But trust me, this beauty is miles ahead of its common lawn-dwelling cousin. Its cheerful, sunny yellow blooms bring such a welcome burst of color to any garden, and they’re a fantastic source of nectar for our pollinator friends. Propagating it yourself? Oh, that’s just pure garden joy. It’s a plant that’s surprisingly forgiving, making it a wonderful choice for those just dipping their toes into the world of plant propagation.
The Best Time to Start
For Agoseris heterophylla, the sweet spot for propagation is really when the plant is actively growing. I find late spring to early summer is usually your best bet. After the main flowering flush has passed, but before the real heat of summer sets in, is perfect. You’ll be looking for healthy, vigorous growth. If you’ve grown them from seed, wait until they have a few true leaves.
Supplies You’ll Need
Here’s what I keep close at hand when I’m propagating:
- A clean, sharp razor blade or pruning shears. Sterilize them with rubbing alcohol to prevent disease.
- A good quality, well-draining potting mix. I often use a blend of perlite, peat moss, and a little compost.
- Small pots or trays. Clean ones are crucial!
- Water. Simple, but essential.
- Optional: A rooting hormone powder. It’s not always necessary for Agoseris, but it can give you a little boost.
- Optional: A humidity dome or plastic bag.
Propagation Methods
Agoseris heterophylla is fairly adaptable, but my favorite methods are division and, sometimes, taking basal cuttings.
Division (My Go-To!)
This is, hands down, the easiest and most reliable way to go.
- Dig it up: Gently excavate the entire plant, making sure to get as much of the root system as possible. It’s best to do this when the soil is slightly moist, not bone dry.
- Inspect the roots: You’ll likely see one or more distinct crowns (where the stems emerge from the roots).
- Separate: Using your clean hands or a gentle wiggle, carefully pull the clumps apart. If they’re stubborn, a clean knife or trowel can help. Make sure each division has healthy roots and at least one growing point.
- Replant: Pot each new division into its own well-draining soil. Water them in thoroughly.
Basal Cuttings (A Little More Involved)
This works well if you have a healthy, established plant.
- Select a stem: Look for a new, fleshy stem emerging from the base of the plant.
- Make the cut: Using your sterile razor or shears, make a clean cut just above the soil line, taking a portion of the stem with a few leaves.
- Prepare the cutting: Gently remove the lower leaves, leaving just a couple at the very top. If you’re using rooting hormone, dip the cut end into the powder now.
- Plant it: Insert the cut end into your prepared potting mix. Tuck it in snugly so it stands upright.
- Water and cover: Water the soil lightly and place the pot inside a plastic bag or under a humidity dome to keep the moisture levels high.
The “Secret Sauce” (Pro Tips)
Here are a couple of things I’ve learned over the years that really make a difference:
- Don’t drown your cuttings: When you water your cuttings or divisions, make sure the soil is moist but not waterlogged. Soggy soil is the quickest way to invite rot, and that’s a death sentence for a new little plant.
- Air circulation is key: If you’re using a humidity dome or plastic bag, open it up for a little while each day to let fresh air in. This helps prevent fungal diseases. I usually do this for 15-30 minutes.
Aftercare & Troubleshooting
Once your new Agoseris babies are potted up, they’ll need a bit of TLC.
Keep them in a spot with bright, indirect light. Direct, harsh sun can scorch delicate new growth. Water them whenever the top inch of soil feels dry. Be patient! It can take several weeks for roots to develop, especially with cuttings. Look for signs of new leaf growth – that’s a good indicator that roots are forming.
The most common problem you’ll encounter is rot, which looks like a mushy, dark stem base. If you see this, sadly, that cutting or division is likely lost. It’s usually caused by too much moisture and poor air circulation. Don’t get discouraged; just try again with a fresh start and slightly different conditions. Sometimes, cuttings simply fail to root, and that’s okay too. It’s all part of the learning process.
A Little Patience Goes a Long Way
So there you have it! Propagating Agoseris heterophylla is a truly rewarding endeavor. It’s a chance to multiply the joy of those cheerful yellow blooms and share them with friends or simply fill your garden with even more sunshine. Be patient with your new plants, learn from any setbacks, and enjoy the simple magic of coaxing new life from an established beauty. Happy gardening!
Resource:
https://identify.plantnet.org/k-world-flora/species/Agoseris%20heterophylla%20(Nutt.)%20Greene/data