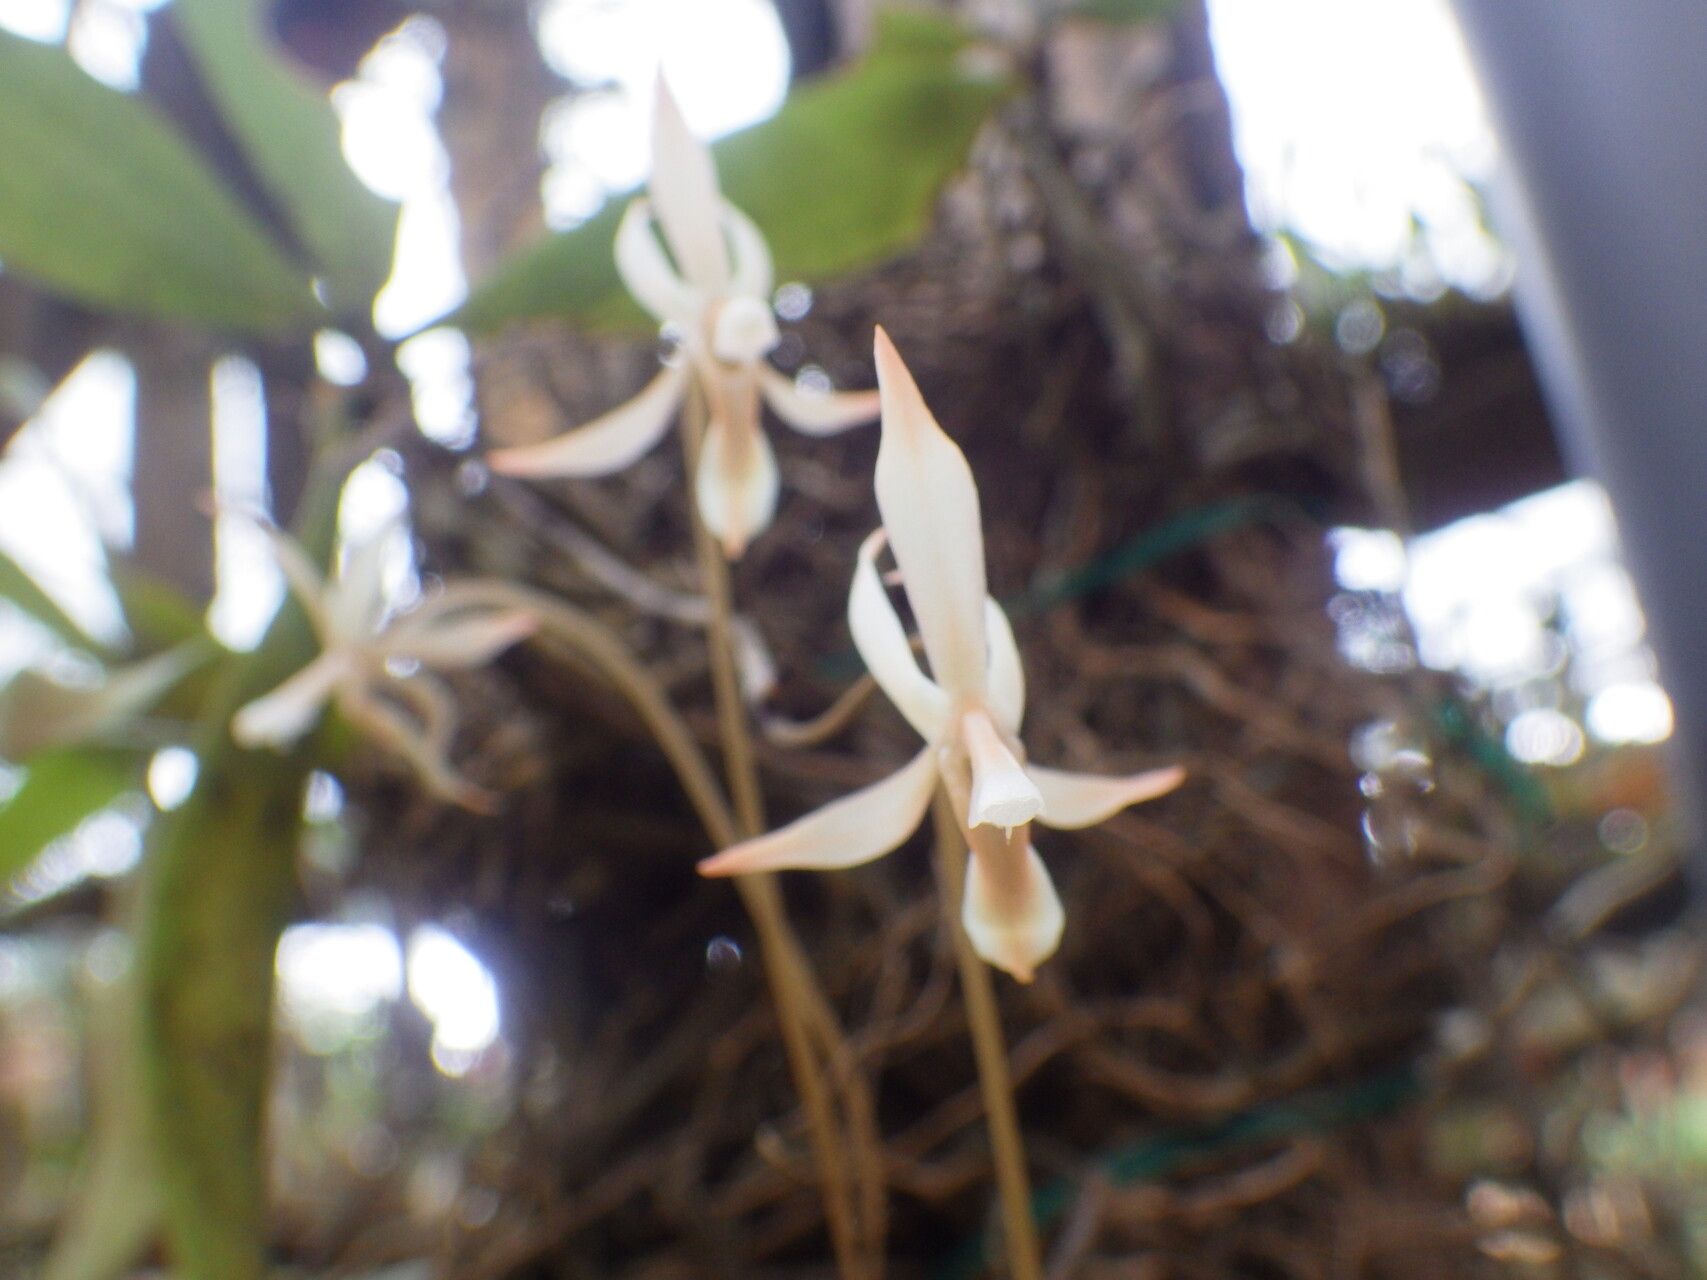
Hey there, fellow plant lovers! Today, we’re diving into the wonderful world of Aerangis collum-cygni. If you haven’t met this beauty yet, imagine delicate, star-shaped white flowers cascading on long, slender stems, often with a sweet, intoxicating fragrance that graces your home in the evening. It’s truly a jewel in any orchid collection.
Propagating orchids can seem a bit daunting, I know. And while Aerangis can be a touch more particular than your average houseplant, I’m here to tell you, with a little patience and the right approach, you can absolutely achieve success. It’s not for the absolute beginner who’s never held a watering can, but if you’ve dabbled in plant care and want to try something truly special, you’re in the right place. The reward of nurturing a tiny plant from a parent specimen is just… unmatched.
The Best Time to Start
When it comes to giving your new Aerangis cuttings the best start, spring is generally your golden ticket. This is when the plant is naturally gearing up for active growth after its rest period. You’ll want to propagate from a mature, healthy plant that is actively growing, showing good foliage and, ideally, not in the middle of a blooming cycle. Think of it as tapping into its prime energy!
Supplies You’ll Need
Here’s what I always have on hand when I’m ready to propagate:
- Sharp, sterilized pruning shears or a razor blade: Cleanliness is crucial to prevent disease. (I usually sterilize with rubbing alcohol).
- Orchid-specific potting mix: A good bark-based mix with plenty of aeration is key. You can often find blends specifically for epiphytic orchids.
- Small pots or seedling trays: These should have good drainage.
- Sphagnum moss: Long-fibered sphagnum is excellent for retaining moisture while still allowing airflow.
- Hormone rooting powder (optional but helpful): A little boost can encourage root development.
- Spray bottle: For gentle misting.
- Perlite or small pebbles: For improved drainage in the pots.
Propagation Methods: Finding New Life
For Aerangis collum-cygni, we’re typically looking at division as our primary method. These orchids don’t readily produce “pups” in the same way some other plants do, and stem cuttings are rarely successful for beginners.
Division: Sharing the Love
When your Aerangis has grown large enough that it’s starting to fill its pot, or if you see new growths (often called “keikis” in the orchid world, though less common in Aerangis species) emerging from the base, it’s a great candidate for division.
- Gently unpot your orchid. Carefully loosen the bark or potting medium and try to identify natural divisions. Look for areas where a new growth has its own set of roots emerging.
- Inspect for healthy roots. You want to divide the plant so that each new section has at least 2-3 healthy, established roots and one or two good leaves. Dead, mushy, or papery roots are not ideal.
- Make the cut. Using your sterilized shears or razor blade, carefully cut between the divisions. Make sure your cut is clean and through healthy tissue. If you’re using rooting hormone, dip the cut surface of the new division into it now, tapping off any excess.
- Potting the new divisions. Place each new division into its own small pot. You can use a bark mix, or for a bit more moisture retention, I like to mix in some long-fibered sphagnum moss. Anchor the plant so it’s stable but not buried too deeply.
- Initial watering. Don’t water immediately! Let the cut surface air dry for a day or two to callus over. This helps prevent rot. After that, water lightly, ensuring the potting medium is moist but not waterlogged.
The “Secret Sauce” (Pro Tips)
Here are a few little tricks I’ve picked up over the years that really make a difference:
- Humidity is king, but avoid soggy bottoms! Aerangis love a humid environment, and this is especially true for new divisions. I often place their pots in a tray with pebbles and water, but make sure the pot isn’t sitting directly in the water. This provides humidity without inviting root rot.
- Bottom heat is your friend. If you have the ability, placing your newly potted divisions on a gentle heat mat (set to around 70-75°F or 21-24°C) can significantly speed up root development. It mimics the warmth of a tropical environment.
- Look for the subtle cues. New root growth often starts as tiny, pale green tips. Don’t expect a furry mat of roots overnight. Be patient and observe. New leaf growth is also a good indicator you’re on the right track.
Aftercare & Troubleshooting
Once your new Aerangis divisions are potted and settled, think of them as delicate seedlings.
- Watering: Water thoroughly when the potting mix is approaching dryness. It’s better to underwater slightly than to overwater. Observe the leaves – if they start to look a little less plump, it’s time for a drink.
- Light: Bright, indirect light is ideal. Avoid direct sun, which can scorch those tender new leaves.
- Fertilizer: Once you see new root or leaf growth, you can start a very dilute orchid fertilizer (about ¼ strength) every few weeks.
Troubleshooting: The most common issue you’ll face is rot. If you see brown, mushy roots, or wilting leaves despite proper watering, it’s a sign of too much moisture and not enough airflow. In this case, you might need to repot, trim away the rotted parts, and adjust your watering and air circulation. If you notice a lack of growth after several months, don’t despair! Sometimes, orchids just take their time settling in. Make sure light and humidity are consistent.
A Gentle Encouragement
Propagating Aerangis collum-cygni is a journey, not a race. Enjoy the process of learning about your plant and observing its subtle signs of life. Be patient, be gentle, and celebrate every new root and leaf. Happy growing!
Resource:
https://identify.plantnet.org/k-world-flora/species/Aerangis%20collum-cygni%20Summerh./data