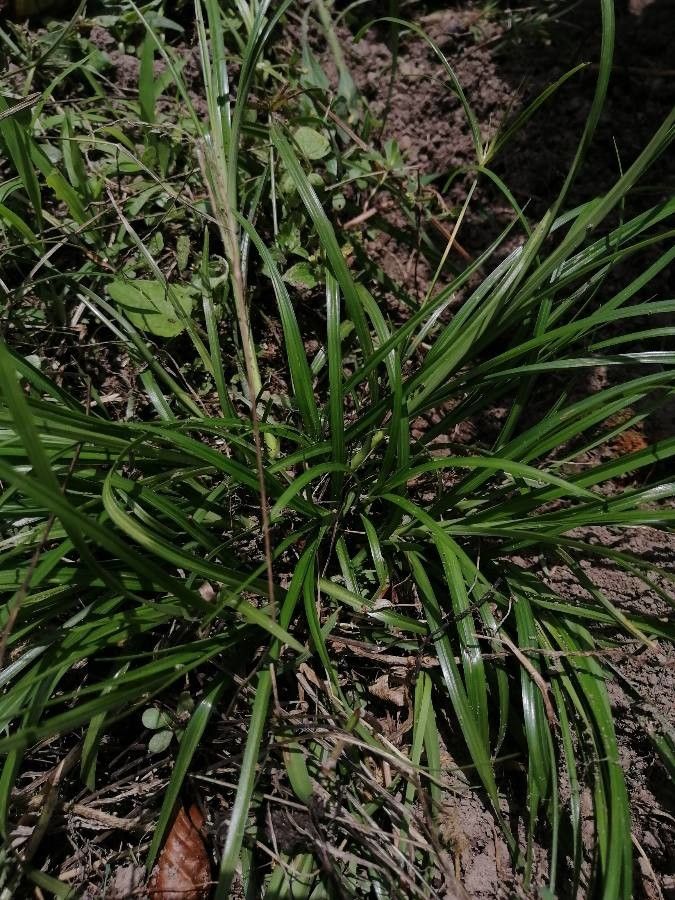
Hello fellow plant lovers! Today, we’re diving into the delightful world of Scleria microcarpa, often called the “small-fruited nutsedge.” If you’re charmed by its lush, grass-like foliage and the promise of tiny, ornamental fruits, you’re in for a treat. Propagating this beauty is a wonderfully rewarding endeavor, allowing you to fill your garden or home with more of its understated elegance. While not as notoriously finicky as some tropical rarities, Scleria microcarpa does have its preferences, making it a good plant for those looking to stretch their propagation wings a bit.
The Best Time to Start
For the most success with Scleria microcarpa, I’ve found that spring is your prime time. As the days lengthen and the plant itself is gearing up for vigorous new growth, it’s ready to share its energy. Starting in early to mid-spring allows your new propagations ample time to establish before the heat of summer or the chill of fall.
Supplies You’ll Need
- Sharp, clean pruning shears or a knife: For making clean cuts.
- Well-draining potting mix: You can use a standard potting mix amended with perlite or coarse sand (about a 2:1 ratio of potting mix to amendment).
- Small pots or trays: With drainage holes, of course!
- Plastic bags or a humidity dome: To create a humid microclimate.
- Rooting hormone (optional but helpful): Especially for stem cuttings.
- Watering can with a fine rose: For gentle watering.
- Labels and a marker: To keep track of your projects!
Propagation Methods
Scleria microcarpa is best propagated through division or stem cuttings.
Division
This is arguably the easiest and most straightforward method for S. microcarpa.
- Gently remove the parent plant from its pot or from the garden bed.
- Carefully brush away excess soil to expose the root system and any new shoots or rhizomes.
- You’ll likely see natural divisions where new growth is emerging. Gently pull or use your fingers (or a clean knife if needed) to separate a healthy division that includes roots and at least one or two shoots.
- Pot each division into its own container filled with your well-draining potting mix.
- Water thoroughly to settle the soil.
Stem Cuttings
This method requires a bit more attention but can yield many new plants!
- Using your clean pruning shears, take cuttings that are 4-6 inches long. Look for healthy stems that have new growth but aren’t flowering or fruiting.
- Remove any lower leaves, leaving just a couple of sets at the top. This prevents leaf rot in the damp conditions needed for rooting.
- (Optional) Dip the cut end into a rooting hormone, tapping off any excess.
- Prepare your small pots with your moistened, well-draining potting mix.
- Make a hole in the soil with a pencil or your finger, and insert the cutting, ensuring the nodes (where leaves were removed) are below the soil surface. Gently firm the soil around it.
- Water gently.
- Cover the pot with a plastic bag or place it under a humidity dome to trap moisture. Place it in a bright spot but out of direct sunlight.
The “Secret Sauce”
Here are a couple of little tricks I’ve learned over the years that really boost my success rates:
- Don’t let the leaves touch the water (if using water propagation, though division is more common for this plant). When I’ve experimented with water propagation (less common for Scleria but possible), I found that even a single leaf dipping into the water was a fast track to rot. Keep those leaves aloft!
- Bottom heat is your friend. For stem cuttings, placing your pots on a gentle heat mat can significantly speed up root development. It mimics the warmth of spring soil and encourages those roots to form more readily. Just a gentle warmth is needed; you don’t want to cook them!
Aftercare & Troubleshooting
Once you see new growth on your divisions or roots emerging from your cuttings (you might see roots peeking from the drainage holes or feel a gentle tug when you try to lift the cutting), it’s time for a bit more hands-on care.
- Gradually acclimate your cuttings to lower humidity by opening the plastic bag or dome a little each day over a week.
- Continue to water gently whenever the top inch of soil feels dry.
- Avoid direct, strong sunlight during this establishment phase. Bright, indirect light is perfect.
- The main thing to watch out for is rot. If a cutting turns mushy or black, it’s a sign of too much moisture and not enough air circulation. Sometimes, you can salvage a piece if you catch it early, but often, it’s best to discard the rotted stem and try again. For divisions, overwatering can lead to root rot; ensure excellent drainage.
Happy Growing!
Propagating Scleria microcarpa is a journey of patience and observation. Don’t be discouraged if your first attempt isn’t perfect. Each plant and each season presents unique learning opportunities. With a little care and these tips, you’ll soon be enjoying even more of these wonderful plants. Happy gardening, and may your propagation always be fruitful!
Resource:
https://identify.plantnet.org/k-world-flora/species/Scleria%20microcarpa%20Nees%20ex%20Kunth/data